
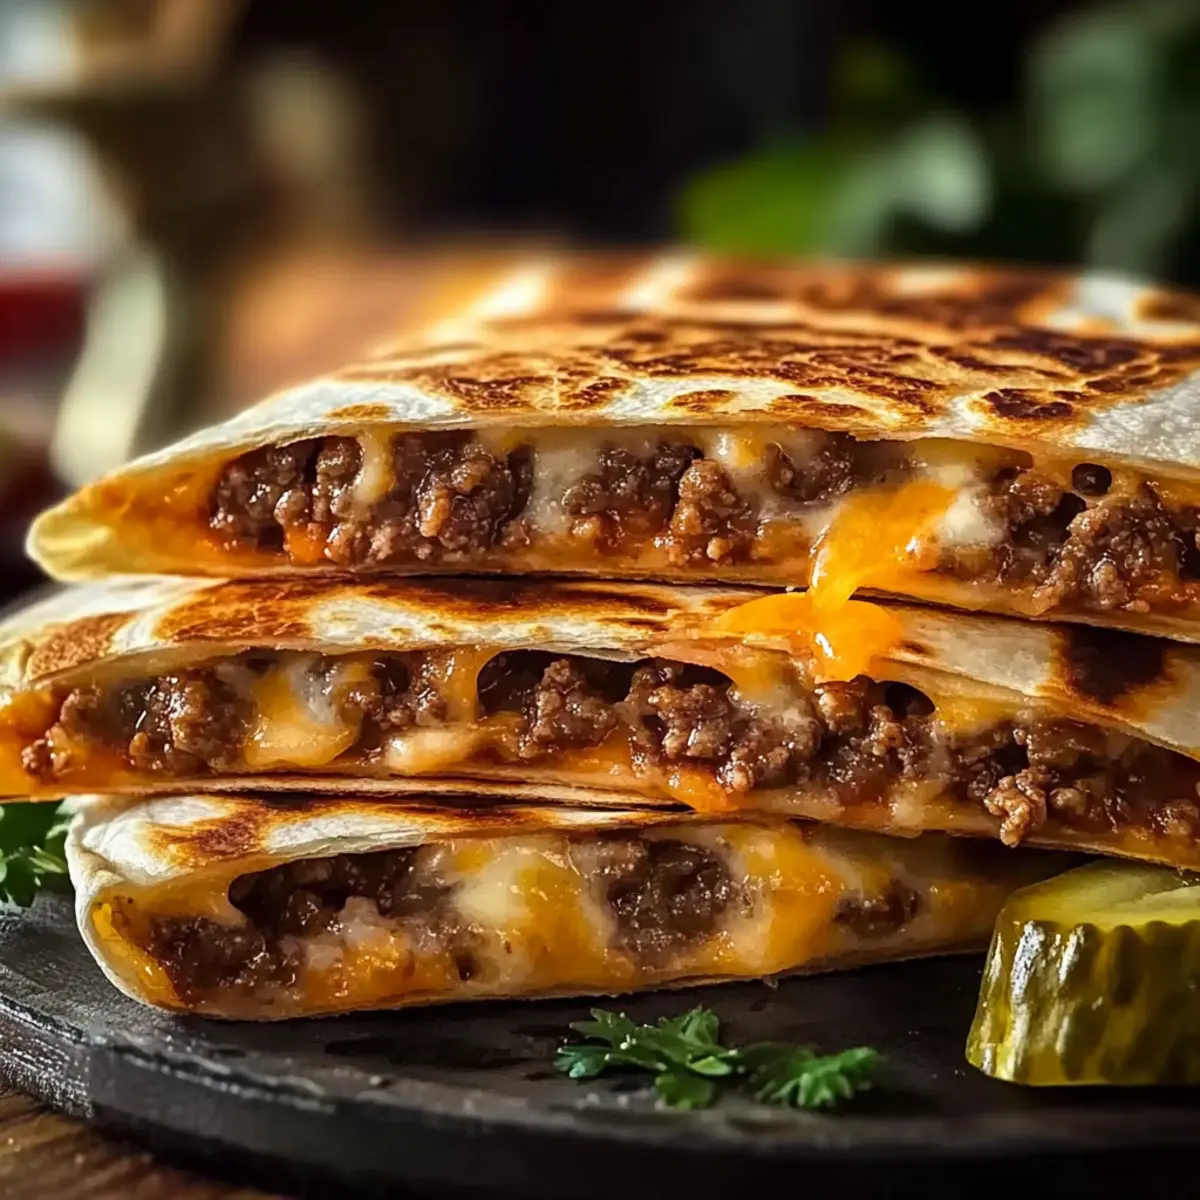
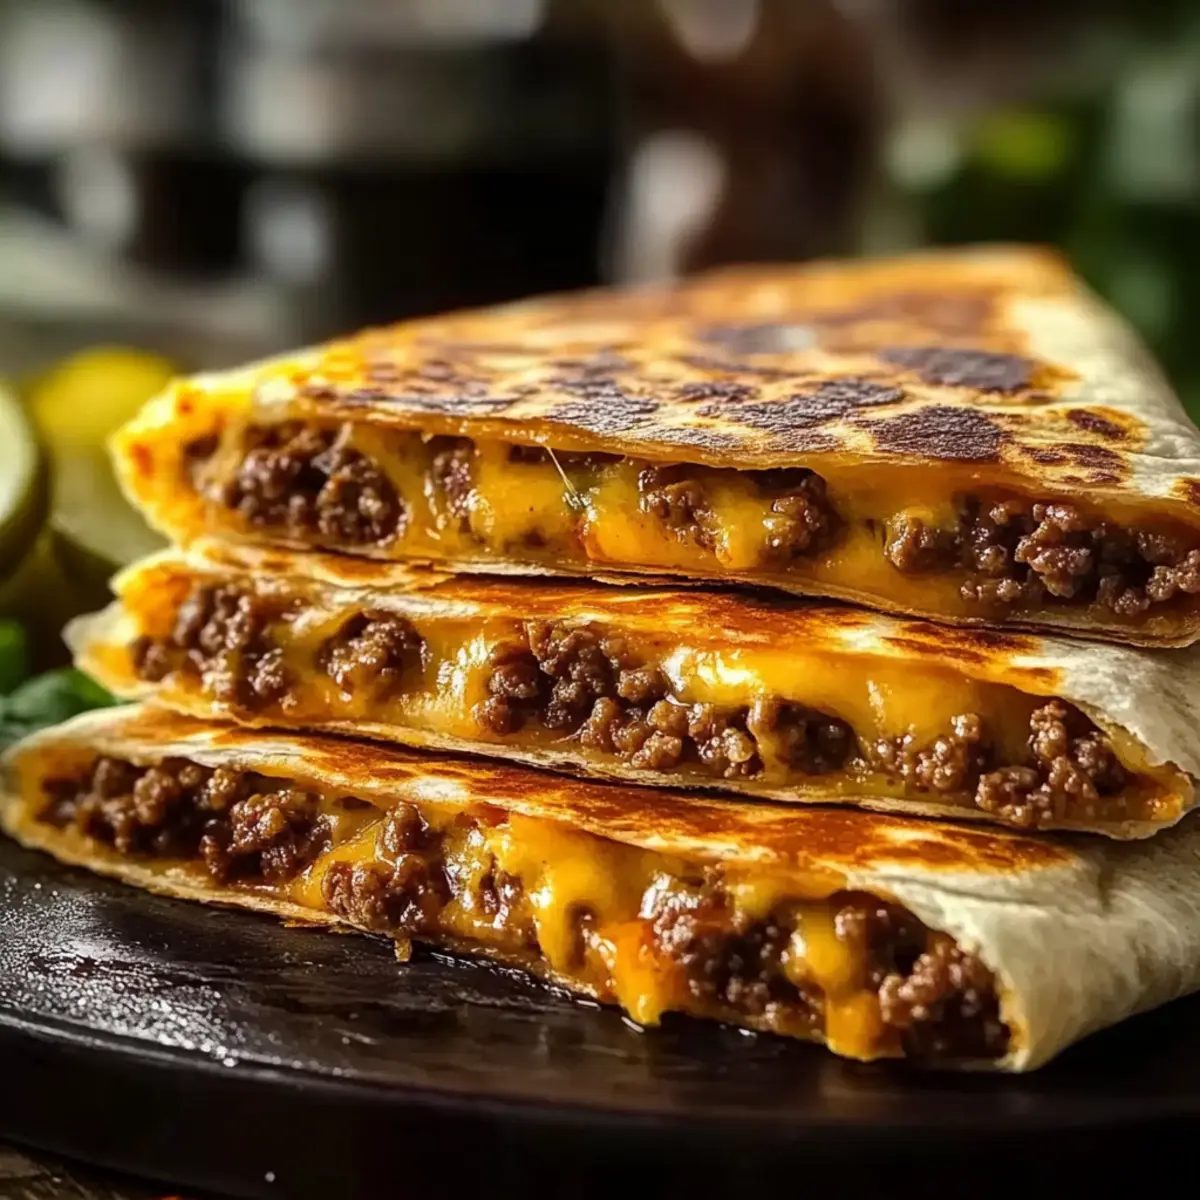
As I flipped through my recipe collection, my gaze landed on the vibrant photos of quesadillas that always make my mouth water. This evening, the kitchen was buzzing with excitement, and I knew exactly what to whip up: Smashburger Quesadillas! Merging the beloved flavors of a smashburger with the satisfying crunch of a quesadilla, this quick and easy recipe is perfect for busy weeknights. In under 30 minutes, you’ll be savoring a meal that’s not only customizable to fit your family’s taste buds but also a guaranteed hit with the kids. Whether you’re looking for a fun twist on classic comfort food or a delicious go-to for nights you just can’t bear to tackle fast food, you’ll love the joy of creating this handheld delight. Are you ready to transform your ordinary dinner into something spectacular?
Why are Smashburger Quesadillas a must-try?
Unique Fusion: This recipe brings together the beloved taste of smashburgers and the popular quesadilla, making every bite a flavorful adventure.
Speedy Preparation: Ready in under 30 minutes, it’s perfect for those hectic weeknights when time is of the essence.
Tailored to You: Customize each quesadilla with your favorite toppings, from cheese to avocados, to match your family’s preferences.
Kid-Friendly Appeal: The familiar and fun format makes it an instant favorite among kids, ensuring they’ll want to join in the fun of cooking!
Crowd-Pleasing Delight: Whether it’s game night or a casual family dinner, these handheld treats bring joy and satisfaction to everyone at the table!
Get ready to elevate your family dinners with this quick and delicious recipe that will leave everyone craving more! If you’re looking for another easy recipe to try, don’t miss our Cheesy Chicken Tacos!
Smashburger Quesadillas Ingredients
For the Filling
- Ground Beef – A classic choice for a juicy, savory filling; swap for ground turkey or plant-based meat for lighter options.
- Cheese (e.g., cheddar, pepper jack) – Adds creaminess that binds everything together; try smoked gouda for a unique flavor twist.
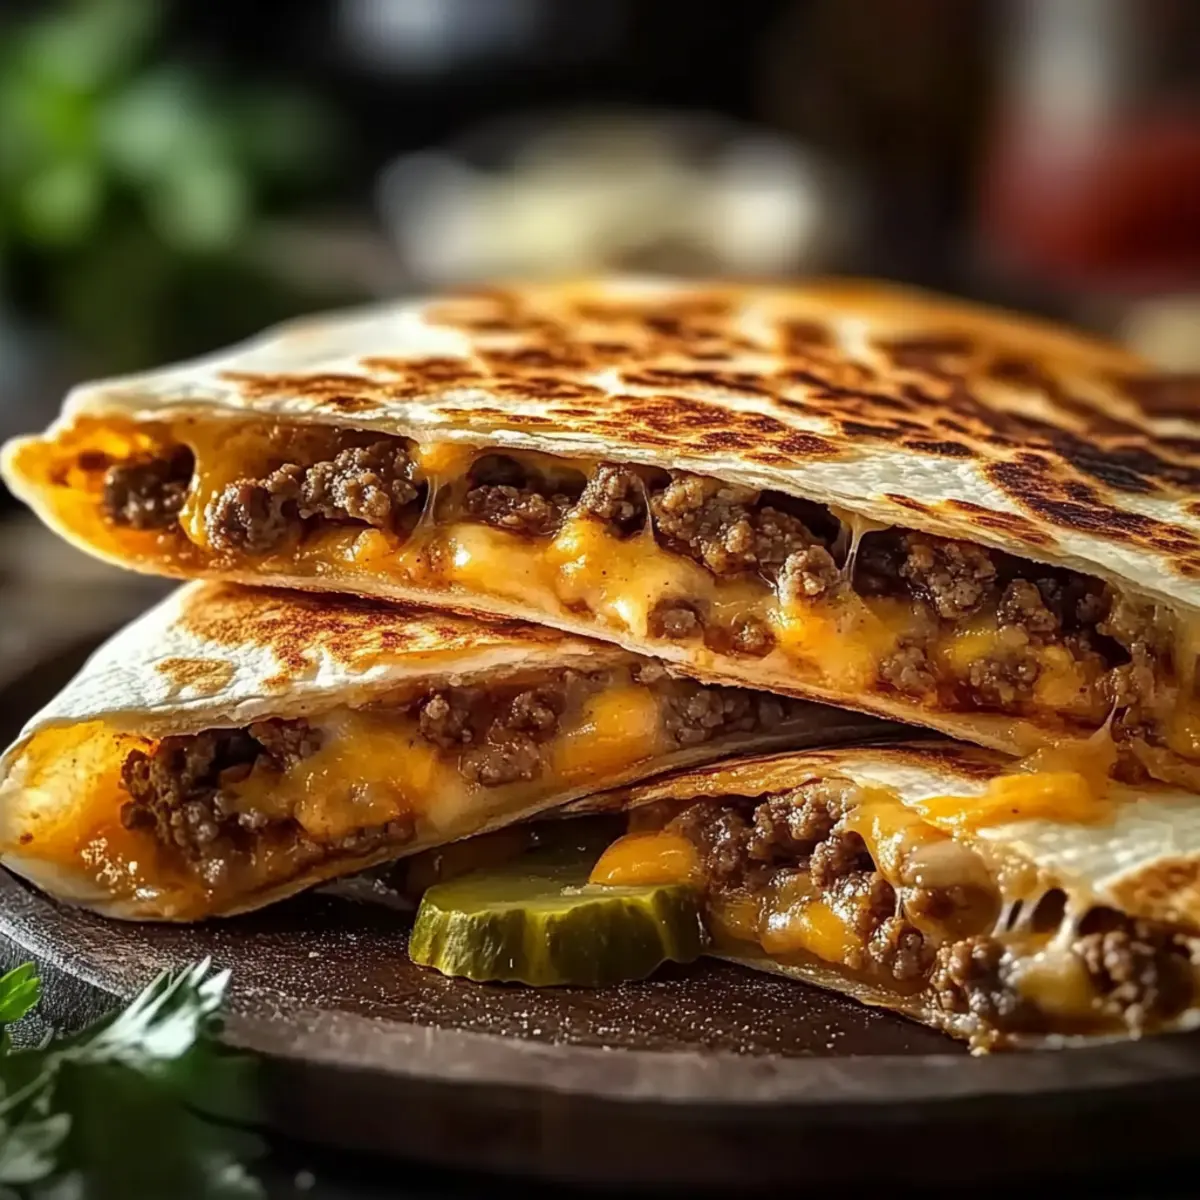
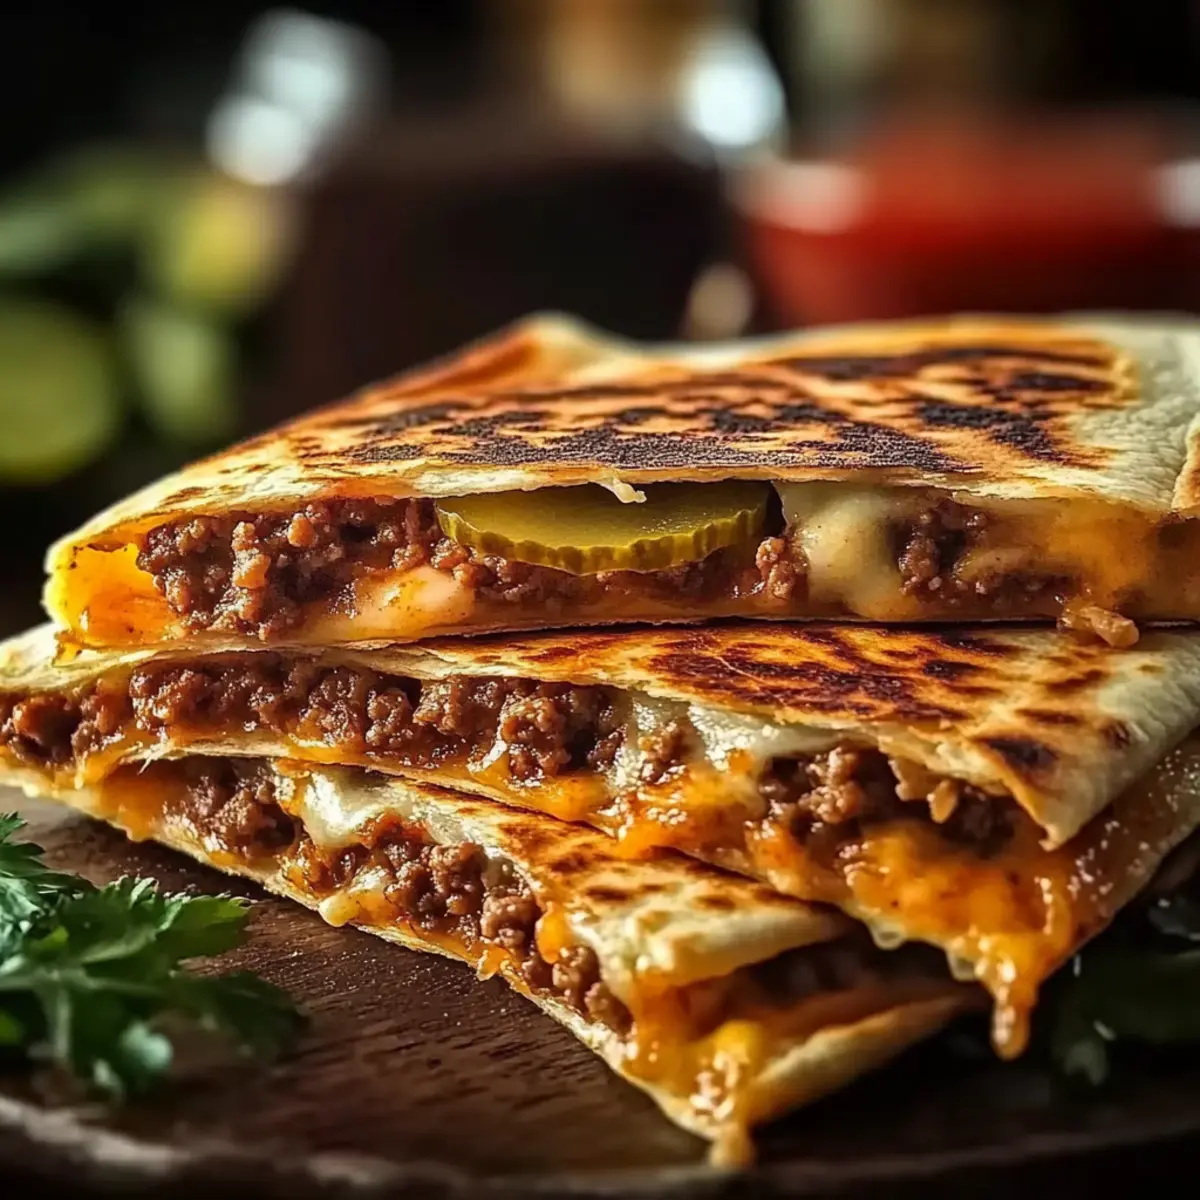
- Pickles – Brings tanginess that perfectly complements the meat; feel free to use jalapeños for a spicy kick.
For the Tortillas
- Tortillas – Essential for holding all your delicious ingredients; choose flour tortillas for flexibility, or opt for corn tortillas for a gluten-free version.
For the Seasoning
- Condiments (mustard or ranch) – Enhances the overall flavor of your quesadilla; consider chipotle or barbecue sauce for an exciting change.
Try these Smashburger Quesadillas tonight and experience a delightful and quick dinner that’s sure to please everyone in your home!
Step‑by‑Step Instructions for Smashburger Quesadillas
Step 1: Prep the Skillet
Begin by preheating a large, well-oiled cast iron skillet or griddle over medium-high heat. Allow it to warm for about 5 minutes until the surface is hot and ready for cooking. The skillet should have a slight shimmer from the oil indicating it’s at the right temperature, ensuring a perfect sear for your patties.
Step 2: Create Burger Patties
While the skillet heats, take your ground beef and form it into thin, roughly-stacked patties—aim for about ¼ inch thick. Once the skillet is hot, carefully place the patties onto it, smashing them down gently with a spatula. Cook for about 3-4 minutes until the edges are crispy and the centers are fully browned; they should look deliciously caramelized.
Step 3: Assemble Quesadillas
With the patties cooked, it’s time to assemble your Smashburger Quesadillas. Place one tortilla on the skillet, then layer on a cooked patty, followed by a generous handful of cheese and any optional toppings, like pickles or jalapeños. Top with another tortilla, pressing down gently to secure the filling as it cooks.
Step 4: Cook Quesadillas
Cook the quesadillas for about 3-4 minutes on one side until golden brown and crispy. Carefully flip them over using a spatula, taking care not to let the fillings spill out. Continue cooking for an additional 3-4 minutes on the other side until both tortillas are perfectly crispy and the cheese is wonderfully melted.
Step 5: Slice and Serve
Once cooked, remove the quesadillas from the skillet and let them sit for a minute before slicing. Cut each quesadilla into wedges and serve immediately while hot, allowing everyone to dig into the melty goodness filled with the flavors of smashburger. These Smashburger Quesadillas are best enjoyed fresh, paired with your favorite dipping sauces!
What to Serve with Smashburger Quesadillas
Elevate your dining experience with delightful pairings that bring out the best in the delicious flavors of your quesadillas.
-
Crispy French Fries: Fried to perfection, they provide a satisfying crunch that complements the quesadillas’ textures beautifully. Dip them in a tangy ketchup for an irresistible bite.
-
Fresh Garden Salad: A light and refreshing contrast, this salad loaded with crisp greens and juicy tomatoes balances the richness of the quesadillas with its crisp flavors.
-
Guacamole: Creamy and rich, guacamole adds a refreshing touch, enhancing the overall experience with each savory bite of the quesadilla.
-
Zesty Coleslaw: The crunch and tang of coleslaw offer a perfect contrast, cutting through the hearty flavors of the quesadilla while adding a fun mix of textures.
-
Spicy Jalapeño Poppers: For those who enjoy a kick, these cheesy, spicy bites will elevate your meal, creating a festival of flavors on your plate.
-
Soda or Lemonade: Serve with a cold drink for a complete casual dining experience. The sweetness of a fizzy soda or refreshing lemonade pairs perfectly with the savory quesadilla, making each guest feel right at home.
Storage Tips for Smashburger Quesadillas
-
Room Temperature: Best enjoyed fresh, but if left out, consume them within 2 hours to ensure safety and flavor retention.
-
Fridge: Store leftover Smashburger Quesadillas in an airtight container for up to 3 days. Reheat them on a skillet to maintain that delightful crispiness.
-
Freezer: For longer storage, freeze quesadillas wrapped tightly in plastic wrap and then foil for up to 2 months. Reheat directly from the freezer using an oven for best results.
-
Reheating: To revive their crunch, reheat quesadillas on a griddle or in a pan over medium heat until thoroughly warm, roughly 5-7 minutes each side.
Smashburger Quesadillas: Customization Ideas
Dive into a world of flavors and textures with these fun Smashburger Quesadillas—personalize them to fit your dinner vibe tonight!
-
Veggie-Loaded: Add sautéed onions, bell peppers, or spinach to your filling for a burst of color and nutrition. Everyone loves a good crunch! Fresh veggies bring a garden-fresh taste to your quesadillas that complements the savory beef beautifully.
-
Dairy-Free Delight: Use dairy-free cheese like cashew or almond cheese to make it suitable for lactose-sensitive eaters, without sacrificing flavor. This option still lets you enjoy that melty goodness everyone craves!
-
Spicy Kick: Spice things up by adding sliced jalapeños, hot sauce, or a dash of cayenne pepper to your beef mixture. The heat will add an exciting dimension to your quesadillas—perfect for those who love a little fire in their meals!
-
Gluten-Free Option: Swap out regular tortillas for gluten-free ones made from rice or other grains. By doing so, you ensure everyone at the table can dig into these scrumptious bites without worry.
-
Gourmet Twist: Replace ground beef with gourmet options like chorizo or bison for a richer flavor experience. The distinct tastes will elevate your quesadillas to a new culinary level, ideal for impressing guests!
-
Breakfast Quesadilla: Transform leftovers or make a fresh batch using scrambled eggs, crispy bacon or sausage, and cheese for a delightful breakfast version. Who says quesadillas are just for lunch or dinner?
-
Herb Infusion: Sprinkle fresh herbs like cilantro or chives into your filling for an aromatic burst. These herbs not only add flavor but also a lovely freshness that brightens every bite!
Feel free to enhance your Smashburger Quesadillas with these fun and easy variations for a dynamic meal experience. If you’re looking for more ideas, check out our Cheesy Chicken Tacos for a tasty treat!
Make Ahead Options
These Smashburger Quesadillas are perfect for meal prep enthusiasts! You can prepare the beef patties and cheese filling up to 24 hours in advance, storing them in an airtight container in the refrigerator to maintain their flavor. Similarly, you can chop any toppings like pickles or jalapeños ahead of time; just keep them in separate containers for easy assembly. When you’re ready to cook, simply heat your skillet, assemble the quesadillas with the prepped ingredients, and cook them for about 3-4 minutes on each side until golden brown. By prepping these components ahead, you’ll save valuable time on busy weeknights while enjoying a delicious meal that tastes just as great as freshly made!
Expert Tips for Smashburger Quesadillas
-
Warm Tortillas First: Heating tortillas slightly before folding helps to prevent cracks, ensuring a crispy finish for your Smashburger Quesadillas.
-
Avoid Overcrowding: Cook the patties in batches, giving them enough space to brown evenly. This prevents steaming and promotes a satisfying crunch.
-
Brush with Oil: For an extra crunch, lightly brush the tortillas with oil before cooking. This adds flavor and enhances the crispiness that makes your quesadillas irresistible.
-
Taste the Beef: Always taste-test your ground beef mixture before assembling the quesadillas. Adjust seasonings to ensure each bite is packed with flavor.
-
Experiment with Fillings: Don’t hesitate to customize your quesadillas with various toppings. Get creative with cheese selections or add veggies to make them even more delightful!
Smashburger Quesadillas Recipe FAQs
What kind of ground beef should I use for Smashburger Quesadillas?
Absolutely, using ground beef that has a higher fat content, like 80/20 or 85/15, will yield juicier and more flavorful quesadillas. You can also substitute with ground turkey or a plant-based meat alternative if you’re looking for lighter options or vegetarian-friendly versions.
How should I store leftovers from Smashburger Quesadillas?
You can store any leftover Smashburger Quesadillas in an airtight container in the refrigerator for up to 3 days. Make sure to let them cool before sealing to retain their crispiness. When ready to enjoy, reheat them on a skillet over medium heat for 5-7 minutes on each side until warmed through and crisp again.
Can I freeze Smashburger Quesadillas?
Yes, you can! To freeze, wrap the quesadillas tightly in plastic wrap, then place them in a freezer-safe bag or container. They can last up to 2 months in the freezer. To reheat, remove them from the freezer and bake directly in an oven at 375°F (190°C) for about 15-20 minutes, or until everything is heated through.
What toppings can I add to customize my Smashburger Quesadillas?
The more, the merrier! Feel free to get creative with your toppings. You can try adding avocado slices, sautéed onions and peppers, or even different cheeses like gouda or mozzarella. Always remember to layer the toppings in moderation to ensure they cook evenly and stay inside the quesadilla.
Are Smashburger Quesadillas kid-friendly?
Very! This recipe is designed to be fun and engaging for kids. The handheld format and familiar flavors of burgers wrapped in a crispy tortilla make them appealing. You can even let your children help customize their quesadillas with toppings, making it a fun family cooking activity.
How do I prevent the tortillas from cracking when making Smashburger Quesadillas?
To prevent cracking, always warm the tortillas slightly before folding them. You can do this in the microwave for about 10-15 seconds or by briefly placing them in a hot skillet. This step helps keep the tortillas pliable, ensuring that your quesadillas maintain their structural integrity while cooking.
Smashburger Quesadillas: Your New Favorite Weeknight Treat
Ingredients
Equipment
Method
- Begin by preheating a large, well-oiled cast iron skillet or griddle over medium-high heat for about 5 minutes.
- While the skillet heats, form the ground beef into thin patties about ¼ inch thick, then place them on the skillet and smash them down gently.
- Cook the patties for 3-4 minutes until crispy and browned, then remove from the skillet.
- Assemble your quesadillas by placing one tortilla on the skillet, topping it with a cooked patty, cheese, and optional toppings, then cover with another tortilla.
- Cook the quesadillas for 3-4 minutes on one side until golden brown, then flip and cook for another 3-4 minutes until crispy and cheese is melted.
- Remove the quesadillas, let sit for a minute, slice into wedges, and serve immediately.
Leave a Reply