
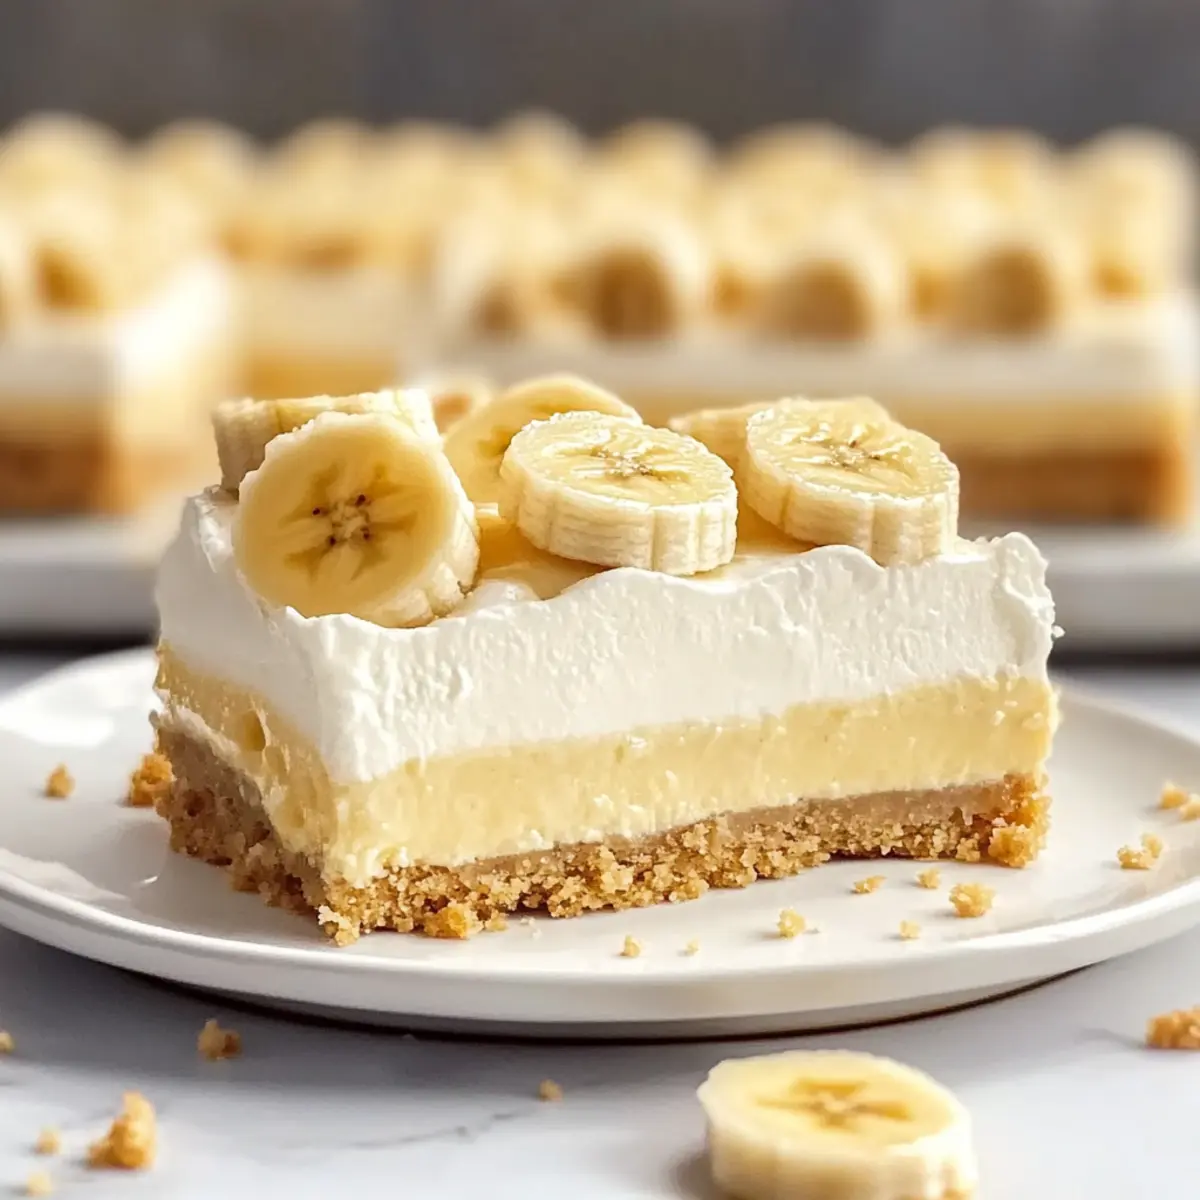
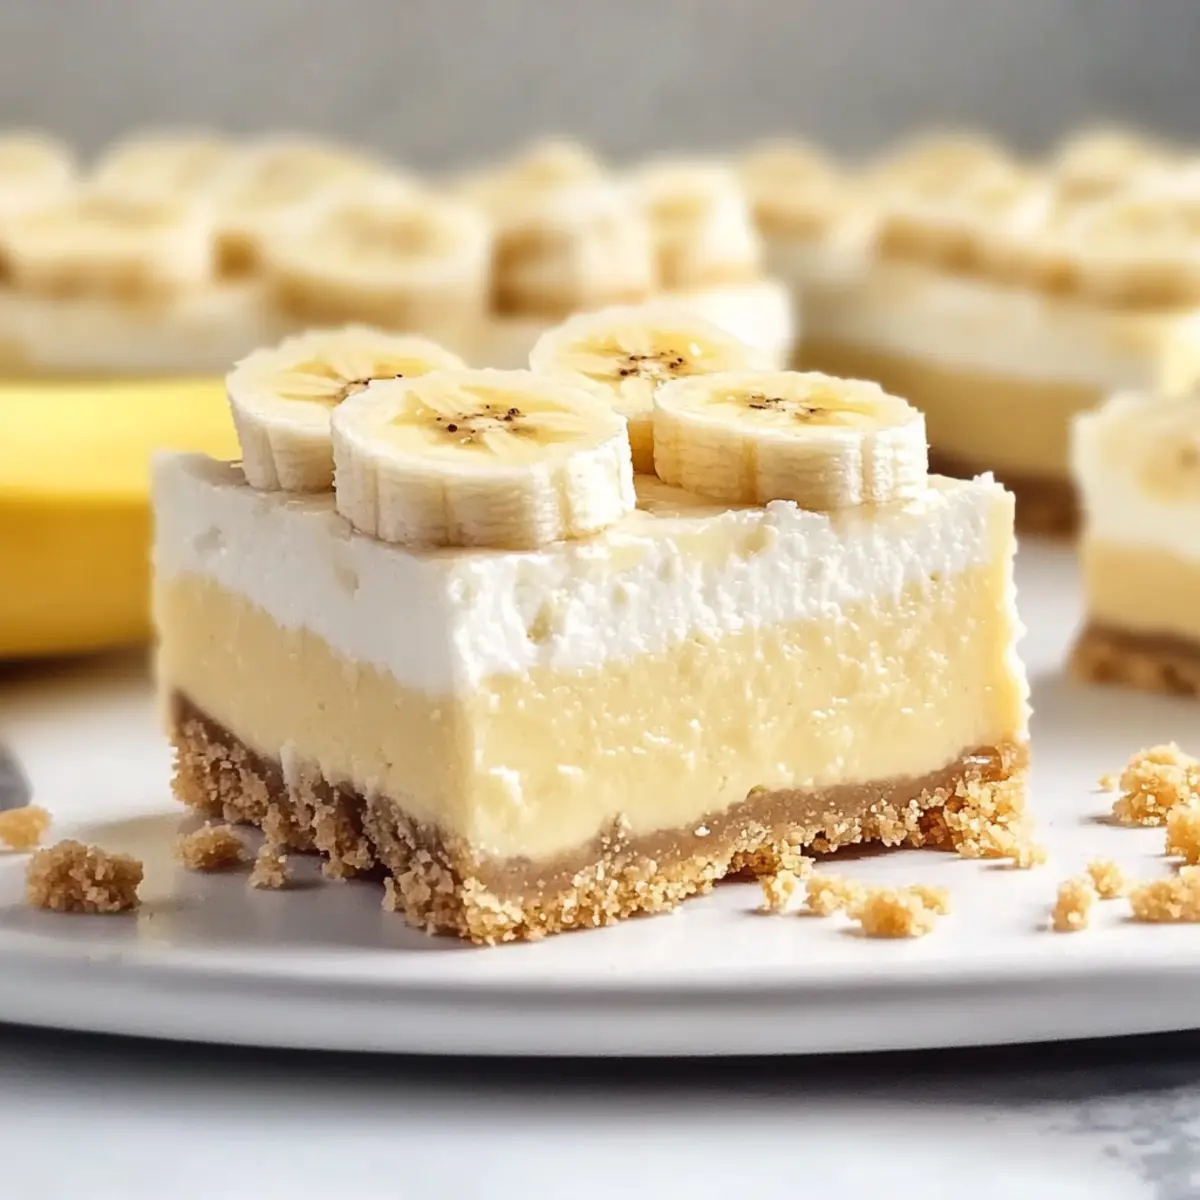
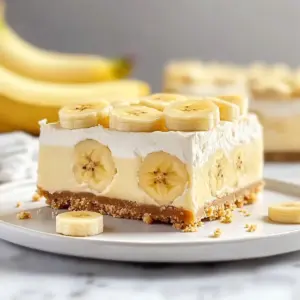
The aroma of fresh bananas dances through the kitchen, beckoning me to create something special. Today, I’m thrilled to share my Creamy No-Bake Banana Pudding Cheesecake Bars—a luscious treat that effortlessly merges the classic charm of banana pudding with the creamy indulgence of cheesecake. What I adore most about this recipe is its easy, no-bake nature, making it a lifesaver for those busy days when I crave something delightful without spending hours in the kitchen. Plus, these bars are a guaranteed crowd-pleaser, perfect for everything from family gatherings to that special coffee catch-up with friends. Ready to dive into this delicious simplicity? Let’s whip up some joy with these Banana Pudding Cheesecake Bars!
Why Are These Bars So Irresistible?
Creamy Indulgence: The blend of cheesecake and banana pudding creates a delightful harmony that will have your taste buds singing.
No-Bake Convenience: Skip the oven, saving time and energy while still impressing your guests with a stunning dessert.
Versatile Flavors: Feel free to mix and match! Try different flavored pudding or fruit toppings, like in my One Bowl Banana Bread when you’re looking for variety.
Crowd-Pleasing Sweetness: Perfect for potlucks or casual gatherings—everyone loves a dessert that brings smiles!
Simple Ingredients: Made with pantry staples, you won’t need to hunt down exotic components. And if you enjoy creamy desserts, check out my Spice Cheesecake Bars for another delicious treat!
Quick Assembly: Whip them up in no time and refrigerate until ready to serve—ideal for those last-minute entertaining moments!
Banana Pudding Cheesecake Bars Ingredients
For the Crust
• Crushed Vanilla Wafers – Provides the base crust that adds sweetness and crunch. Substitution: Graham cracker crumbs can be used for a different flavor.
• Granulated Sugar – Enhances sweetness and balances flavors in the crust and filling. Substitution: Honey or agave syrup can be used but may alter the texture slightly.
• Salted Sweet Cream Butter – Binds the crust ingredients together and enhances flavor. Substitution: Unsalted butter with a pinch of salt can be used.
For the Filling
• Cream Cheese – The main filling ingredient that creates a creamy texture. Substitution: Vegan cream cheese can be used for a dairy-free option.
• Banana Cream Instant Pudding Mix – Contributes flavor and thickens the filling. Substitution: Vanilla pudding mix can be used for a milder flavor.
• Whipped Topping – Adds lightness and creaminess to the filling and is used for the garnish. Substitution: Dairy-free whipped topping is available for vegan adaptations.
• Half and Half Cream – Helps achieve a smooth pudding consistency. Substitution: Non-dairy milk such as almond or oat milk can replace half and half for a lighter, non-dairy alternative.
For the Garnish
• Fresh Bananas – Used for garnish, providing natural sweetness. Note: Brush banana slices with lemon juice briefly to prevent browning.
• Crushed Vanilla Wafer Crumbs (for garnish) – Adds texture and decoration.
Get ready to dive into the creamy goodness of these Banana Pudding Cheesecake Bars!
Step‑by‑Step Instructions for Banana Pudding Cheesecake Bars
Step 1: Prepare the Crust
Begin by crushing 2 cups of vanilla wafers into fine crumbs using a food processor or a rolling pin. In a mixing bowl, combine the crushed wafers with granulated sugar and melted salted butter until the mixture is well blended. Press this crust mixture firmly into the bottom of a 9×13 inch pan, ensuring an even layer. Refrigerate while you prepare the filling, allowing it to set for at least 15 minutes.
Step 2: Make the Filling
In a large bowl, beat 8 ounces of softened cream cheese with 1/2 cup of granulated sugar until the mixture is smooth and creamy, which should take about 2-3 minutes. In a separate bowl, whisk together the banana cream instant pudding mix with 2 cups of half and half until it thickens, approximately 2 minutes. Gently fold the pudding mixture into the cream cheese until fully combined, then fold in 1 cup of whipped topping until light and airy.
Step 3: Assemble Bars
Carefully spread the creamy filling over the chilled crust, leveling the top with a spatula. Cover the pan with plastic wrap, making sure it’s sealed tight to prevent moisture. Place the assembled Banana Pudding Cheesecake Bars in the refrigerator for at least 4 hours, or even better, overnight, to allow them to set completely for a perfect slice.
Step 4: Garnish
Once the bars are fully set, remove them from the refrigerator. Spread an even layer of remaining whipped topping on top of the filling for an enticing creaminess. Optionally, create pretty swirls with the whipped topping for a decorative touch. Finally, top with freshly sliced bananas and a sprinkle of crushed vanilla wafer crumbs to add texture and visual appeal before serving.
How to Store and Freeze Banana Pudding Cheesecake Bars
Fridge: Store leftover Banana Pudding Cheesecake Bars in an airtight container for up to 3 days. This helps maintain their creaminess and freshness.
Freezer: If you want to keep them longer, wrap individual bars tightly in plastic wrap, then place in a freezer-safe container. They can be frozen for up to 2 months.
Thawing: To enjoy, thaw the bars in the fridge overnight before serving. This preserves texture and flavor beautifully.
Reheating: These bars are best enjoyed cold, so avoid reheating to maintain their delightful creamy consistency.
What to Serve with Banana Pudding Cheesecake Bars
The perfect meal deserves equally delightful accompaniments to elevate the entire dining experience.
-
Creamy Mashed Potatoes: Their buttery flavor and smooth texture offer a comforting contrast to the lightness of the bars. Ideal for a balanced meal!
-
Grilled Chicken Salad: Crisp greens and juicy chicken provide a refreshing, savory option that complements the dessert’s sweetness, making it a fantastic light meal.
-
Chocolate Ice Cream: A rich scoop pairs beautifully, with the luscious chocolate contrasting the delicate banana cream, creating a harmonious clash of flavors.
-
Fresh Fruit Salad: Bright and vibrant, a medley of seasonal fruits adds a refreshing touch and balances the richness of the cheesecake bars.
-
Homemade Lemonade: This zesty drink brings a burst of fresh flavor, tying together the creamy bars with its bright, citrusy notes.
-
Coffee or Espresso: A warm cup acts as the perfect counterpart, cutting through the sweetness while enhancing the dessert’s rich banana flavor.
-
Peanut Butter Cookies: Adding a nutty crunch, these cookies introduce a delightful new texture and flavor, perfect alongside the luscious texture of the cheesecake bars.
-
Mini Cheesecake Bites: For the cheesecake lovers, these petite delights mimic the main dessert but add variety, creating a tower of temptations for your gathering!
-
Vanilla Yogurt: With its creamy, tangy notes, yogurt acts as a light option that complements the sweetness of the bars without overwhelming the palate.
Banana Pudding Cheesecake Bars Variations
Feel free to unleash your creativity and personalize these delectable bars with these tempting twists!
-
Dairy-Free: Substitute cream cheese with vegan cream cheese and use dairy-free whipped topping for a delicious dairy-free alternative. You’ll enjoy all the creamy goodness without compromising flavor!
-
Flavored Pudding Mix: Experiment with different instant pudding flavors like coconut or chocolate to give your bars a unique flair. Coconut will add a tropical touch, while chocolate elevates the decadence!
-
Fruit Alternatives: Change things up by using other fruits like strawberries or peaches instead of bananas for a refreshing seasonal delight. Each fruit offers its own unique flavor profile that can brighten your dessert.
-
Nutty Crunch: Mix in chopped nuts like pecans or walnuts into the crust for an added crunch. This adds texture and a delightful nutty flavor that pairs beautifully with the creamy filling.
-
Chocolate Swirl: Add a mesmerizing chocolate swirl by melting some chocolate chips and drizzling them through the filling before it sets. It not only enhances the look but also takes the flavor to another level!
-
Caramel Drizzle: Top your finished bars with a generous drizzle of caramel sauce for a rich, sweet finish that will have everyone coming back for seconds. The combination of banana and caramel is simply divine!
-
Peanut Butter Infusion: Blend some creamy peanut butter into the filling for a touch of nutty goodness. This addition pairs harmoniously with bananas, creating a nostalgic flavor that reminds us of the beloved peanut butter banana sandwich.
While you’re embracing these variations, don’t forget to check out my Chocolate Chip Banana Bread and Butterscotch Bars Trisha for more ways to enjoy your favorite flavors! Enjoy the journey in your kitchen and let these bars become your canvas for creativity!
Expert Tips for Banana Pudding Cheesecake Bars
-
Cream Cheese Preparation: Ensure your cream cheese is fully softened at room temperature; this prevents lumps and creates a smooth filling texture.
-
Chill the Crust: Refrigerate the crust before adding the filling. This helps it hold together better, avoiding a crumbly base when cutting the bars.
-
Gentle Folding: When mixing in the whipped topping, fold gently to retain its airy texture. This ensures a light and creamy filling that melts in your mouth.
-
Fresh Bananas Care: To avoid browning, brush banana slices with a little lemon juice right after cutting. This keeps your bars looking fresh and appetizing.
-
Timing for Best Flavor: For maximum flavor and texture, allow the bars to set in the refrigerator for at least 4 hours, but overnight is even better!
Make Ahead Options
These Creamy No-Bake Banana Pudding Cheesecake Bars are a fantastic option for meal prep! You can prepare the crust and filling up to 24 hours in advance, allowing you to enjoy this indulgent dessert without the fuss on the day of serving. Start by making the crust and pressing it into the pan, then whip up the filling and layer it on top. Cover the assembled bars tightly with plastic wrap and refrigerate overnight or for at least 4 hours prior to serving. This not only saves you time but also allows the flavors to meld beautifully. Just before serving, add the whipped topping, bananas, and crushed wafers for that perfect finishing touch—deliciousness with minimal effort!

Banana Pudding Cheesecake Bars Recipe FAQs
How do I choose ripe bananas for this recipe?
Absolutely! When selecting bananas, look for ones that are slightly speckled—this means they’re just ripe enough for sweetness but not overly soft. Avoid bananas with dark spots all over, as they may be too mushy and could affect the texture of your bars.
What’s the best way to store leftover Banana Pudding Cheesecake Bars?
To keep your bars fresh, store them in an airtight container in the refrigerator. They will stay good for up to 3 days. Make sure to cover them tightly to avoid any absorption of other odors from the fridge!
Can I freeze Banana Pudding Cheesecake Bars?
Very! To freeze, wrap individual bars tightly in plastic wrap and place them in a freezer-safe container or bag. They can be stored for up to 2 months. When you’re ready to enjoy them, simply thaw the bars in the fridge overnight—this helps preserve their creamy texture and flavor.
What should I do if my filling seems too runny?
If your filling seems runny, it may not have thickened enough. To troubleshoot, mix your pudding for a little longer, ensuring it’s fully thickened before folding it into your cream cheese mixture. Additionally, allowing the bars to chill for a longer period could also help firm up the filling.
Are these bars suitable for people with allergies?
If someone has a dairy allergy, consider using dairy-free alternatives like vegan cream cheese and whipped topping. Always double-check labels, as some graham crackers and vanilla wafers may contain allergens. It’s essential to modify the recipe based on individual dietary needs for maximum enjoyment!

Delicious No-Bake Banana Pudding Cheesecake Bars Recipe
Ingredients
Equipment
Method
- Begin by crushing 2 cups of vanilla wafers into fine crumbs using a food processor or a rolling pin. In a mixing bowl, combine the crushed wafers with granulated sugar and melted salted butter until the mixture is well blended. Press this crust mixture firmly into the bottom of a 9x13 inch pan, ensuring an even layer. Refrigerate while you prepare the filling, allowing it to set for at least 15 minutes.
- In a large bowl, beat 8 ounces of softened cream cheese with 1/2 cup of granulated sugar until the mixture is smooth and creamy, which should take about 2-3 minutes. In a separate bowl, whisk together the banana cream instant pudding mix with 2 cups of half and half until it thickens, approximately 2 minutes. Gently fold the pudding mixture into the cream cheese until fully combined, then fold in 1 cup of whipped topping until light and airy.
- Carefully spread the creamy filling over the chilled crust, leveling the top with a spatula. Cover the pan with plastic wrap, making sure it's sealed tight to prevent moisture. Place the assembled Banana Pudding Cheesecake Bars in the refrigerator for at least 4 hours, or even better, overnight, to allow them to set completely for a perfect slice.
- Once the bars are fully set, remove them from the refrigerator. Spread an even layer of remaining whipped topping on top of the filling for an enticing creaminess. Optionally, create pretty swirls with the whipped topping for a decorative touch. Finally, top with freshly sliced bananas and a sprinkle of crushed vanilla wafer crumbs to add texture and visual appeal before serving.
Leave a Reply