
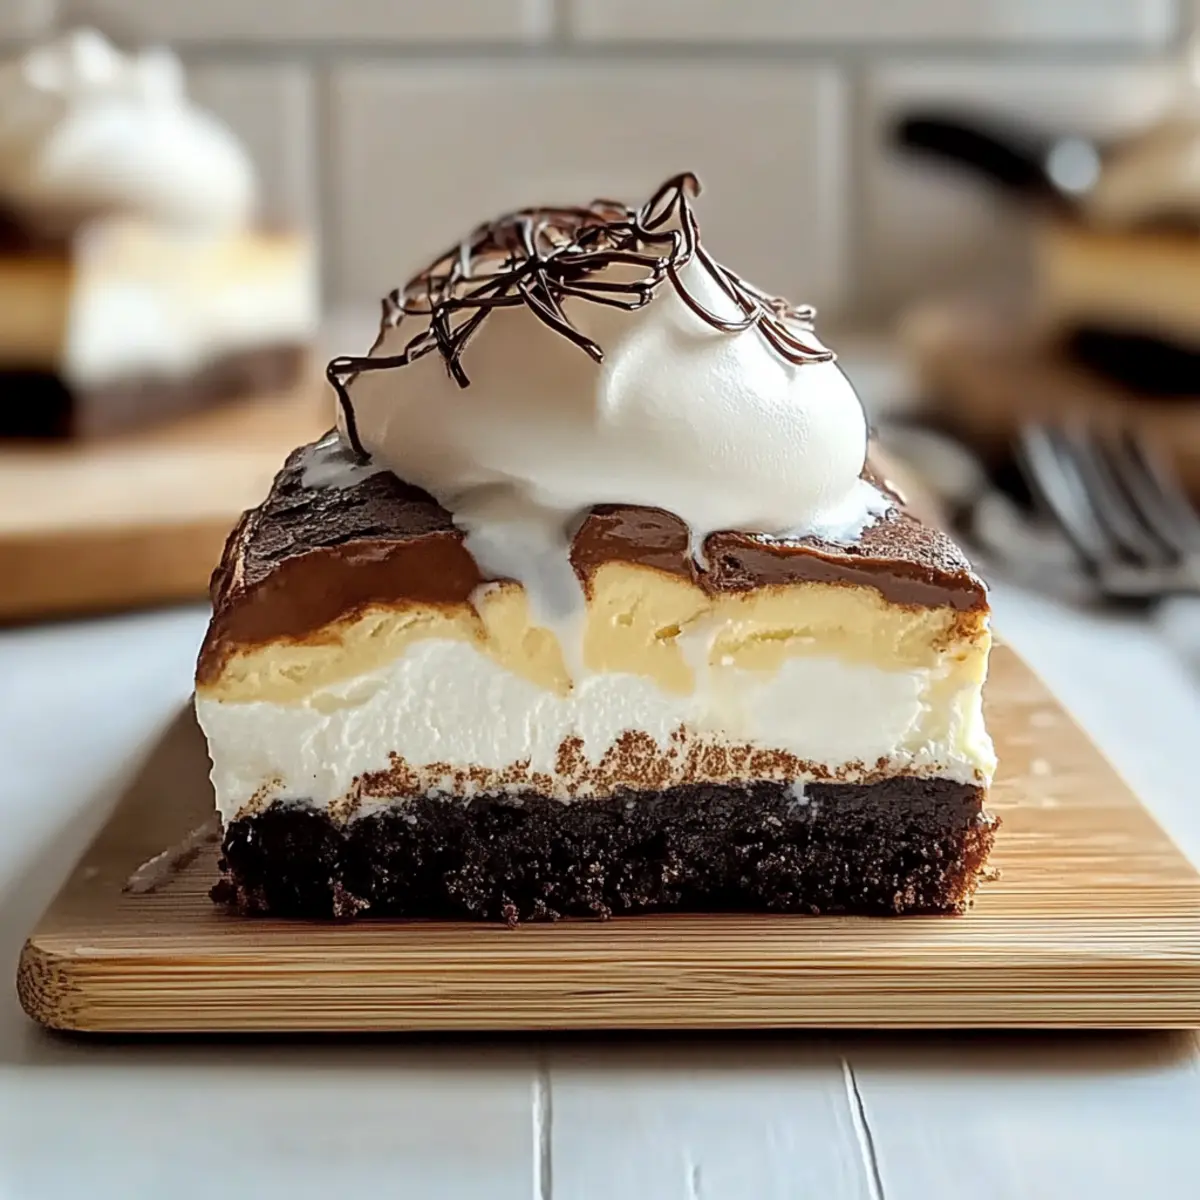
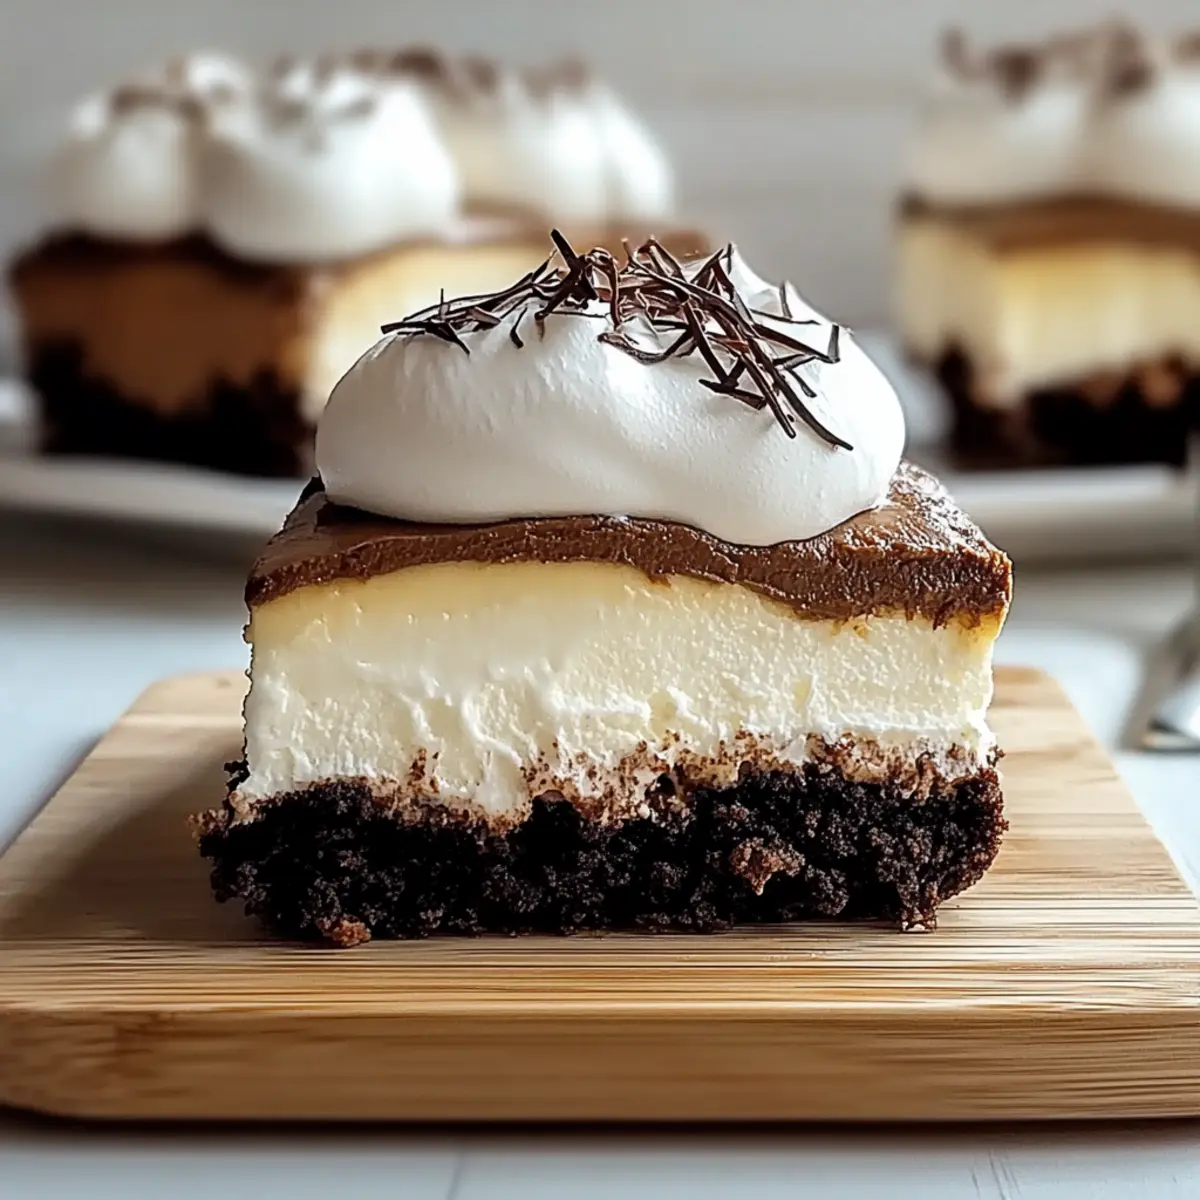
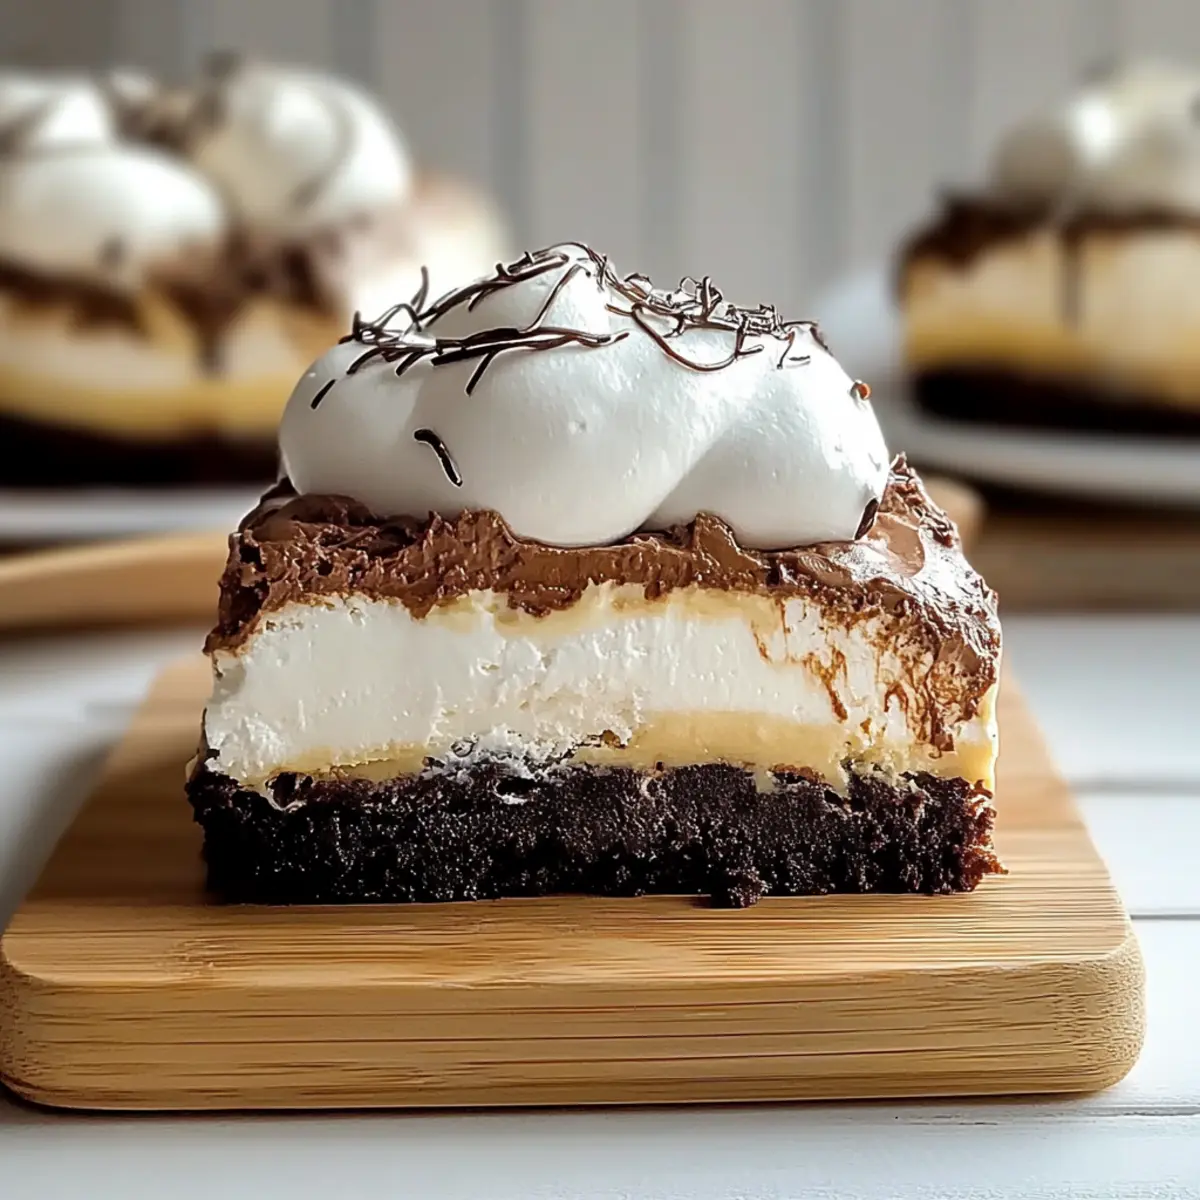
As I pulled the Brownie Baked Alaska from the oven, the sugary aroma enveloped me like a warm hug, transporting me back to childhood celebrations. This whimsical dessert combines fudgy chocolate brownies with rich and creamy ice cream, all encased in a fluffy, golden meringue—a delightful contrast that never fails to impress. Not only does this recipe deliver on the nostalgia factor, but it also allows for quick prep, making it perfect for entertaining or indulging in a cozy night at home. Whether you’re hosting a dinner party or simply treating yourself, your taste buds are in for a blissful ride. Ready to dive into this creamy, crispy wonder? Let’s get baking!
Why is Brownie Baked Alaska a must-try?
Uniquely Decadent: The fusion of fudgy brownies and creamy ice cream creates an extraordinary dessert that stands out at any gathering.
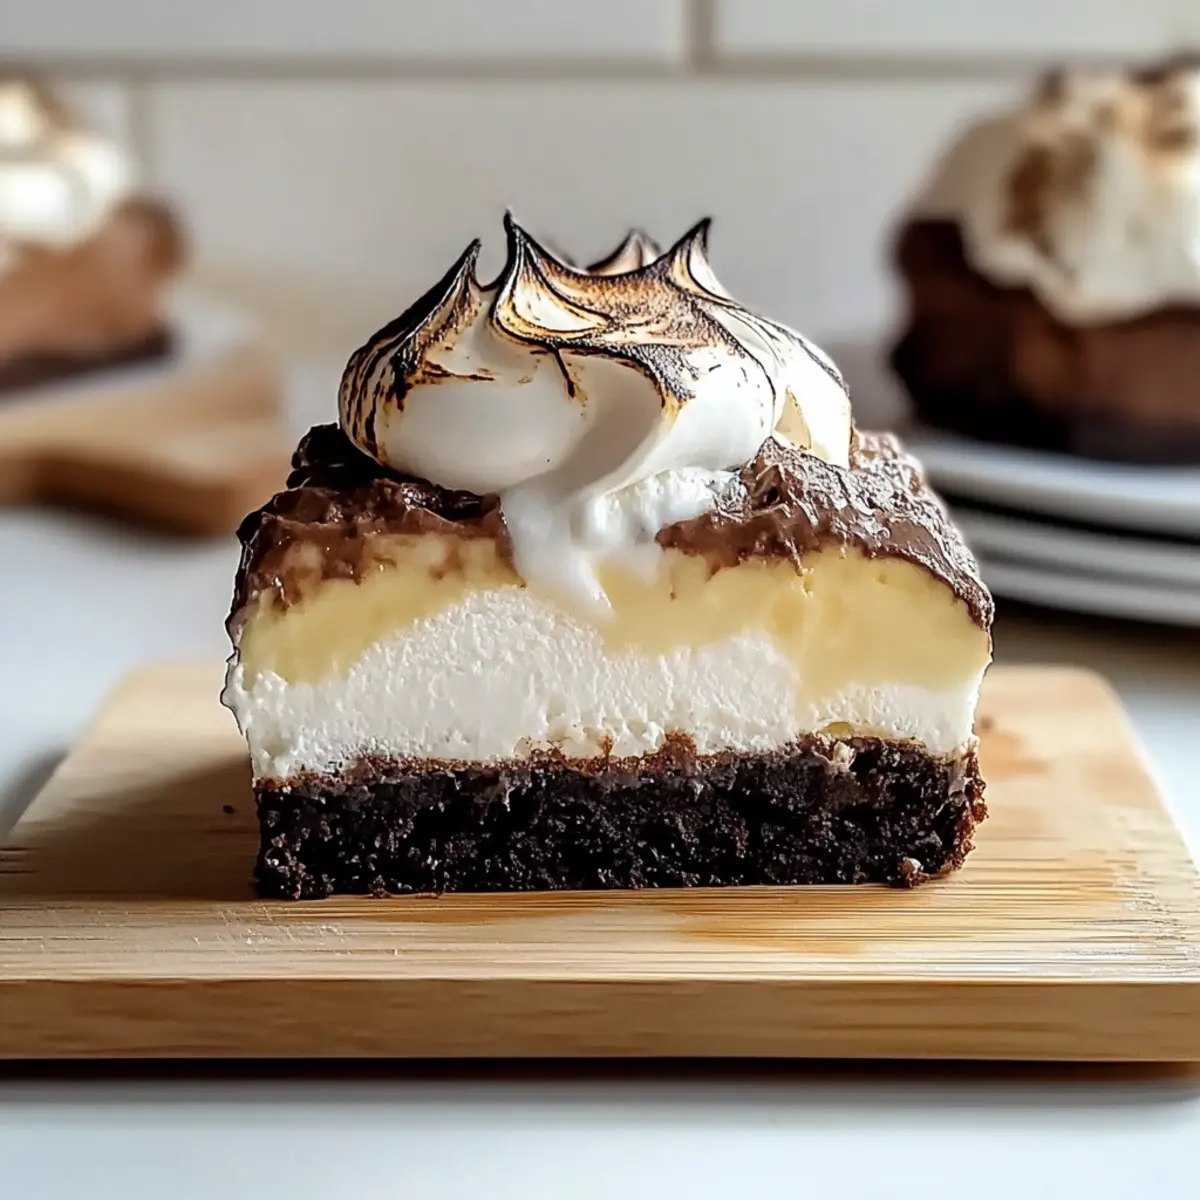
Eye-Catching Presentation: When you slice into the toasty meringue, it provides a stunning visual that will impress your guests.
Comforting and Nostalgic: This dessert evokes warm memories while bringing a modern twist, making it a hit with everyone.
Flexible Flavor Options: Feel free to switch up the ice cream flavors—coffee, mint chocolate chip, or even fruit purees for a fun variation!
Quick and Easy Prep: With simple steps, you can whip up this delicious treat without spending all day in the kitchen. For more comforting dishes, check out my Creamiest Baked Mashed or Crockpot Loaded Baked recipes!
Brownie Baked Alaska Ingredients
Discover the delightful components of a Brownie Baked Alaska!
For the Brownie Base
- Unsalted Butter – Adds richness and moisture to the brownie base; consider using dairy-free butter for a vegan option.
- Granulated Sugar – Sweetens the brownie, enhancing its fudgy texture; brown sugar can be used for a deeper flavor.
- Cocoa Powder – Provides the chocolate flavor in the brownies; opt for Dutch-processed cocoa for a richer taste.
- Eggs – Bind the brownie ingredients together for structure; flax eggs can replace eggs for a vegan alternative.
- All-Purpose Flour – Gives the brownie its structure; gluten-free flour can be used for a gluten-free version.
For the Ice Cream Layer
- Your Favorite Ice Cream (vanilla recommended) – This creamy layer contrasts beautifully with the brownie; try flavors like coffee or mint for a unique twist.
For the Meringue Topping
- Egg Whites – Create a light and fluffy meringue topping; aquafaba can serve as a vegan substitute.
- Cream of Tartar – Stabilizes the egg whites in the meringue; use lemon juice as an alternative if needed.
- Powdered Sugar – Sweetens and adds structure to the meringue.
Step‑by‑Step Instructions for Brownie Baked Alaska
Step 1: Prepare the Oven and Pan
Begin by preheating your oven to 350°F (175°C). While it warms, grease an 8-inch square baking pan with butter or cooking spray to ensure your brownies come out easily. A well-greased surface will allow the fudgy brownies to release effortlessly, creating a lovely base for your Brownie Baked Alaska.
Step 2: Make Brownie Batter
In a medium saucepan, melt unsalted butter over low heat, then whisk in granulated sugar and cocoa powder until well combined. Remove from heat and let it cool for a few minutes. Once slightly cooled, add in the eggs, mixing well, then fold in the all-purpose flour until just combined—no need to overmix! This will give your brownies their perfect fudgy texture.
Step 3: Bake Brownies
Pour the brownie batter into your prepared pan, spreading it evenly with a spatula. Place it in the preheated oven and bake for 25 minutes. To check for doneness, insert a toothpick into the center; it should come out with a few moist crumbs clinging to it. Once baked, remove from the oven and let cool completely in the pan.
Step 4: Layer Ice Cream
Once the brownies are cool, take your favorite ice cream and spread it evenly over the brownie layer using a spatula. Make sure to cover the surface completely for a delightful bite of cold ice cream in every slice of your Brownie Baked Alaska. Place the pan in the freezer for at least one hour to allow the ice cream to firm up.
Step 5: Prepare Meringue
In a clean mixing bowl, beat egg whites using an electric mixer on medium speed until soft peaks form—this should take about 2-3 minutes. Gradually add cream of tartar and powdered sugar while continuing to beat until stiff peaks form, which will take another 3-5 minutes. This fluffy meringue will create a beautiful topping for your dessert.
Step 6: Assemble and Toast
Carefully spread the prepared meringue over the frozen ice cream layer, ensuring you cover all edges to protect the ice cream from melting. Use a spatula to create peaks for an attractive finish. Preheat your oven to broil, then place the dessert on the middle rack for about 1-2 minutes, watching closely until the meringue turns golden brown.
Step 7: Serve and Savor
Once the meringue is nicely toasted, remove your Brownie Baked Alaska from the oven. Let it rest for a minute before slicing to maintain structure. Cut into generous pieces to reveal the beautiful layers within and serve immediately for the perfect contrast of hot, fluffy meringue and cold, creamy ice cream!
Make Ahead Options
These Brownie Baked Alaskas are perfect for meal prep enthusiasts! You can prepare the brownie base up to 24 hours in advance, simply bake and let it cool completely before covering it tightly to refrigerate. Additionally, the ice cream layer can be spread on top of the brownies and frozen for up to 3 days, ensuring it stays solid and creamy. To maintain quality, make sure to wrap them well to prevent freezer burn. When you’re ready to serve, spread the meringue on top and toast it in the oven for 1-2 minutes just before serving; this way, you’ll enjoy that glorious contrast of warm, fluffy meringue over cold ice cream, all with minimal last-minute effort!
Expert Tips for Brownie Baked Alaska
-
Cool Brownies First: Ensure the brownies are completely cooled before adding ice cream to prevent melting and maintain texture.
-
Quality Ice Cream Matters: Using high-quality ice cream elevates the flavor of your Brownie Baked Alaska, creating a more decadent experience.
-
Meringue Timing: Work quickly when spreading the meringue to avoid the ice cream softening; this ensures stunning presentation when sliced.
-
Don’t Rush Baking: Allow the brownies to bake fully for the best fudgy texture. A toothpick should come out with moist crumbs, not wet batter.
-
Perfect Toasting: Keep a close eye when broiling the meringue; it can brown quickly. You want it lightly toasted for the ideal flavor contrast!
-
Rest Before Slicing: Let the dessert rest for a minute after baking before slicing to maintain the structure of the layers in your Brownie Baked Alaska.
Brownie Baked Alaska Variations
Feel free to get creative with your Brownie Baked Alaska, adding personal touches that tantalize your taste buds!
-
Different Ice Creams: Choose flavors like mint chocolate chip or coffee to give your dessert a unique spin, enhancing the flavor palette with something fresh.
-
Fruit Layers: Add a layer of fruit puree or mixed berries between the brownie and ice cream for a burst of fruitiness and color. It will not only taste great but also offer a delightful contrast.
-
Nutty Crunch: Sprinkle chopped nuts like walnuts or pecans on top of the ice cream before adding the meringue for an added layer of texture and nuttiness.
-
Dairy-Free Option: Swap out butter for a dairy-free alternative and use dairy-free ice cream for a delicious, vegan-friendly rendition that everyone can enjoy.
-
Spiced Brownies: Enhance the brownie batter with spices like cinnamon or espresso powder for a deeper flavor profile that adds a surprising touch.
-
Quick Mix Swap: In a pinch? Use a ready-made brownie mix to simplify the process and enjoy your treat sooner. Just make sure to follow the package instructions closely!
-
Chocolate Ganache Drizzle: Drizzle a rich chocolate ganache over the toasted meringue for an additional layer of indulgence that chocolate lovers will adore.
-
Mini Baked Alaskas: Create individual portions by baking brownie bites in muffin tins, layering with ice cream, and topping with meringue for cute, bite-sized treats!
For a comforting side, consider serving your Brownie Baked Alaska with fresh fruit or a drizzle of chocolate sauce. If you’re looking for more delightful desserts, my recipe for Baked Eggs Florentine might just inspire your next culinary adventure!
What to Serve with Brownie Baked Alaska?
As you savor the sweet and crunchy delight of your Brownie Baked Alaska, create an enchanting meal experience with perfectly paired sides and desserts.
-
Fresh Berries: Juicy, vibrant berries like strawberries or raspberries brighten the plate, adding a tart balance to the richness of the dessert. Their refreshing taste complements the fudgy chocolate beautifully.
-
Vanilla Bean Ice Cream: For those who crave extra indulgence, a scoop of pure, creamy vanilla bean ice cream alongside enhances the dessert experience, appealing to both warmth and chill.
-
Chocolate Sauce: A luscious drizzle of warm chocolate sauce provides an extra depth of rich chocolate flavor, enhancing every delectable bite of the brownie and ice cream.
-
Coffee or Espresso: A strong coffee or espresso at the end of the meal cuts through the sweetness while elevating the flavors of the chocolate. The warmth of the beverage brings comforting familiarity too.
-
Whipped Cream: Light and airy whipped cream adds an elegant touch, serving as a cloud-like companion to your dessert. It creates a lovely contrast in texture and a delightful creaminess.
-
Pecan Pie Bars: For a contrasting dessert, try pecan pie bars that offer a nutty, caramel flavor, balancing both textures and sweetness with your Brownie Baked Alaska. A wonderful way to celebrate variety!
-
Mint Tea: A warm cup of refreshing mint tea can cleanse the palate after the rich dessert, providing a fragrant and light finish to your meal.
-
Caramel Drizzle: A slight drizzle of salted caramel elevates the dessert’s sweetness, adding a hint of savory complexity that works harmoniously with the chocolate and ice cream.
-
Cheese Plate: A selection of brie and aged cheddar can create a delightful balance before indulging in dessert, enhancing the overall dining experience with creamy and savory notes.
How to Store and Freeze Brownie Baked Alaska
Fridge: Store unbaked Brownie Baked Alaska in the refrigerator for up to 2 days. Cover tightly with plastic wrap to maintain freshness and moisture.
Freezer: Once assembled, you can freeze the Brownie Baked Alaska before toasting the meringue. Wrap the dessert tightly to prevent freezer burn and keep it for up to 2 weeks.
Reheating: If you’ve toasted the meringue and want to enjoy leftovers, let the dessert sit at room temperature for about 10 minutes before slicing. Do not refreeze after thawing.
Prevent Melting: To keep the ice cream from melting before serving, serve immediately after toasting the meringue for the best experience with this Brownie Baked Alaska.
Brownie Baked Alaska Recipe FAQs
How do I choose the right level of ripeness for my ingredients?
Absolutely! For the best results, use fresh, high-quality ingredients. Your unsalted butter should be soft but not melted, while eggs should be at room temperature for better incorporation into the batter. If you’re using ice cream, ensure it’s not overly soft; a slightly firm texture is ideal for layering over the brownies.
What’s the best way to store leftover Brownie Baked Alaska?
To store, wrap the Brownie Baked Alaska tightly in plastic wrap and keep it in the freezer. It will be best enjoyed within 2 weeks, but it can last for up to a month if well-wrapped. If you’re solely storing just the brownies, they can remain in the fridge for up to 3 days.
Can I freeze my Brownie Baked Alaska?
Certainly! After layering the ice cream on the brownies, cover the dessert tightly with plastic wrap or aluminum foil and freeze it prior to meringue application. This method ensures a beautifully frozen dessert without compromising the layers; it holds up to 2 weeks! Just remember not to freeze after you’ve toasted the meringue.
What should I do if my meringue doesn’t hold its shape?
Very! If your meringue isn’t stable and isn’t holding its shape, it could be a sign that the egg whites weren’t whipped enough or that they contained even a tiny amount of yolk. Make sure your bowl and beaters are completely clean and dry. Whip the egg whites slowly to soft peaks first, then gradually add sugar until you achieve stiff peaks. If you’re still having trouble, try adding a pinch more cream of tartar to help stabilize those egg whites!
Are there any allergy considerations with this recipe?
For sure! This recipe contains common allergens like eggs, dairy, and gluten. If you’re cooking for someone with a gluten allergy, consider using a gluten-free flour blend instead of all-purpose flour. You can also make this dessert vegan by substituting eggs with flax eggs for the brownie and aquafaba for the meringue. Always check your ice cream ingredients for potential allergens, especially if serving to guests.
How long can I keep the assembled Brownie Baked Alaska before serving?
Absolutely! For optimal enjoyment, serve the Brownie Baked Alaska immediately after toasting the meringue. If you need to prepare ahead, you can assemble the dessert without toasting the meringue a day prior to your event. Just wrap it well in the freezer and then toast the meringue fresh when ready to serve—the best of both worlds!
Brownie Baked Alaska: A Warm Chocolate Escape Awaits
Ingredients
Equipment
Method
- Preheat your oven to 350°F (175°C) and grease an 8-inch square baking pan.
- Melt unsalted butter in a medium saucepan over low heat, then whisk in granulated sugar and cocoa powder until combined. Let cool slightly.
- Add eggs to the cooled mixture and mix well, then fold in all-purpose flour until just combined.
- Pour brownie batter into the prepared pan and bake for 25 minutes. Let cool completely in the pan.
- Spread your favorite ice cream over the cooled brownies and freeze for at least one hour.
- Beat egg whites with an electric mixer until soft peaks form, then gradually add cream of tartar and powdered sugar until stiff peaks form.
- Spread the meringue over the frozen ice cream layer, creating peaks for decoration. Broil in the oven for 1-2 minutes until golden brown.
- Let the dessert rest for a minute before slicing and serve immediately.
Leave a Reply