
As I stood in my kitchen one afternoon, the warm scent of milk simmering gently on the stove filled the air, reminding me of cherished moments spent savoring homemade delights. Making Easy Homemade Yogurt has become my go-to recipe for a wholesome and creamy treat that elevates any meal. With just two simple ingredients—whole milk and a yogurt starter—you can whip up this rich yogurt without the fuss of a yogurt maker. The best part? You can customize it to your heart’s content, whether you want a touch of honey, a splash of vanilla, or a handful of fresh fruit. This nourishing, gluten-free option is not just a pleasure to eat but a fantastic way to incorporate healthy probiotics into your diet. Ready to transform your pantry and enjoy the pure comfort of homemade yogurt? Let’s dive in!
Why Choose Homemade Yogurt?
Nutritious: Packed with healthy probiotics, this yogurt supports digestive health while being gluten-free!
Customizable: Feel free to add your favorite flavors—think honey, vanilla, or fresh fruit—that make each batch truly unique.
Simple: With just two ingredients and no special equipment, making Easy Homemade Yogurt is a breeze, even for beginners.
Versatile: Use it for breakfast parfaits, smoothies, or enjoy it plain; the possibilities are endless!
Satisfying: The thick, creamy texture mimics that of store-bought Greek yogurt, making it a delightful treat in any dish.
For a quick side, try pairing it with Breakfast Potatoes Morning!
Easy Homemade Yogurt Ingredients
For the Yogurt
- Whole Milk – Provides a rich and creamy texture; whole milk is highly recommended for best results.
- Plain Yogurt (with Live Cultures) – Acts as a starter for fermentation; ensure it contains “live and active cultures” for effective yogurt-making.
Enjoy the process of creating this Easy Homemade Yogurt, where you can add flavors and adapt it to suit your taste!
Step‑by‑Step Instructions for Easy Homemade Yogurt
Step 1: Heat the Milk
In a 4-quart saucepan, pour in the whole milk and place it over medium heat. Stir frequently until the milk reaches a temperature of 180-190°F, which usually takes about 10 minutes. You’ll know it’s ready when tiny bubbles form around the edges and the milk begins to steam.
Step 2: Cool Down the Milk
Once the milk has reached the desired temperature, remove the saucepan from heat and allow it to cool down to 110°F. This cooling process is crucial for creating the perfect environment for fermentation. You can use an instant-read thermometer to monitor the temperature accurately.
Step 3: Mix in the Yogurt Starter
After the milk has cooled, whisk in the plain yogurt that contains live cultures until it’s fully combined. Ensure there are no lumps, as this will help achieve a smooth consistency in your Easy Homemade Yogurt. This step introduces the essential probiotics necessary for fermentation to take place.
Step 4: Incubate the Yogurt
Transfer the milk and yogurt mixture into a clean glass or ceramic container and cover it with a lid or a clean towel. Place the container in an oven that’s turned off but with the light on, allowing it to rest undisturbed. This warm environment should help maintain a temperature between 105-115°F for 10-12 hours, which is ideal for the yogurt to set properly.
Step 5: Chill the Yogurt
Once the fermentation period is complete and your yogurt has thickened, transfer it to the refrigerator for at least 4 hours. This chilling process not only enhances the flavor but also helps solidify the texture. If you prefer thicker yogurt, consider straining it with cheesecloth for 2-4 hours before chilling.
Step 6: Flavor and Serve
After your yogurt has chilled, it’s time to customize your Easy Homemade Yogurt! Stir in your desired sweeteners or flavors such as honey, vanilla extract, or fresh fruits before serving. This versatility makes it a delightful topping for breakfast parfaits, smoothies, or simply enjoyed on its own.
Storage Tips for Easy Homemade Yogurt
- Fridge: Store your Easy Homemade Yogurt in an airtight container in the refrigerator for up to 1-2 weeks to maintain freshness and flavor.
- Freezer: Freezing is not recommended, as it may alter the creamy texture and consistency of the yogurt once thawed.
- Serving Size: Consider portioning out servings before storing; this makes it easier to enjoy without exposing the entire batch to air each time.
- Reheating: Yogurt is best enjoyed chilled; if desired, allow it to sit at room temperature for a few minutes before serving to slightly soften it.
What to Serve with Easy Homemade Yogurt?
Creating a delightful meal involves finding the perfect pairings that enhance the homemade yogurt’s creamy goodness.
-
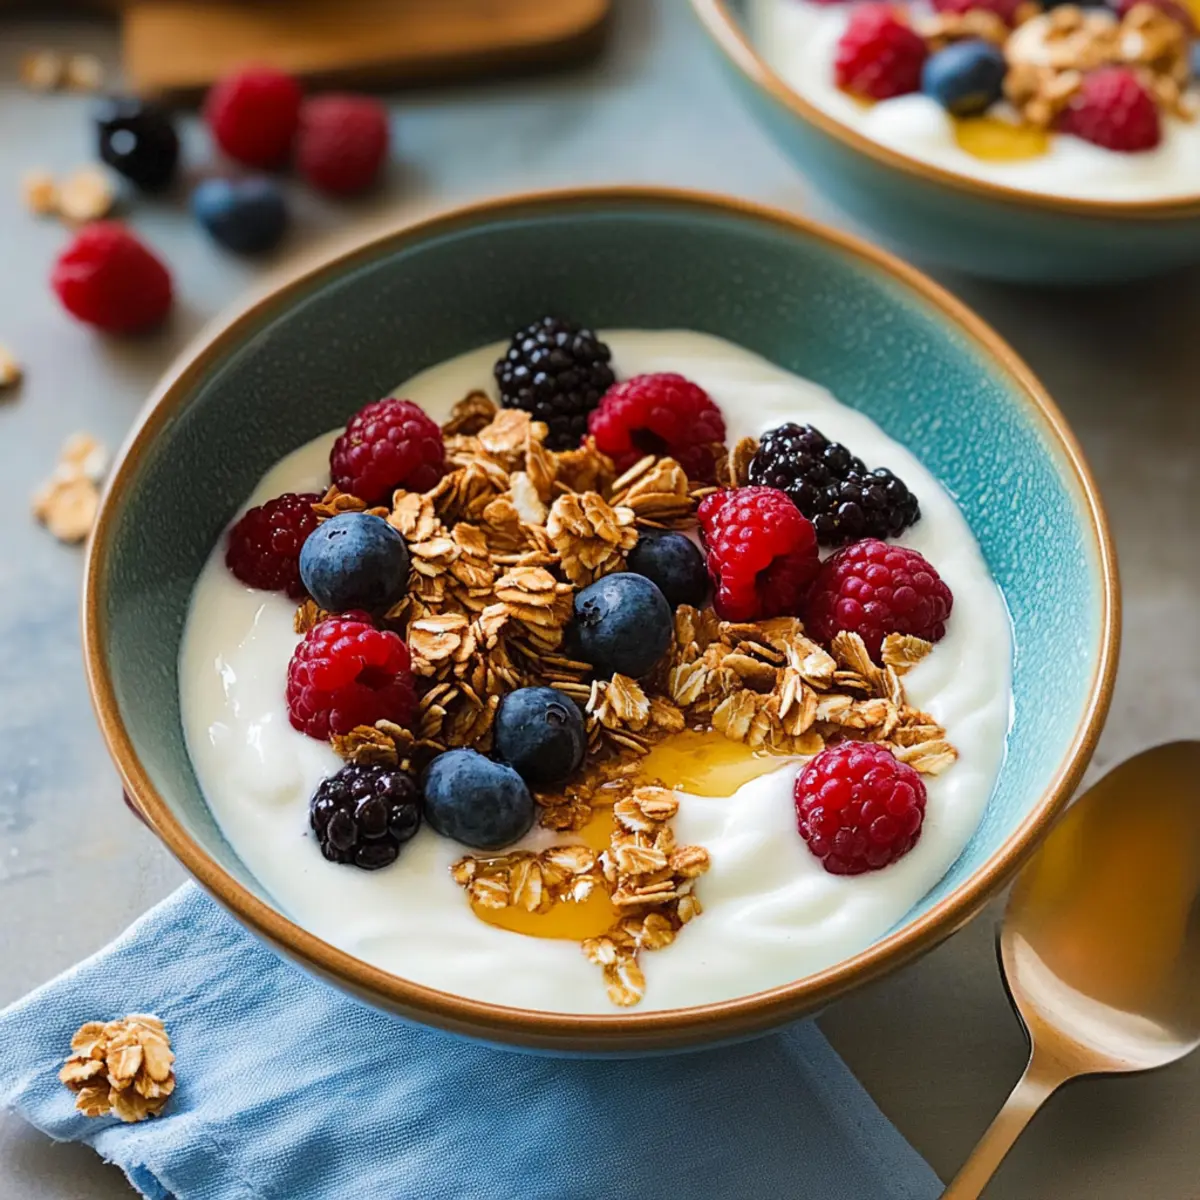
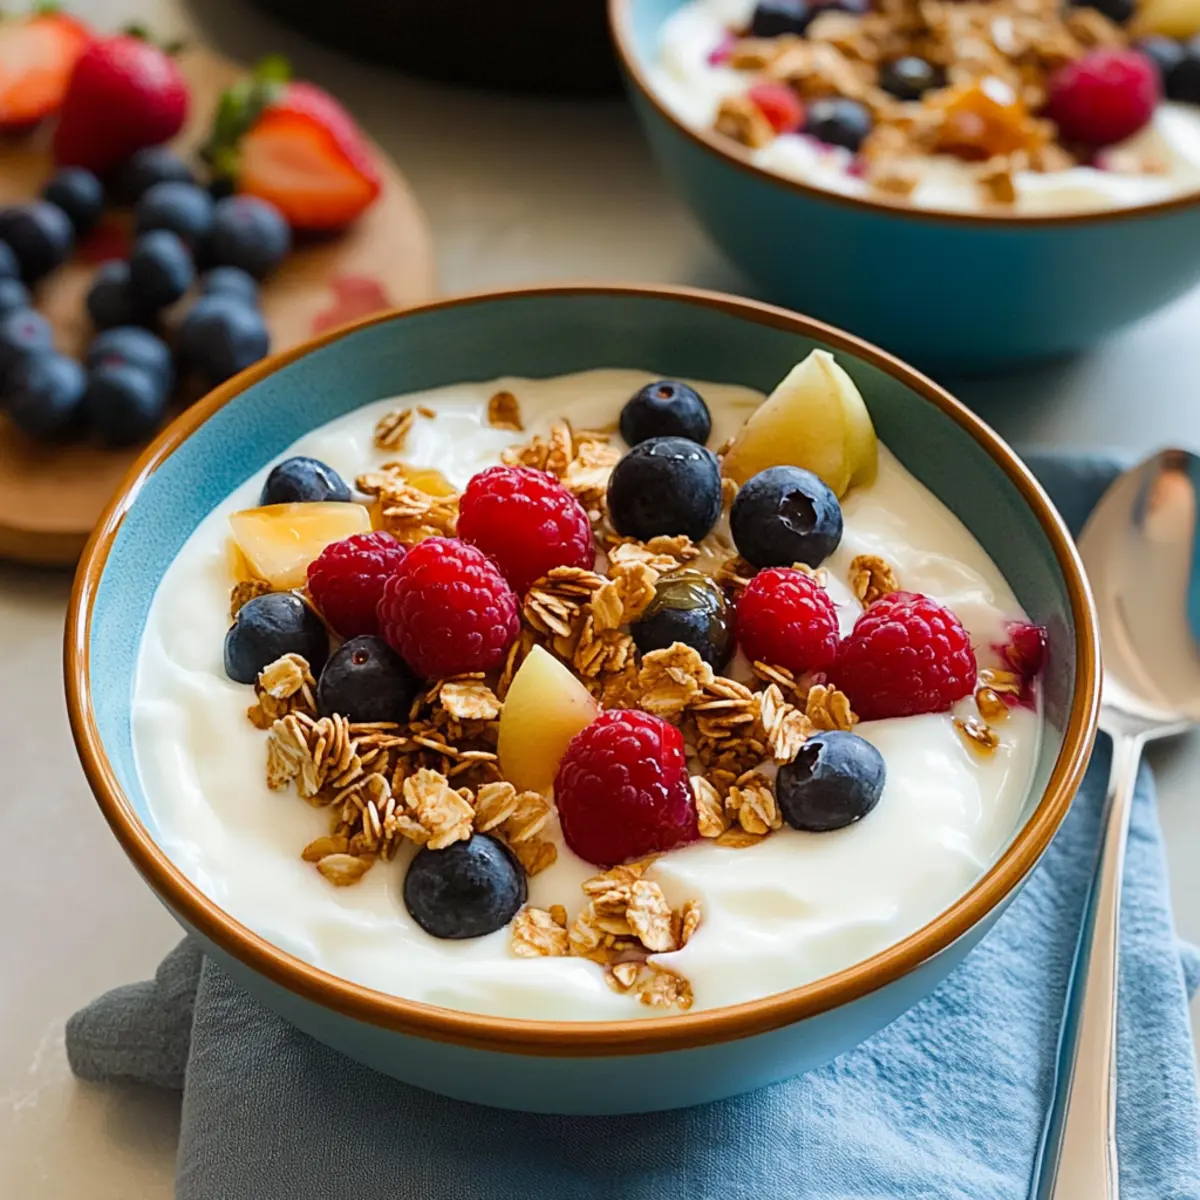
Granola Delight:
Crunchy granola adds a wonderful texture contrast, providing a satisfying crunch that complements the smooth yogurt beautifully. -
Fresh Berries:
Sweet and tangy berries brighten up your yogurt, infusing natural flavor while also adding a burst of vibrant color. Enjoy them mixed in or as a topping! -
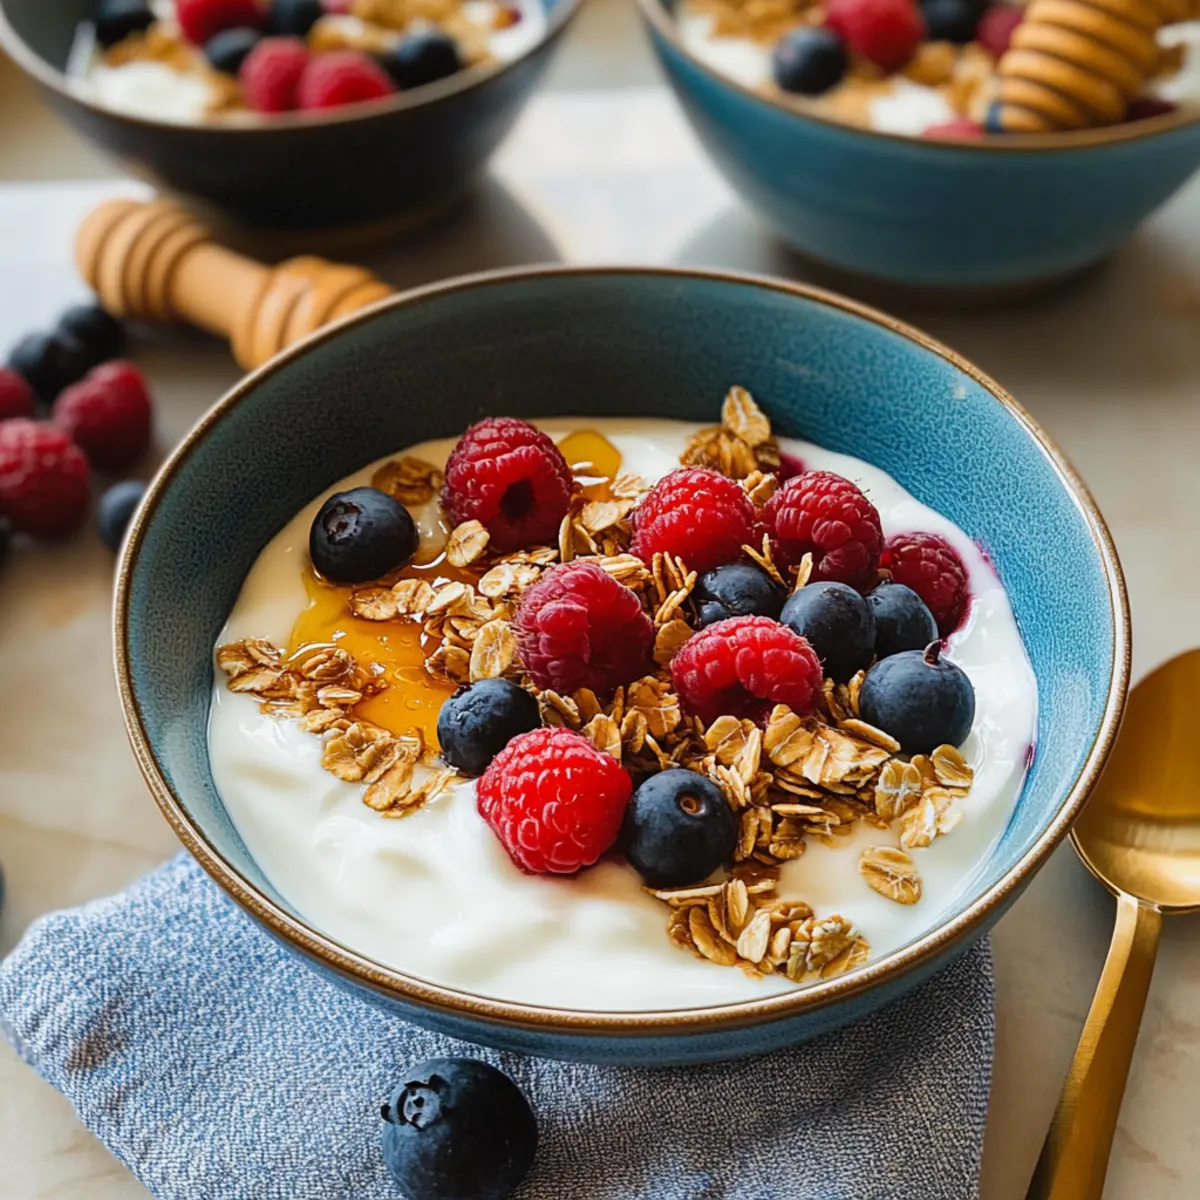
Honey Drizzle:
A drizzle of honey adds a delightful touch of sweetness, enhancing the tanginess of the yogurt for a balanced flavor experience. -
Nut Butter Swirl:
Rich nut butter makes for a heartier snack, adding creamy richness while also boosting protein content. Perfect for a filling breakfast! -
Homemade Smoothies:
Blend your yogurt with fresh fruits for a refreshing smoothie that’s creamy and packed with nutrition. This pairing is perfect for a nutritious on-the-go meal. -
Warm Cinnamon Apples:
The warm, spiced flavor of sautéed apples pairs beautifully with homemade yogurt, creating a comforting dessert or breakfast option. -
Herbed Flatbreads:
Light, savory flatbreads serve as excellent dippers, providing a contrast between flavors while being fantastic for savory yogurt spreads or dips.
Enjoy exploring these pairings for your Easy Homemade Yogurt, crafting a meal that’s not just nutritious but also bursting with flavor!
Make Ahead Options
These Easy Homemade Yogurt are a fantastic option for meal prep, providing delicious and nutritious yogurt ready to enjoy all week long! You can prepare the yogurt mixture (milk and yogurt starter) ahead of time and refrigerate it for up to 24 hours before incubation. Just remember to whisk the yogurt into the cooled milk thoroughly to maintain that creamy texture. Once ready to incubate, simply place the container in an oven with the light on for 10-12 hours for fermentation. After thickening, chill for at least 4 hours, and your Easy Homemade Yogurt will be just as delicious, ready to be sweetened or flavored before serving. By prepping components in advance, you save time during busy mornings, ensuring fresh yogurt at your fingertips!
Easy Homemade Yogurt Variations
Get ready to bring your own flair to this delightful yogurt recipe!
-
Richer Yogurt: Add 1/2 cup of heavy cream to the whole milk to achieve a luxuriously creamy texture. This variation transforms your yogurt into a dessert-worthy treat.
-
Low-Fat Option: Substitute with 2% or 1% milk for a lighter version; be aware it’s creamier but still satisfying. Perfect for those who want to enjoy yogurt while keeping it light!
-
Powdered Milk Boost: Mix in 1/4 cup of dry milk powder to enhance thickness and creaminess, giving it that Greek yogurt feel. This little trick ensures every spoonful is rich and delightful.
-
Flavor Infusion: Whisk in a splash of vanilla extract for a sweet aromatic twist or add honey for natural sweetness. These additions make each bite feel like a special dessert!
-
Fruity Goodness: Stir in fresh fruit like berries or mango chunks right before serving for a fruity burst of flavor. This adds a refreshing twist that brightens up your yogurt.
-
Nutty Crunch: Top your yogurt with nuts or homemade granola for an extra layer of texture and healthy fats. This combination is both satisfying and energizing—perfect for breakfast or a snack!
-
Spiced Delight: Sprinkle a bit of cinnamon or nutmeg for warmth and character that marries beautifully with the tanginess. A cozy twist for chilly evenings!
-
Savory Yogurt: Mix in herbs like dill or chives for a savory yogurt perfect as a dip or sauce. This unexpected take transforms yogurt into a versatile ingredient you’ll love.
Feel free to explore these variations while enjoying a soothing bowl alongside Breakfast Potatoes Morning or a smooth Garlic Pasta as a main dish!
Expert Tips for Easy Homemade Yogurt
-
Temperature Check: Use an instant-read thermometer to ensure the milk reaches the right temperatures for heating and cooling, helping achieve that creamy texture in your Easy Homemade Yogurt.
-
Oven Control: Keep your oven temperature between 105-115°F during incubation. If it’s too hot, it can kill the cultures; if too cool, the yogurt won’t set properly.
-
Seed Starter: Choose plain yogurt with “live and active cultures.” Avoid flavored yogurts, as they may contain additives that can hinder fermentation.
-
Straining Technique: For thicker yogurt, strain with a cheesecloth or fine sieve for 2-4 hours after chilling. This step can elevate the richness and emulate Greek yogurt.
-
Flavor Gradually: Flavor your yogurt after setting rather than during the mixing process. This way, you can customize servings and extend its shelf life.

Easy Homemade Yogurt Recipe FAQs
How do I choose the right milk for making yogurt?
Absolutely! For a rich and creamy texture, I recommend using whole milk; it gives the best results. If you’re looking for a lower-fat option, you can use 2% or even 1% milk, but keep in mind that the resulting yogurt might be less creamy. Always choose high-quality milk for the best flavor.
What should I do if my yogurt hasn’t thickened after 12 hours?
Very! If your yogurt hasn’t thickened, it may need a warmer environment to ferment properly, or the yogurt starter might not have enough active cultures. Ensure your oven light is on, which can help maintain the necessary temperature of 105-115°F. If it’s still runny, you can strain it through cheesecloth for a few hours to achieve a thicker consistency.
How should I store my homemade yogurt?
I often advise storing your Easy Homemade Yogurt in an airtight container in the refrigerator for up to 1-2 weeks. This helps to maintain its freshness and flavor. If you have leftover yogurt, consider portioning it into smaller containers to avoid exposing the entire batch to air each time you dig in.
Can I freeze homemade yogurt, and how?
Unfortunately, freezing is not recommended as it can alter yogurt’s texture and creaminess once thawed. If you wish to store it longer, I suggest opting for small batches only and using them within 1-2 weeks while ensuring it remains refrigerated. If you must freeze, portion it out in ice cube trays; once solid, transfer the cubes into a freezer bag for up to 3 months.
Is this yogurt safe for people with allergies?
Definitely! However, watch out for potential allergens. This Easy Homemade Yogurt is gluten-free, but if you have a dairy allergy, it won’t be suitable. Be sure to double-check the yogurt starter must contain “live and active cultures” without additives. Always consult with a healthcare professional if you’re unsure about food allergies.
What is the best way to flavor the yogurt after it’s made?
The more the merrier! Once your yogurt has set and chilled for at least 4 hours, you can stir in sweeteners like honey or maple syrup, fresh fruit, or even extracts like vanilla for added flavor. This allows you to customize each serving to your taste, making your homemade yogurt versatile and exciting!
Creamy Easy Homemade Yogurt You Can Customize at Home
Ingredients
Equipment
Method
- In a 4-quart saucepan, pour in the whole milk and place it over medium heat. Stir frequently until the milk reaches a temperature of 180-190°F, which usually takes about 10 minutes.
- Once the milk has reached the desired temperature, remove the saucepan from heat and allow it to cool down to 110°F.
- After the milk has cooled, whisk in the plain yogurt that contains live cultures until it's fully combined.
- Transfer the milk and yogurt mixture into a clean glass or ceramic container and cover it with a lid or a clean towel. Place the container in an oven that’s turned off but with the light on, allowing it to rest undisturbed for 10-12 hours.
- Once the fermentation period is complete and your yogurt has thickened, transfer it to the refrigerator for at least 4 hours.
- After your yogurt has chilled, stir in your desired sweeteners or flavors such as honey, vanilla extract, or fresh fruits before serving.
Leave a Reply