
If you’re looking for a cozy culinary project, let me introduce you to the magic of homemade pear preserves! There’s something incredibly satisfying about transforming ripe, juicy pears into jars of sweet goodness that embody the spirit of autumn. With this Pear Preserves Recipe: Easy Homemade Sweet Spread, you’ll not only impress your family and friends but also create a versatile delight that fits perfectly on a slice of toast or as a charming addition to a cheese platter. Plus, this recipe allows for low-sugar and vegan adaptations, making it accessible for all kinds of dietary preferences. What’s more inviting than the warm scent of simmering fruit wafting through your kitchen? Let’s dive into preserving those beautiful pears together—are you ready to get started?
Why Make Your Own Pear Preserves?
Homemade goodness: There’s nothing quite like the satisfaction of creating your own pear preserves from scratch!
Natural sweetness: This recipe shines with the delightful, naturally sweet flavor of ripe pears.
Versatile uses: Perfect on toast, paired with cheese, or swirled into yogurt. The possibilities are endless!
Diet-friendly: Easily modify it to suit low-sugar or vegan lifestyles, so everyone can enjoy.
Cozy aromas: Imagine the warm, inviting scent of simmering pears filling your kitchen—pure bliss!
Make this recipe your go-to for delicious homemade treats, and if you love quick meals, check out our tasty Garlic Pasta Amp for more inspired cooking!
Pear Preserves Recipe Ingredients
• Transform fresh pears into a delicious spread with these key ingredients.
For the Preserves
- Pears – The star of the show, pick ripe ones like Bartlett or Anjou for the best flavor.
- Granulated Sugar – Sweetens the preserves; swap with coconut sugar for a unique taste or reduce the amount for a low-sugar option.
- Lemon Juice – Essential for balancing sweetness and helping in preservation; lime juice can work as a substitute if necessary.
- Lemon Zest – Adds a burst of fresh citrus flavor; remove or replace with orange zest if desired.
- Vanilla Extract – Elevates the overall flavor; it’s optional, but I highly recommend it!
- Ground Cinnamon – Infuses warmth and spice; you can adjust this based on your preference or use nutmeg instead.
- Ground Ginger – Offers a zesty kick; feel free to leave it out if you prefer a milder flavor.
- Salt – A little enhances all the flavors beautifully; it’s necessary for a well-rounded preserve.
Get ready to savor the delightful aroma and taste of your own homemade pear preserves, perfect for all occasions!
Step‑by‑Step Instructions for Pear Preserves Recipe: Easy Homemade Sweet Spread
Step 1: Prepare the Pears
Start by thoroughly washing, peeling, and coring your ripe pears. Cut them into ½-inch chunks and toss them with lemon juice in a large bowl to prevent browning. This is an important step as the acidic lemon juice enhances flavor and helps in preserving the fruit’s vibrant color.
Step 2: Create the Syrup
In a heavy-bottomed pot, combine the prepared pear chunks along with granulated sugar, additional lemon juice, and lemon zest. Let this mixture sit for about 10 minutes, allowing the sugar to draw out the natural juices from the pears, forming a delightful syrupy base that will enhance your Pear Preserves Recipe.
Step 3: Bring to a Boil
Place the pot over medium heat, stirring frequently. As the mixture comes to a gentle boil, keep an eye on it to ensure the sugar fully dissolves and the pears begin to soften. You’ll know it’s time to move on when the mixture bubbles energetically and releases a fragrant aroma—a sign that your preserves are on their way!
Step 4: Simmer to Thicken
Reduce the heat to medium-low and stir in the vanilla extract, ground cinnamon, ground ginger, and a pinch of salt. Allow the mixture to simmer uncovered for 30–40 minutes, stirring occasionally. Watch as the syrup thickens and coats the pear chunks; it should turn rich and glossy, transforming your Pear Preserves into a luscious spreadable delight.
Step 5: Test the Consistency
To check if your preserves are ready, place a spoonful on a cold plate and push it gently with your finger. The mixture should wrinkle and maintain its shape instead of running. This visual cue indicates that your pear mixture has thickened properly, resulting in a perfect consistency for your homemade preserves.
Step 6: Cool and Store
Once the desired thickness is achieved, remove the pot from heat and let the pear preserves cool briefly. Carefully transfer the warm mixture into sterilized jars, sealing them tightly. Allow your jars to cool completely at room temperature before storing them in the refrigerator for up to three months or processing in a boiling water bath for extended shelf life.
Step 7: Enjoy Your Preserves
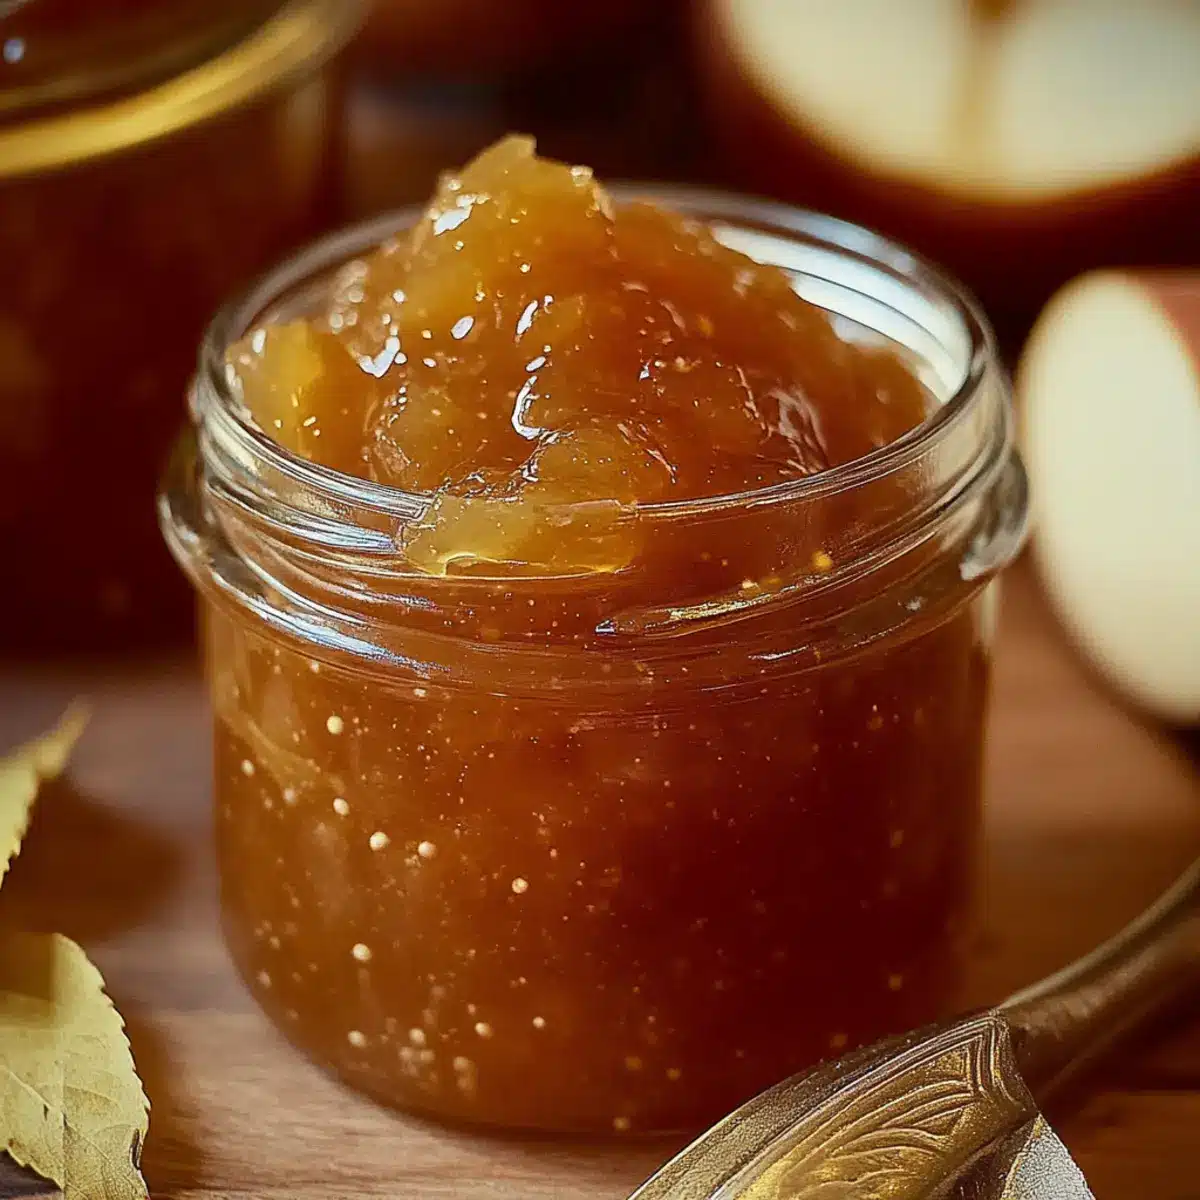
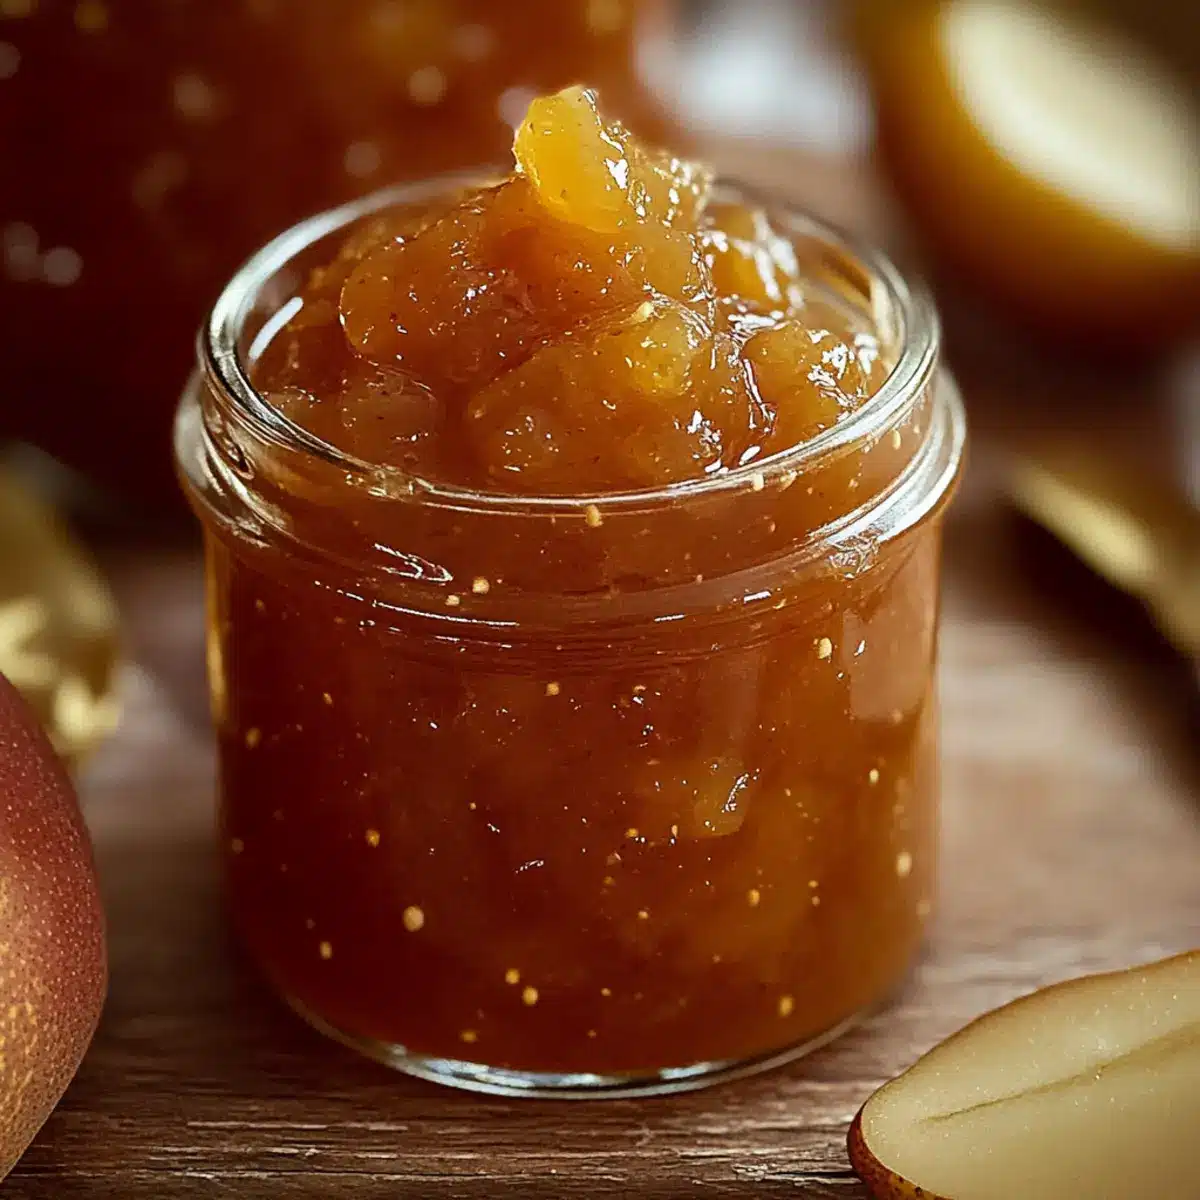
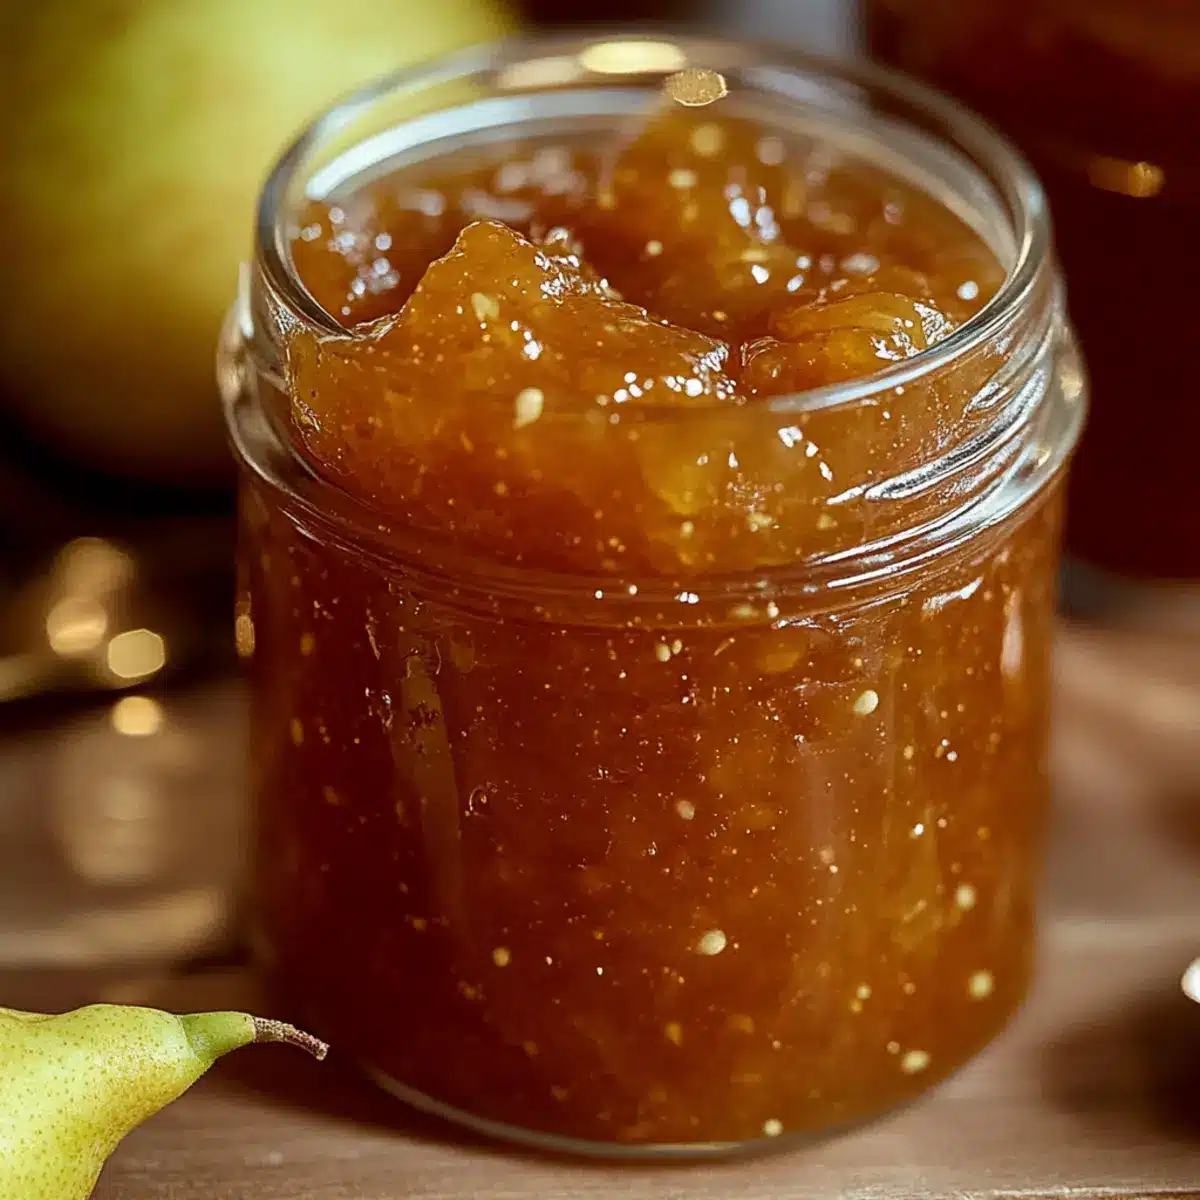
After letting the jars cool and set, your Pear Preserves Recipe: Easy Homemade Sweet Spread is ready to be enjoyed! Spread it on morning toast, complementing your breakfast or adding a touch of sweet warmth to your favorite cheese platter. Your homemade creation is sure to impress family and friends alike!
Pear Preserves Recipe: Easy Homemade Twists
Embrace your creativity and take your pear preserves to the next level with these delightful variations!
-
Low-Sugar: Reduce the sugar content by one-third to create a naturally sweeter preserve without losing flavor.
-
Sugar-Free: Swap granulated sugar for stevia or erythritol, adjusting the recipe for proper thickness—enjoy guilt-free spreadability!
-
Spice Variations: Replace ground cinnamon with allspice or cardamom for a unique spice profile that adds depth to your preserves.
-
Fruity Fusion: Mix in cranberries or chopped apples during cooking for a vibrant flavor twist that brightens each bite.
-
Zesty Upgrade: Use orange zest instead of lemon zest for a different citrus flair that enhances the overall taste of your preserves.
-
Nutty Addition: Stir in crushed walnuts or pecans for added texture and a delightful crunch that will surprise your palate.
-
Infused Flavors: Experiment by infusing your preserves with herbs like rosemary or thyme for an unexpected savory twist.
-
Heat Element: Add a pinch of cayenne or chopped jalapeños if you enjoy a touch of heat; it’ll balance beautifully with the sweetness of the pears.
As you explore these variations, consider serving your preserves on warm biscuits, or use them as a layer in a Broccoli Bacon Sweet dish for delightful flavors!
What to Serve with Easy Homemade Pear Preserves?
Pairing delicious treats enhances the joy of enjoying your pear preserves!
- Warm Biscuits: Fluffy biscuits provide a perfect contrast to the sweetness, soaking up the rich flavors of your preserves.
- Creamy Brie Cheese: The creamy texture of brie complements the fruity sweetness beautifully, making it a delightful addition to cheese boards.
- Greek Yogurt: A dollop of tangy yogurt with pear preserves creates a tasty breakfast or snack that balances flavors and textures.
- Pancakes or Waffles: Enjoy a drizzle of pear preserves over fluffy pancakes or waffles for a warm and inviting breakfast treat.
- Charcuterie Board: Create a stunning charcuterie board with aged cheeses, cured meats, and a jar of pear preserves for sweet bites amidst savory flavors.
- Grilled Cheese Sandwich: Spread some preserves inside a grilled cheese sandwich for a comforting twist that enhances the gooey goodness of melted cheese!
- Tea or Coffee: Pair your preserves with a warm cup, whether it’s herbal tea or rich coffee, to deepen the cozy experience of your homemade spread.
- Apple Slices: Fresh apple slices offer a crunchy, refreshing contrast to the sweet preserves, ideal for a light snack or fruit platter.
- Chocolate Desserts: Pairing with chocolate desserts like brownies or tarts brings together sweet and savory notes, creating a delightful taste adventure.
- Mint Tea: A refreshing glass of mint tea complements the warm and sweet flavors, making for a perfect afternoon tea experience.
Expert Tips for Pear Preserves
• Choose Ripe Pears: Always use ripe pears for optimal sweetness and flavor; the best choices include Bartlett, Anjou, or Bosc.
• Watch Your Heat: Keeping a medium-low heat is crucial. High temperatures can scorch the mixture and lead to bitterness in your pear preserves.
• Check for Consistency: Don’t rush the cooking process. Test the thickness with a cold plate; your preserves should wrinkle when pushed, ensuring the right texture.
• Sterilize Jars Properly: Always use sterilized jars for storage. This prevents contamination and allows your pear preserves to last longer while maintaining freshness.
• Experiment with Flavors: Feel free to personalize your pear preserves recipe; try adding spices like cardamom or mix in seasonal fruits for a unique twist!
• Serve Creatively: Beyond toast, serve your preserves over yogurt, with cheese, or as a filling in desserts—this versatile spread adds joy to any meal!
Make Ahead Options
These Pear Preserves are perfect for meal prep enthusiasts! You can prepare the pears by washing, peeling, and coring them up to 24 hours in advance, tossing them with lemon juice to prevent browning. Additionally, you can combine the prepared pear chunks with sugar and lemon juice, letting the mixture sit overnight to develop flavor. When you’re ready to finish the Pear Preserves Recipe: Easy Homemade Sweet Spread, simply cook the mixture as directed in the recipe. This way, you’ll enjoy a delightful homemade spread with minimal effort and time, ready to impress your family and friends!
How to Store and Freeze Pear Preserves
Fridge: Store your pear preserves in sterilized jars in the refrigerator for up to 3 months. Ensure the jars are tightly sealed to maintain freshness.
Freezer: For longer storage, freeze your pear preserves in airtight containers for up to 1 year. Leave some space at the top for expansion as they freeze.
Reheating: To enjoy your frozen preserves, thaw overnight in the fridge or warm them gently on the stovetop until they reach a spreadable consistency.
Canning: Consider processing jars in a boiling water bath for a shelf life of up to 1 year. This method allows you to keep your homemade pear preserves recipe on the shelf, ready for any occasion!

Pear Preserves Recipe: Easy Homemade Sweet Spread Recipe FAQs
What kind of pears should I choose for preserves?
Absolutely! For the best flavor and texture in your pear preserves, select ripe varieties like Bartlett, Anjou, or Bosc. The riper the pears, the sweeter and more aromatic your preserves will be.
How do I store my homemade pear preserves?
To keep your pear preserves fresh, store them in sterilized jars in the refrigerator. They can last for up to 3 months when sealed properly. If you’re planning to keep them longer, consider processing the jars in a boiling water bath to extend their shelf life up to 1 year.
Can I freeze pear preserves, and how do I do it?
Very! To freeze your pear preserves, pour them into airtight containers, leaving some room at the top for expansion. They will stay fresh for up to 1 year in the freezer. To enjoy them later, simply thaw in the fridge overnight or warm them gently on the stovetop until they’re spreadable.
What can I do if my pear preserves are too runny?
No worries! If your preserves aren’t thickening, return them to the pot, bring them to a boil again, and let them simmer for an additional 10-15 minutes. Make sure to check the consistency regularly by placing a dollop on a cold plate; they should wrinkle slightly when pushed.
Are there any dietary considerations for homemade pear preserves?
Definitely! This pear preserves recipe can easily be modified for various dietary needs. For a lower sugar option, reduce the sugar quantity by one-third or use alternatives like coconut sugar or stevia. It’s naturally vegan, but always check the sugar type you use to ensure it’s suitable for your dietary preferences.
How can I tell if my pears are ripe enough to use?
Look for pears that yield slightly to gentle pressure at the stem end; this indicates they’re ripe and sweet. Avoid pears with dark spots or bruises, as they may be overripe or spoiled. If you’re unsure, let them sit at room temperature for a day or two until they reach optimal ripeness.
Delightful Pear Preserves Recipe: Easy Homemade Sweet Spread
Ingredients
Equipment
Method
- Wash, peel, and core the pears, then cut them into ½-inch chunks and toss with lemon juice.
- Combine the pear chunks, granulated sugar, additional lemon juice, and lemon zest in a heavy-bottomed pot. Let sit for 10 minutes.
- Place the pot over medium heat and stir frequently until it begins to boil and the sugar fully dissolves.
- Reduce heat to medium-low, stir in vanilla extract, ground cinnamon, ground ginger, and salt. Simmer for 30-40 minutes.
- Test the mixture's consistency on a cold plate; it should wrinkle when pushed.
- Allow the preserves to cool for a brief period before transferring to sterilized jars.
- Let jars cool completely at room temperature before storing in the refrigerator or process in boiling water.
- Enjoy the preserves on toast, desserts, or cheese platters!
Leave a Reply