
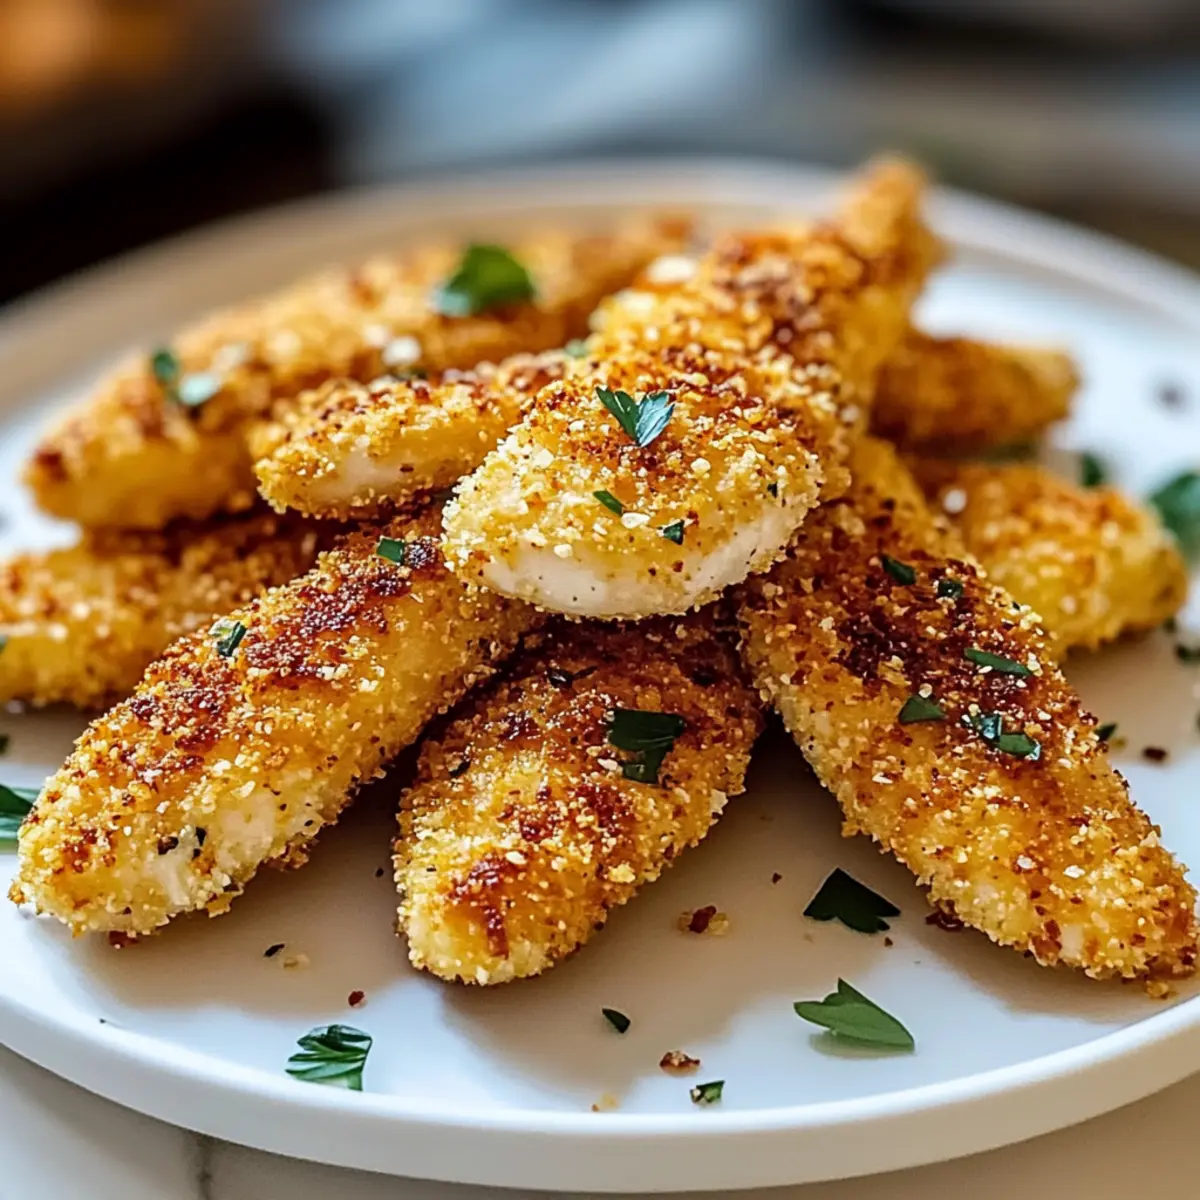
Picture this: the aroma of chicken sizzling in the oven, filling your kitchen with warmth and anticipation. These Crispy Baked Chicken Tenders are the solution for busy weeknights when you’re craving something delicious yet wholesome. Ready in just 30 minutes, they offer a healthier twist on a beloved classic, making them perfect for dinner with family or a snack that even the kids will adore. With an irresistibly crunchy coating that’s easily customizable—think gluten-free breadcrumbs or double-dipping for extra texture—these tenders are not just a meal, but a delightful experience. Are you ready to elevate your weeknight dinners with this quick and satisfying recipe?
Why Are These Chicken Tenders a Must-Try?
Easier than you think: With a simple prep and bake method, you can create delicious chicken tenders without the fuss of frying.
Healthy twist: Enjoy the comfort of chicken tenders without the guilt—these are baked, not fried.
Customizable coating: Choose panko for extra crunch or switch to gluten-free breadcrumbs to accommodate dietary needs.
Kid-approved: They’re perfect for picky eaters, ensuring everyone at the table will be satisfied.
Quick and convenient: Ready in just 30 minutes, they fit seamlessly into busy weeknights, allowing you time for more fun.
Pair these tenders with a fresh salad or your favorite dipping sauces for a complete meal, or check out my Hearty Bokchoy Chicken Soup for a comforting side!
Crispy Baked Chicken Tenders Ingredients
• Perfect for a quick, healthy meal!
For the Chicken
- Chicken Breasts or Tenders – Use fresh and cut into 1-inch strips for even cooking.
For the Breading
- Eggs – Acts as a binder for the breadcrumbs, ensuring every bite stays crunchy.
Substitution Note: Feel free to use a flax egg for a vegan-friendly twist. - Panko or Regular Breadcrumbs – Choose panko for maximum crunch and texture that’s irresistible.
Optional Ingredients
- Parmesan Cheese – Adds a nutty flavor to your tenders that elevates the dish.
Substitution Note: Omit if you prefer a lighter or dairy-free option. - Garlic Powder – A sprinkle enhances the overall flavor profile, making every bite savory.
- Paprika – Infuses a lovely smokiness and rich color to your tenders.
- Onion Powder – Complements the seasoning for a well-rounded taste.
- Salt and Black Pepper – Essential for bringing out the best flavors in your chicken.
For Baking
- Olive Oil Spray – A light mist helps achieve that golden-brown finish without frying.
Step‑by‑Step Instructions for Crispy Baked Chicken Tenders
Step 1: Prep Chicken
Begin by preheating your oven to 400°F (200°C), setting the stage for those Crispy Baked Chicken Tenders. If you’re using chicken breasts, slice them into 1-inch strips to ensure even cooking and tender bites. Arrange the chicken strips on a clean cutting board, and get ready for the next steps that will elevate their flavor and texture.
Step 2: Set Up Breading Station
In two separate bowls, create your breading station: beat 2 eggs in one bowl, whisking until smooth; in the second, combine panko breadcrumbs, optional Parmesan cheese, garlic powder, paprika, onion powder, and salt and pepper. This setup will streamline the coating process, making it easier to achieve that irresistible crunch for your Crispy Baked Chicken Tenders.
Step 3: Season Chicken
Lightly sprinkle salt and black pepper over the chicken strips, ensuring an even distribution for flavor enhancement. Feel free to add any additional seasonings according to your taste preferences. This step helps emphasize the chicken’s natural juiciness while laying the groundwork for mouthwatering flavors in your baked tenders.
Step 4: Coat Chicken
Grab a chicken strip, dip it into the beaten eggs, allowing any excess to drip off, then turn it over into the breadcrumb mixture. Press firmly to adhere, creating a thick layer of coating. For an even crunchier result, consider double-dipping. Repeat this process until all chicken strips are well-coated for those delightful Crispy Baked Chicken Tenders.
Step 5: Arrange for Baking
Line a baking tray with parchment paper, or use a wire rack for optimal air circulation and even browning. Arrange your coated chicken strips in a single layer, ensuring space between each piece to avoid steaming. Lightly spray the tops of the tenders with olive oil, which will help them turn that irresistible golden brown in the oven.
Step 6: Bake
Place the tray in the preheated oven and bake the chicken tenders for 20-25 minutes. About halfway through, flip the tenders to ensure they crisp up nicely on both sides. Keep an eye on them, and look for a golden brown hue and the internal temperature to reach 165°F (74°C) for perfectly cooked, juicy tenders.
Step 7: Rest and Serve
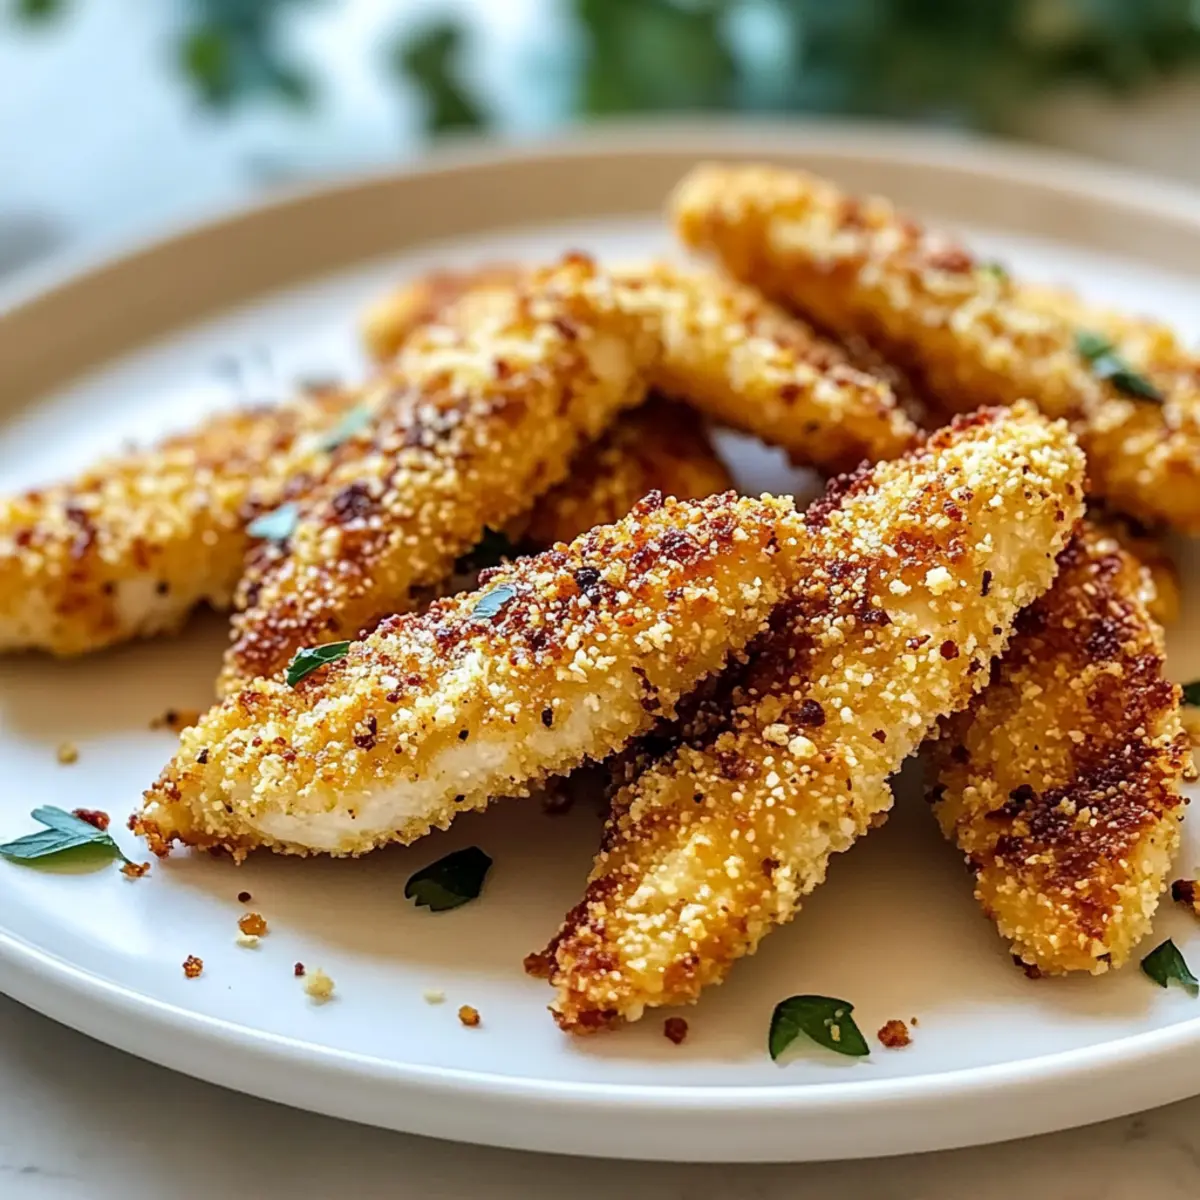
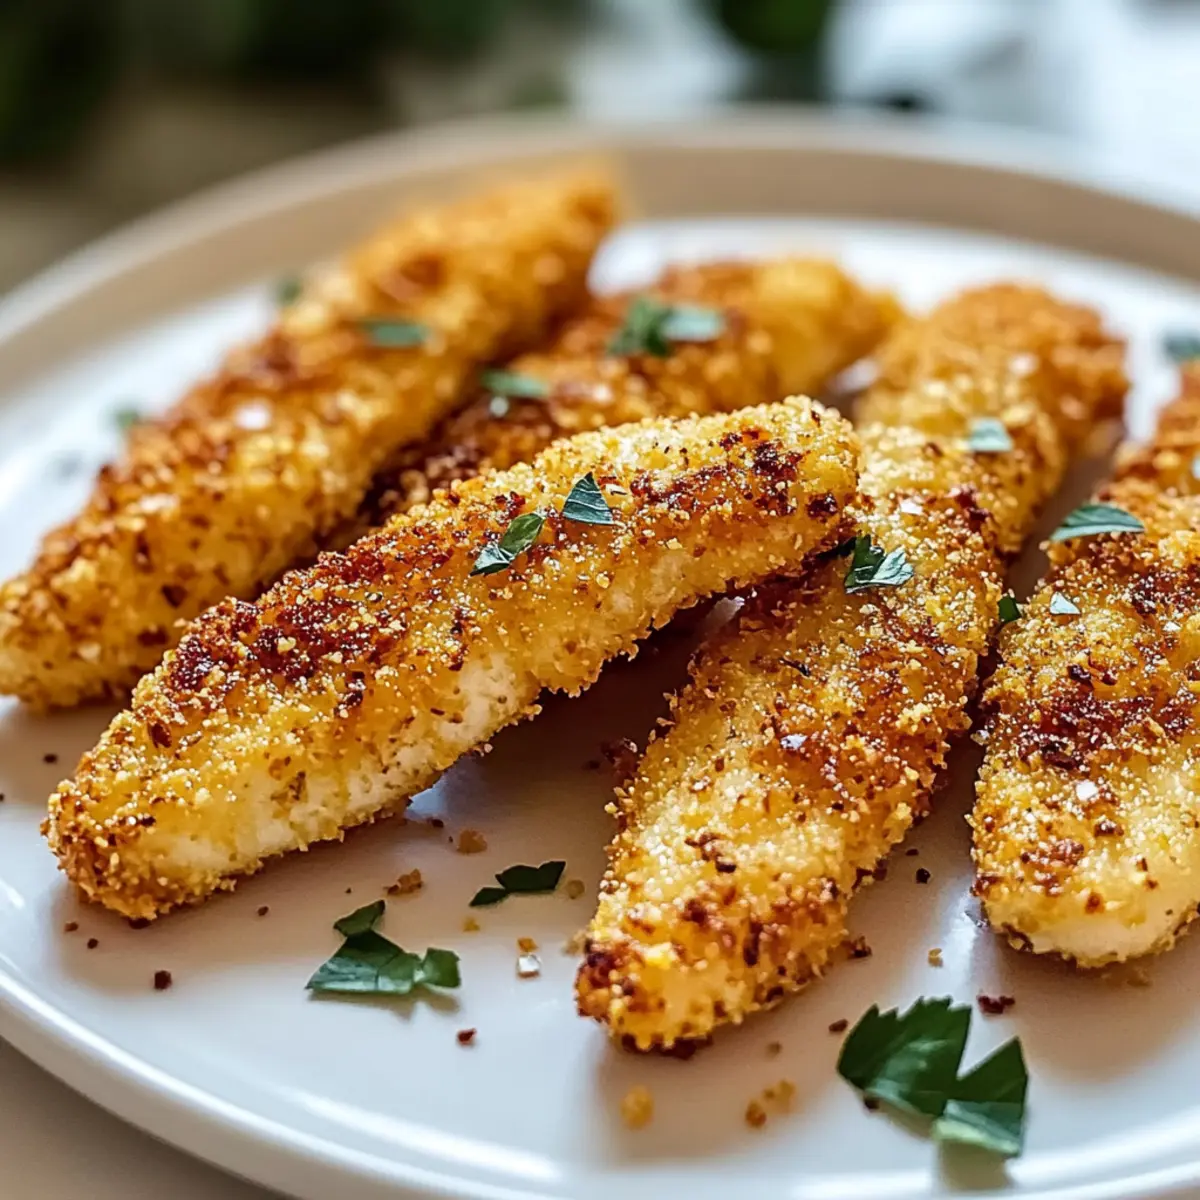
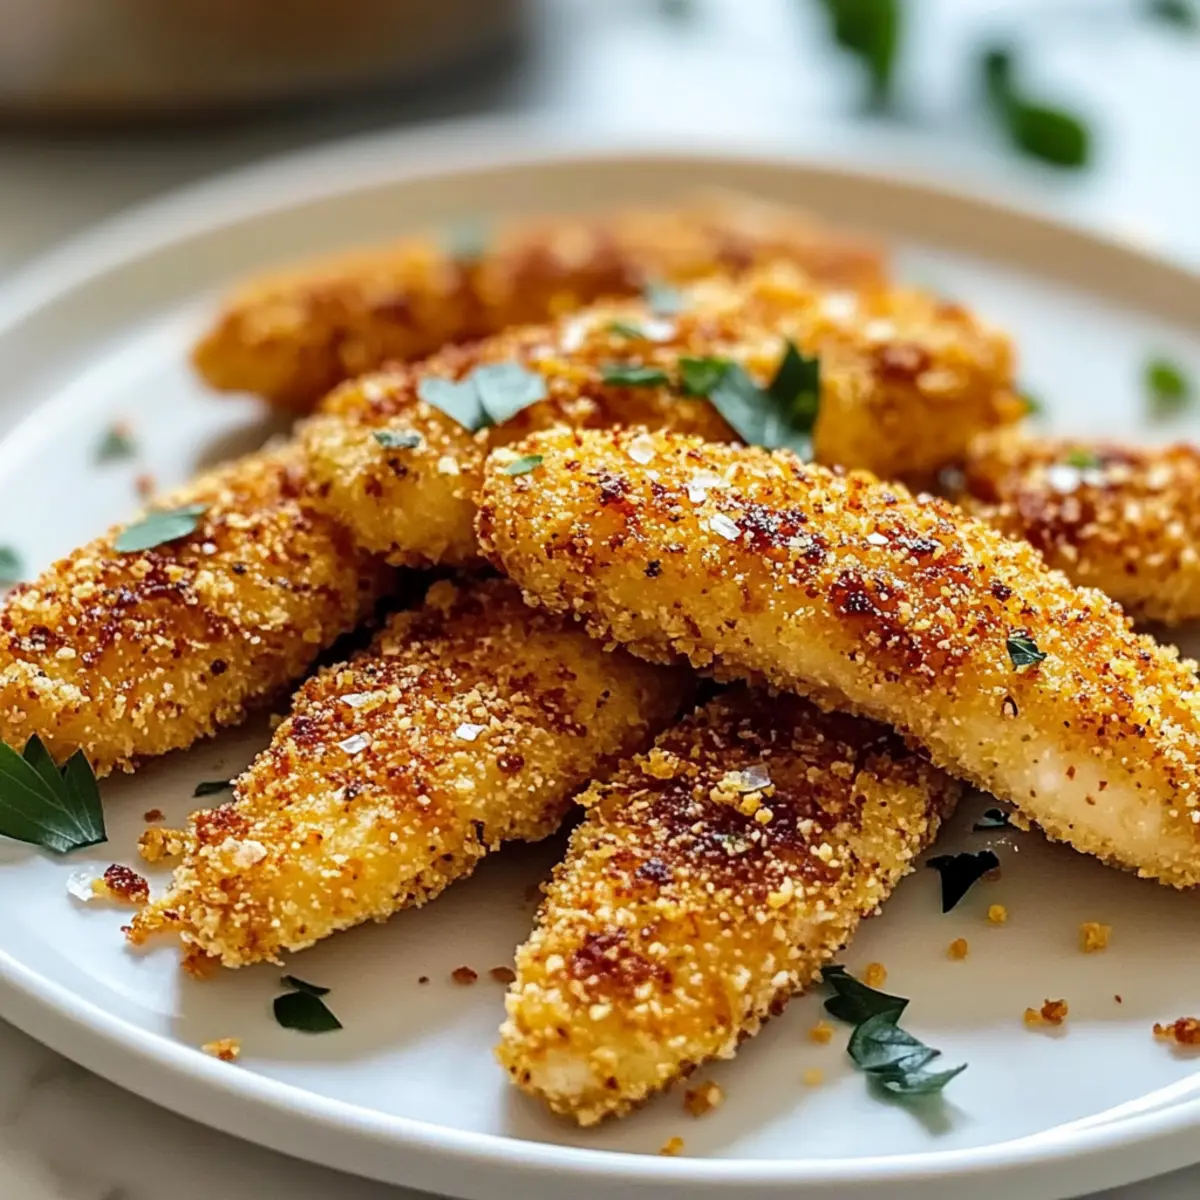
Once baked, remove the sheet from the oven and let the Crispy Baked Chicken Tenders rest for 3-5 minutes. This allows the juices to redistribute while they cool slightly for safer handling. Serve them up with your favorite dipping sauces, and enjoy a deliciously satisfying meal that’s quick, healthy, and loved by the whole family.
Make Ahead Options
These Crispy Baked Chicken Tenders are perfect for busy home cooks looking to simplify meal prep! You can prepare the chicken strips up to 24 hours in advance by breading them and placing them on a baking sheet. Cover them with plastic wrap and refrigerate to maintain their freshness. This way, you can simply pop them in the oven right before serving. Alternatively, bake them ahead of time and store in an airtight container for up to 3 days; just reheat in the oven or air fryer to restore their crispiness. By prepping ahead, you save valuable time on hectic weeknights while still serving a delightful dish that tastes just as delicious!
What to Serve with Crispy Baked Chicken Tenders
Revamping dinnertime has never been easier! Think of the deliciously golden tenders accompanied by vibrant sides that elevate your meal experience.
-
Creamy Mashed Potatoes: These fluffy, buttery potatoes provide comfort and balance to the crunchy tenders, making every bite a delightful contrast.
-
Crisp Garden Salad: A fresh salad with mixed greens, cherry tomatoes, and a zesty vinaigrette adds brightness and a crunch that complements the chicken’s texture perfectly.
-
Sweet Potato Fries: The sweetness and slight chewiness of baked sweet potato fries offer a wonderfully satisfying contrast with the crispy goodness of the chicken tenders.
-
Roasted Asparagus: Tender yet crunchy asparagus spears roasted with olive oil provide a healthy dose of greens, rounding out your plate beautifully.
Pair these irresistibly crispy chicken tenders with any of these delightful sides for a fulfilling meal that will have your family asking for seconds!
How to Store and Freeze Crispy Baked Chicken Tenders
Fridge: Store leftover crispy baked chicken tenders in an airtight container for up to 3 days. Reheat in the oven or air fryer for the best texture.
Freezer: To freeze, place breaded but unbaked tenders on a sheet tray until firm, then transfer them to a freezer bag. They can be cooked straight from frozen.
Reheating: For optimal crispiness, reheat in the oven at 375°F (190°C) for about 10-15 minutes. Avoid the microwave as it can make the tenders soggy.
Meal Prep: Cooked tenders can be portioned in meal prep containers with veggies and grains for quick, satisfying lunches throughout the week.
Crispy Baked Chicken Tenders Variations
Feel free to let your imagination run wild and transform these chicken tenders into your own culinary masterpiece!
-
Gluten-Free: Swap regular breadcrumbs for gluten-free versions for a deliciously crispy result.
This simple swap makes these tenders accessible for everyone. Go ahead and elevate your meal prep with this friendly option! -
Herb-Infused: Enhance the flavor by adding fresh or dried herbs like thyme, oregano, or parsley into your breadcrumb mixture.
Highlighting herby goodness not only amplifies flavor but brings a fresh edge to your tenders! -
Spicy Kick: Introduce some heat with cayenne pepper or chili flakes mixed into the seasoning blend for a spicy twist.
If you’re a heat lover, this will take your chicken tenders to the next level of deliciousness! -
Cheesy Delight: Use a mix of cheddar or mozzarella instead of Parmesan for a gooey, cheesy coating.
These cheesy baked chicken tenders will become an instant family favorite! -
Double-Coated: For extra crunch, double dip the chicken strips in egg and breadcrumbs before baking.
More coating means more crunch—what’s not to love about that satisfying texture? -
Savory Variants: Try substituting garlic powder with onion or 5-spice powder to change the flavor profile.
Switching up the spices makes for a fun twist that can surprise everyone at the dinner table. -
Serve with Dipping Sauces: Pair your tenders with various dipping sauces like homemade ranch, honey mustard, or even hummus.
Whether you love a classic ranch flavor or a zesty kick, there’s a dip for everyone! -
Meal Prep Friendly: Portion out cooked tenders with nutritious sides like roasted veggies or grains for easy grab-and-go lunches.
Meal prepping not only saves time but ensures that deliciousness is always within reach!
These variations will keep your Crispy Baked Chicken Tenders fun and exciting every week. And if you’re in the mood for more chicken delights, don’t forget to check out my Hearty Bokchoy Chicken Soup or try these flavorful Chicken Enchiladas with Sour Cream White Sauce for inspiration!
Helpful Tricks for Crispy Baked Chicken Tenders
-
Choose Fresh Chicken: Using fresh chicken breasts or tenders ensures juiciness and tenderness. Avoid frozen options for the best flavor.
-
Don’t Skip the Double Coating: For that coveted crunch, double-dip your chicken strips in the egg and breadcrumb mixture. It enhances the texture of your crispy baked chicken tenders.
-
Avoid Overcrowding: Spread tenders out on the baking sheet. Crowding can lead to steaming instead of crisping, preventing optimal crunch.
-
Use Parchment Paper: Lining your baking tray with parchment paper helps prevent sticking and ensures even browning for perfect chicken tenders.
-
Monitor Cooking Time: Baking times can vary depending on your oven; check for a golden color and an internal temperature of 165°F (74°C) for best results.
-
Experiment with Seasonings: Feel free to customize your spice mix. Adding your favorite herbs can elevate the flavor of your crispy baked chicken tenders.
Crispy Baked Chicken Tenders Recipe FAQs
How do I choose the best chicken for this recipe?
Absolutely! For the best results, use fresh chicken breasts or tenders. Look for ones that have a pinkish hue and are firm to the touch. Avoid chicken with dark spots or an off smell, as these are signs of spoilage. Fresh chicken tends to yield juicier and more flavorful tenders.
How should I store leftovers of Crispy Baked Chicken Tenders?
To store your leftovers, place them in an airtight container in the fridge for up to 3 days. For reheating, I recommend using the oven or air fryer to maintain that delicious crunch, avoiding the microwave, which can make them soggy.
Can I freeze Crispy Baked Chicken Tenders?
Yes! To freeze, lay the breaded but unbaked tenders on a sheet tray until firm, about 1-2 hours. Once they’re frozen, transfer them to a freezer bag. They can be cooked straight from frozen; just increase the cooking time by 5-10 minutes.
What if my chicken tends to get soggy when baking?
It’s essential to avoid overcrowding on your baking sheet. Ensure there’s space between each chicken strip to allow proper airflow. Additionally, using a wire rack can help the hot air circulate around all sides for that desirable crispiness.
Are there any dietary considerations for Crispy Baked Chicken Tenders?
Absolutely! For a gluten-free option, substitute regular breadcrumbs with gluten-free breadcrumbs. If you’re vegan or avoiding eggs, try a flax egg instead (mix 1 tablespoon of flaxseed meal with 2.5 tablespoons of water and let it sit until it thickens). For dairy-free, simply omit Parmesan cheese without compromising flavor!
Crispy Baked Chicken Tenders: Healthier Comfort Food Reimagined
Ingredients
Equipment
Method
- Preheat your oven to 400°F (200°C) and slice chicken into 1-inch strips.
- Create your breading station: beat eggs in one bowl and combine breadcrumbs, Parmesan, garlic powder, paprika, onion powder, salt, and pepper in another bowl.
- Lightly sprinkle salt and black pepper over the chicken strips, ensuring even flavor distribution.
- Dip chicken strips in beaten eggs, allowing excess to drip off, then coat in breadcrumb mixture, pressing firmly to adhere.
- Line a baking tray with parchment paper and arrange the chicken strips in a single layer. Lightly spray tops with olive oil.
- Bake for 20-25 minutes, flipping halfway through until golden brown and cooked to 165°F (74°C).
- Let rest for 3-5 minutes before serving with dipping sauces.
Leave a Reply