
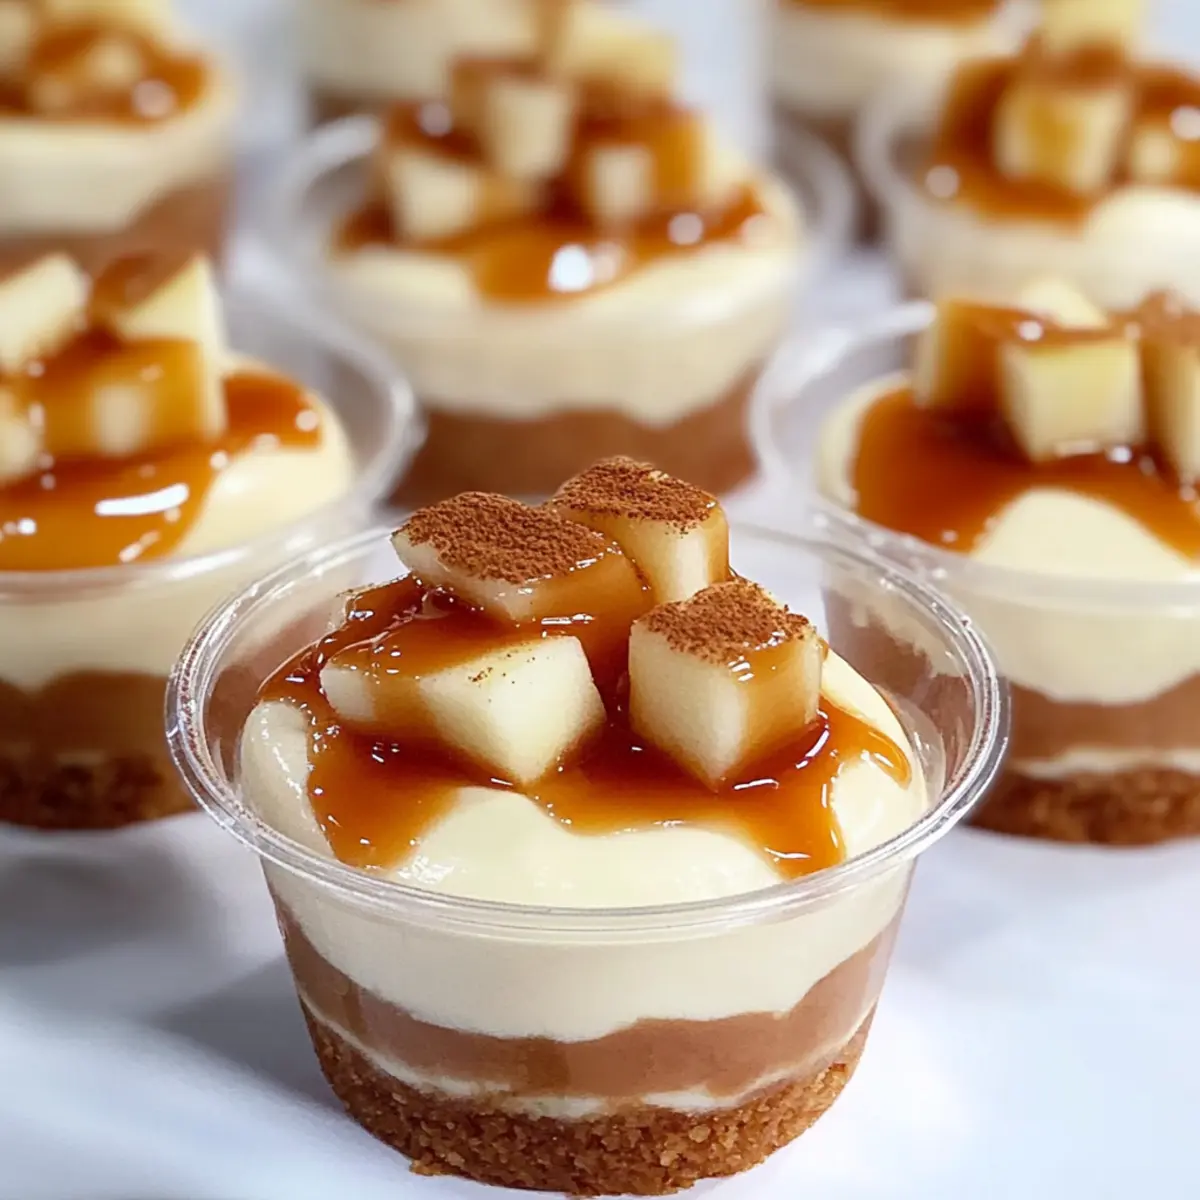
There’s something magical about the first crisp days of autumn, isn’t there? As the scent of cinnamon wafts through the kitchen, I can’t help but crave a sweet fusion of flavors that encapsulates the season. Enter my No-Bake Caramel Apple Dessert Cups! These delightful treats combine a crunchy vanilla wafer crust with a smooth caramel mousse and tender, cinnamon-spiced apples for a dessert that’s not only amazing in taste but also perfect for gatherings. Quick to prepare and effortlessly elegant, they are a showstopper that will leave your guests raving about their nostalgic flavors. Plus, you can make them ahead of time, so they’re ready when you are! Ready to dive into these autumn-inspired delights? Let’s get cooking!
Why Are These Dessert Cups Irresistible?
Simplicity: These Caramel Apple Dessert Cups are no-bake, making them a breeze to whip up, even on your busiest days.
Crowd-Pleasing: Rich, creamy, and topped with warm cinnamon apples, they’re guaranteed to impress guests at any gathering.
Versatile Twist: Feeling adventurous? Try adding pumpkin puree to the mousse for a seasonal take or serve alongside Sticky Pineapple Brown for a festive feast!
Make-Ahead: Prepare these cups in advance and store them in the fridge for deeper flavors, ensuring a stress-free serving experience.
Each spoonful offers a delightful crunch and sweet warmth, a perfect treat for cozy autumn days.
Caramel Apple Dessert Cups Ingredients
For the Apple Filling
• Apples – Fresh and crisp, use Granny Smith or Honeycrisp for the best sweet-tart flavor.
• Light Brown Sugar – Adds sweetness and enhances the rich caramel flavor in the apple layer.
• Cinnamon – Elevates the apple’s taste with a warm, spicy note that feels like autumn.
For the Crust
• Vanilla Wafer Crumbs – Creates a buttery, crunchy base; substitute with graham cracker crumbs if desired.
• Butter (melted) – Binds the crumb mixture, enriching the crust for added flavor and texture.
For the Mousse
• Instant Vanilla Pudding Mix – Forms a creamy base for the mousse, easily substituted with a dairy-free version.
• Milk – Hydrates the pudding mix, ensuring a smooth consistency; non-dairy options work too.
• Salted Caramel Sauce – Infuses the mousse with flavor; choose store-bought or homemade depending on convenience.
• Heavy Cream – Whipped to light, fluffy perfection for the mousse; a non-dairy option can be used.
For Garnish
• Additional Caramel Sauce – Drizzle over the top to enhance both presentation and flavor of these Caramel Apple Dessert Cups.
Step‑by‑Step Instructions for Caramel Apple Dessert Cups
Step 1: Cook the Apples
Begin by peeling, coring, and chopping your fresh apples into bite-sized pieces. In a medium saucepan over medium heat, combine the chopped apples with light brown sugar and cinnamon. Cook for about 10 minutes, stirring occasionally, until the apples are tender yet still hold their shape. Once done, remove from heat and let them cool slightly as you prepare the next components.
Step 2: Prepare the Crust
In a mixing bowl, combine the vanilla wafer crumbs with melted butter, stirring until the crumbs are fully coated. Take 2-ounce dessert cups and evenly press the crumb mixture into the bottom to form a firm crust. Ensure it’s compact for stability when assembled. Once pressed, place the cups in the refrigerator to chill while you prepare the mousse.
Step 3: Make the Mousse
In a large mixing bowl, whisk together the instant vanilla pudding mix and milk until smooth. Let the mixture sit for about 5 minutes to thicken slightly. Then, fold in the salted caramel sauce gently until fully incorporated, creating a creamy, delectable mousse that will take your Caramel Apple Dessert Cups to another level.
Step 4: Whip the Cream
In a separate chilled bowl, whip the heavy cream using an electric mixer on medium speed until soft peaks form. This should take around 2-3 minutes. Take care not to over-whip, as you want a light and fluffy texture. Once ready, carefully fold the whipped cream into the caramel mousse until well combined, ensuring the mixture remains airy.
Step 5: Assemble the Cups
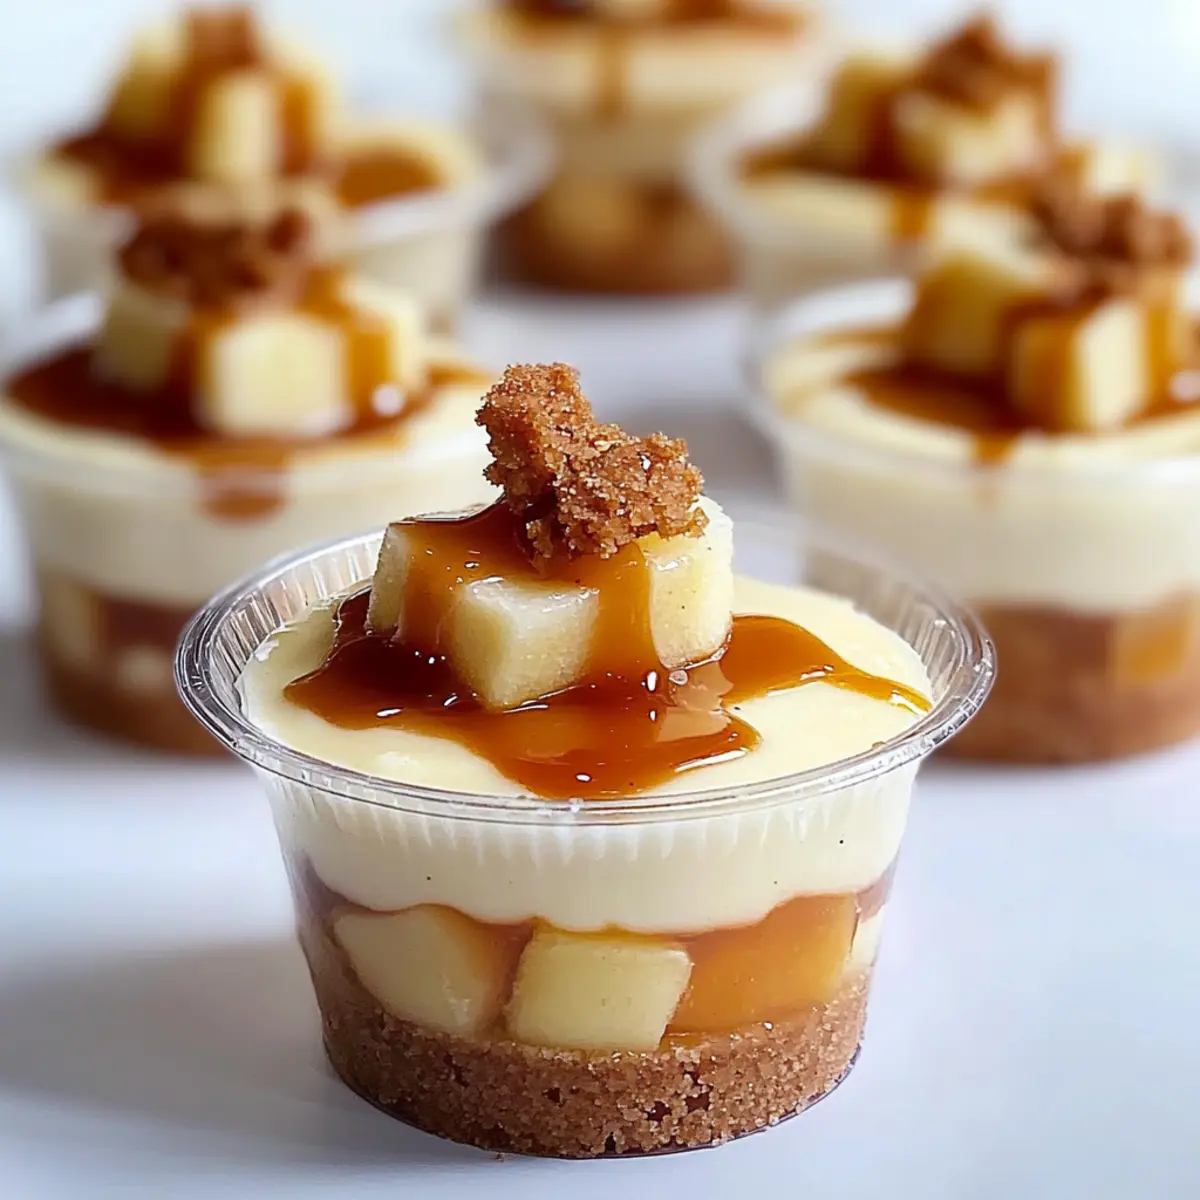
Retrieve the chilled dessert cups and pipe or spoon an even layer of the caramel mousse over the prepared crusts. Next, gently layer the cooled cinnamon-spiced apples on top of the mousse, allowing some of the apples to peek through. For a finishing touch, drizzle additional caramel sauce generously over the top of each cup.
Step 6: Chill Again
After assembling your Caramel Apple Dessert Cups, place them back in the refrigerator to chill for at least 30 minutes. This step helps the flavors meld together and the mousse to set properly. When ready to serve, just grab your cups, and enjoy the delightful crunch, creaminess, and warmth in every bite!
Make Ahead Options
These Caramel Apple Dessert Cups are perfect for busy home cooks looking to save time! You can easily prepare the crispy crust and the tender cinnamon-spiced apples up to 24 hours in advance. Simply store the crust in an airtight container and refrigerate the cooked apples once they have cooled. The caramel mousse can also be made up to 3 days ahead; just ensure you whip the cream fresh before serving to maintain that airy texture. To assemble, simply layer the mousse over the crust, top with the apples, and drizzle with caramel sauce before enjoying your delightful dessert! Making these in advance allows the flavors to meld beautifully, ensuring they’re just as delicious when it’s time to serve.
Caramel Apple Dessert Cups Variations
Feel free to get creative and put your own spin on these delightful dessert cups!
-
Pumpkin Twist: Stir in pumpkin puree with the mousse for a cozy autumn flavor boost, enhancing the seasonal spirit.
-
Dairy-Free Delight: Replace heavy cream and pudding mix with non-dairy alternatives for a deliciously creamy, dairy-free dessert.
-
Chocolate Drizzle: Elevate your presentation and flavor by drizzling melted chocolate over the top for a decadent touch.
-
Nutty Crunch: Sprinkle chopped nuts, like pecans or walnuts, over the apples for added texture and a nutty flavor contrast.
-
Spicy Kick: Add a pinch of nutmeg or allspice into the apple mixture for a warm, spiced profile that complements the cinnamon beautifully.
-
Fruity Fusion: Experiment with different fruits, such as pears or berries, alongside the apples to create a unique flavor combination in your dessert cups.
-
Minty Freshness: Top with fresh mint leaves or crushed peppermint for a refreshing finish — perfect for holiday gatherings.
-
Salted Caramel Layer: Add an extra layer of salted caramel sauce between the mousse and apples for a delightful surprise in every spoonful!
These variations allow you to personalize your Caramel Apple Dessert Cups, making them uniquely yours. If you’re looking for more inspiration, why not try them alongside my Moist Apple Bread? Happy cooking!
Storage Tips for Caramel Apple Dessert Cups
-
Fridge: Store assembled Caramel Apple Dessert Cups in the refrigerator for up to 3 days. The flavors deepen as they chill, making them even more delightful!
-
Wrapping: Cover each cup tightly with plastic wrap or place them in an airtight container to maintain their freshness and prevent any absorption of odors.
-
Freezer: It’s best to avoid freezing these dessert cups, as the texture of the mousse can be negatively affected when thawed, leading to a less enjoyable experience.
-
Serving Reminder: Before serving, give the cups a quick chill if they’ve been out of the fridge; this enhances the flavors and texture for your guests to enjoy!
Expert Tips for Caramel Apple Dessert Cups
-
Choose the Right Apples: Opt for Granny Smith or Honeycrisp apples for the perfect balance of sweetness and tartness, enhancing your Caramel Apple Dessert Cups.
-
Cook with Care: When cooking the apples, aim for tender pieces that retain their shape; overcooking can lead to mushy apples, losing texture.
-
Chill Your Mousse: Ensure the mousse is properly chilled before folding in the whipped cream for a fluffy texture; this also enhances the flavors in the cups.
-
Layer with Precision: Use a piping bag or a zip-top bag for a cleaner mousse layer; this simple trick elevates the presentation of your dessert cups.
-
Make Ahead: Preparing these Caramel Apple Dessert Cups in advance improves flavor; simply store them in the refrigerator for up to 3 days before serving.
What to Serve with Caramel Apple Dessert Cups
Elevate your cozy gatherings by pairing these delightful treats with complementary sides and beverages that enhance the autumn experience.
- Crispy Fall Salad: A mix of fresh greens with roasted butternut squash and toasted nuts adds a crunchy, earthy contrast to the sweetness of the cups.
- Hot Cinnamon Cider: The warming spices and sweetness of hot cider harmonize beautifully with the caramel and apple flavors, creating a comforting drink option.
- Vanilla Ice Cream: A scoop of smooth, creamy vanilla ice cream melts perfectly with the warm cinnamon apples, adding a luscious touch to each bite.
- Spiced Pumpkin Bread: The moist, spiced texture of pumpkin bread echoes the fall theme and adds heartiness to the dessert experience.
- Caramel-Drizzled Popcorn: For a fun, crunchy snack, serve popcorn drizzled with caramel; it brings that familiar caramel flavor in a playful way.
- Chai Tea: The aromatic spices in chai tea perfectly complement the cinnamon in the dessert, creating a warm pairing that feels like a cozy hug in a cup.
- Toffee Apple Scones: These buttery, crumbly scones, filled with apple chunks and a hint of toffee, make for a lovely addition to your dessert spread.
- Cheesecake Bites: Miniature cheesecake bites offer a rich, creamy contrast to the airy mousse and crunchy crust of the dessert cups, creating a delightful variety of textures.
Caramel Apple Dessert Cups Recipe FAQs
What type of apples should I use for the best flavor?
I recommend using fresh Granny Smith or Honeycrisp apples for your Caramel Apple Dessert Cups. These varieties offer the perfect sweet-tart flavor and crisp texture. Avoid soft or overripe apples, as they can become mushy and lose their delightful crunch.
How long can I store the assembled dessert cups?
Your delicious Caramel Apple Dessert Cups can be stored in the refrigerator for up to 3 days. Just be sure to cover each cup tightly with plastic wrap or place them in an airtight container to keep them fresh and flavorful. The longer they chill, the more the flavors will deepen!
Can I freeze these dessert cups?
It’s best to avoid freezing the Caramel Apple Dessert Cups. Freezing can negatively affect the texture of the mousse, leading it to become grainy when thawed. For optimal flavor and consistency, enjoy them fresh after chilling in the fridge.
What if my apples become mushy while cooking?
To prevent mushy apples, cook them on medium heat for about 10 minutes until they’re just tender. Stir occasionally and keep an eye on their texture. If they start to break down, remove them from the heat immediately to maintain a delightful bite in your dessert cups.
Are these dessert cups suitable for those with dietary restrictions?
Absolutely! You can easily adapt the Caramel Apple Dessert Cups for dietary needs by using non-dairy milk and pudding mix for a dairy-free version. You can also substitute the heavy cream with a non-dairy whipping cream. Always check for any allergies with specific ingredients like caramel sauce, especially if using store-bought varieties.
Can I make a pumpkin variation of this dessert?
Very! For a seasonal twist, simply stir in a spoonful of pumpkin puree into the mousse mixture. This not only enhances autumn flavors but also gives it a lovely texture. You might want to add a pinch of nutmeg or additional spices to complement the pumpkin. Enjoy the versatile creations!

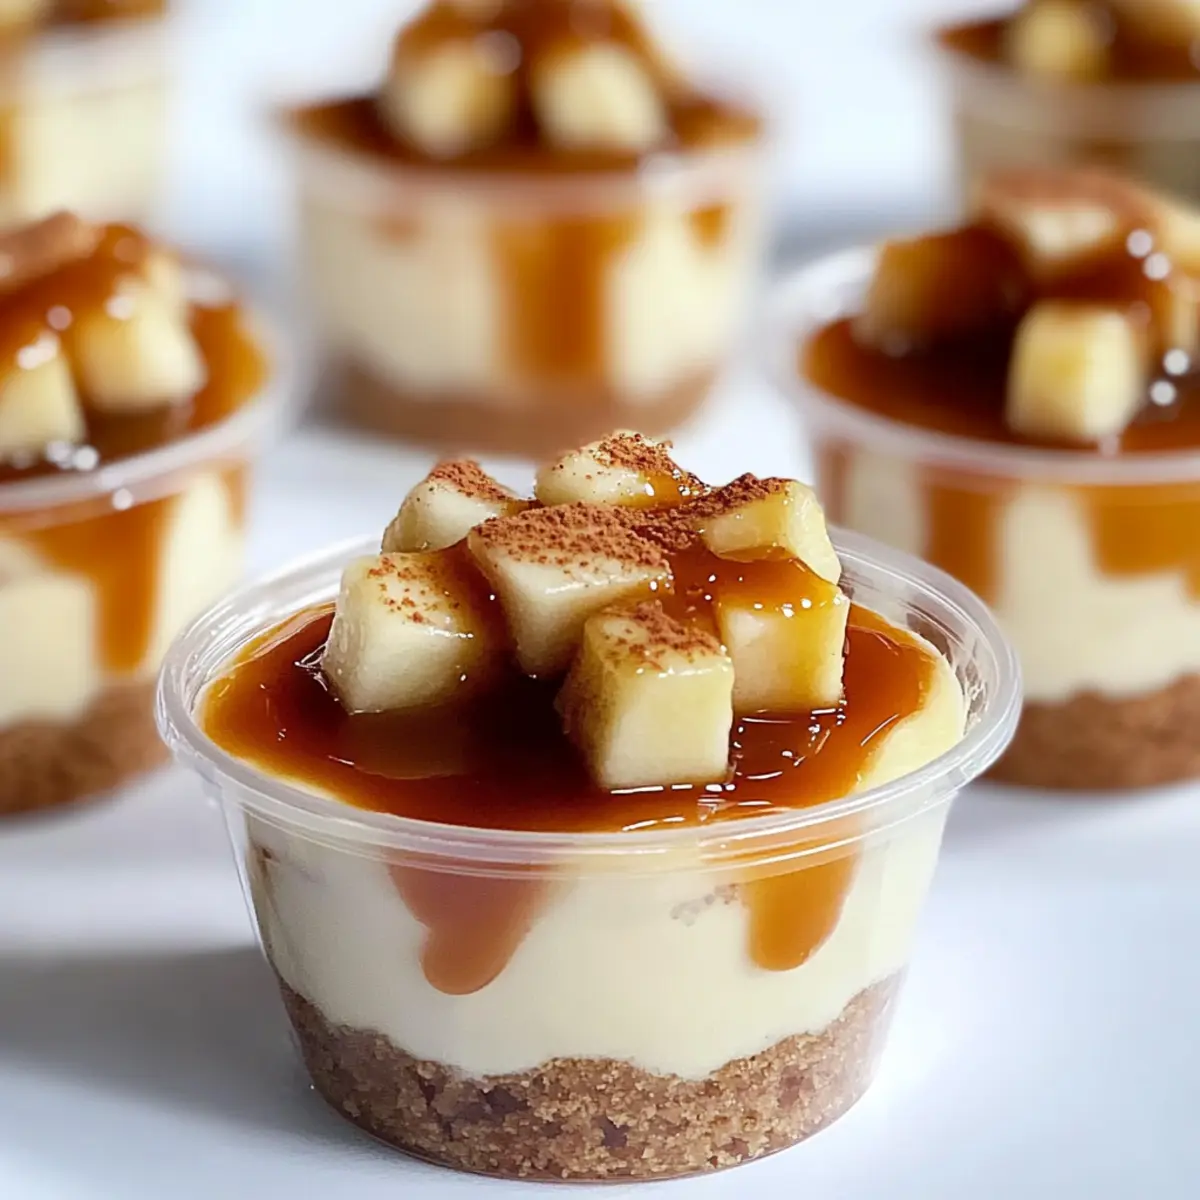
Delicious Caramel Apple Dessert Cups for Cozy Gatherings
Ingredients
Equipment
Method
- Peel, core, and chop the apples into bite-sized pieces. Cook them in a medium saucepan with light brown sugar and cinnamon for about 10 minutes. Remove from heat and let cool slightly.
- In a mixing bowl, combine the vanilla wafer crumbs with melted butter. Press the mixture into the bottom of 2-ounce dessert cups to form a firm crust. Chill in the refrigerator.
- Whisk together the instant vanilla pudding mix and milk until smooth. Let it thicken for 5 minutes, then fold in the salted caramel sauce until fully incorporated.
- Whip the heavy cream in a separate bowl until soft peaks form. Fold the whipped cream into the caramel mousse gently to maintain an airy texture.
- Pipe or spoon an even layer of mousse over the crusts in the dessert cups. Layer the cooled apples on top and drizzle with additional caramel sauce.
- Refrigerate the assembled cups for at least 30 minutes before serving to help the flavors meld together.
Leave a Reply