
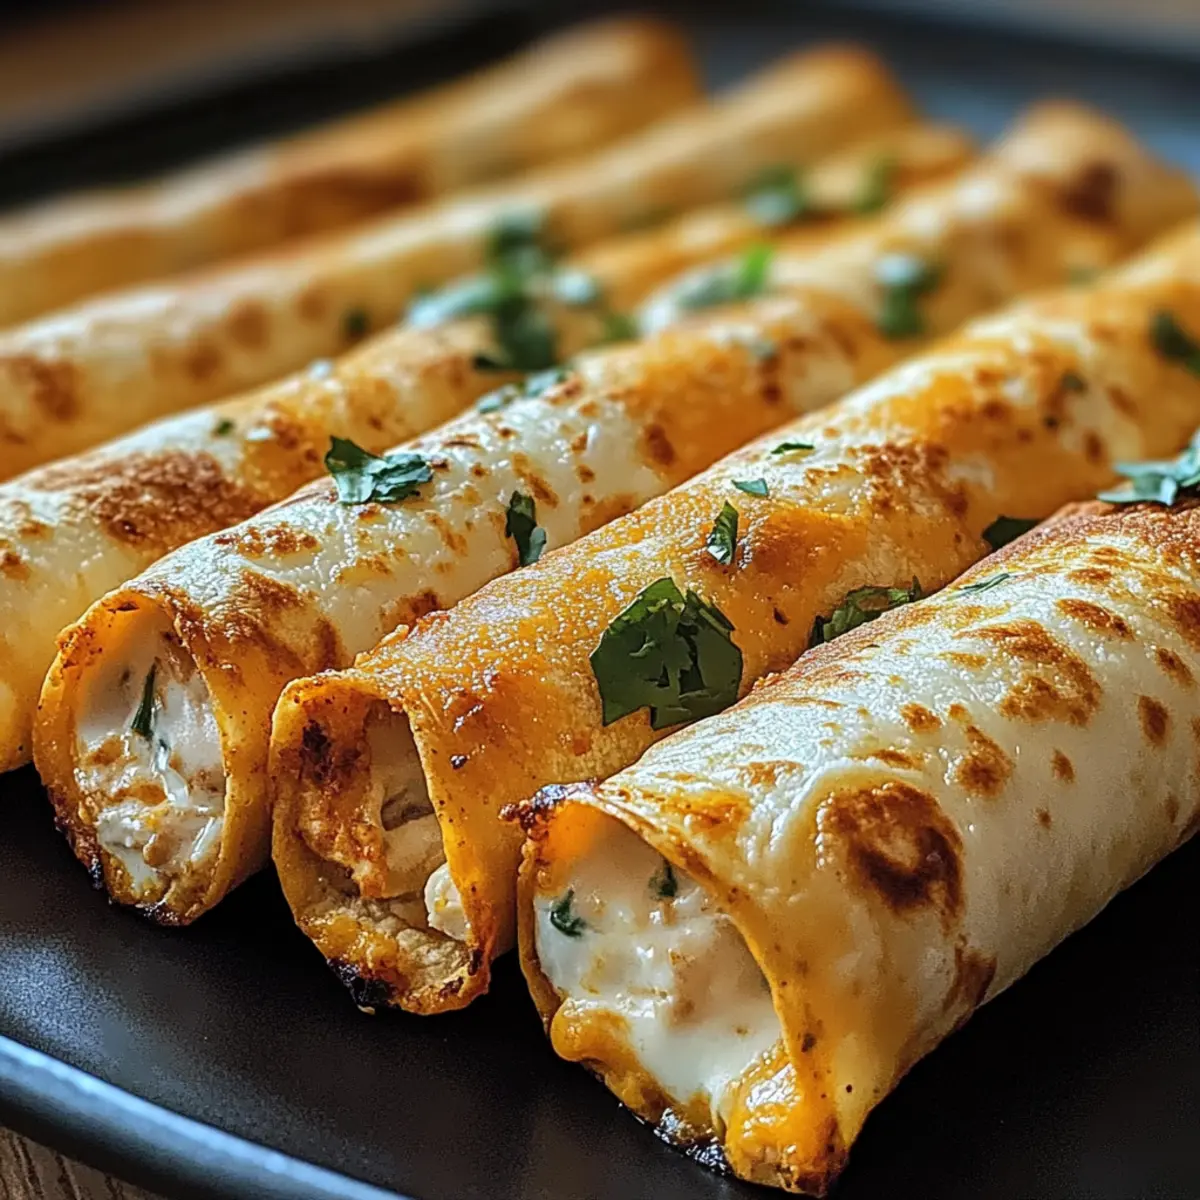
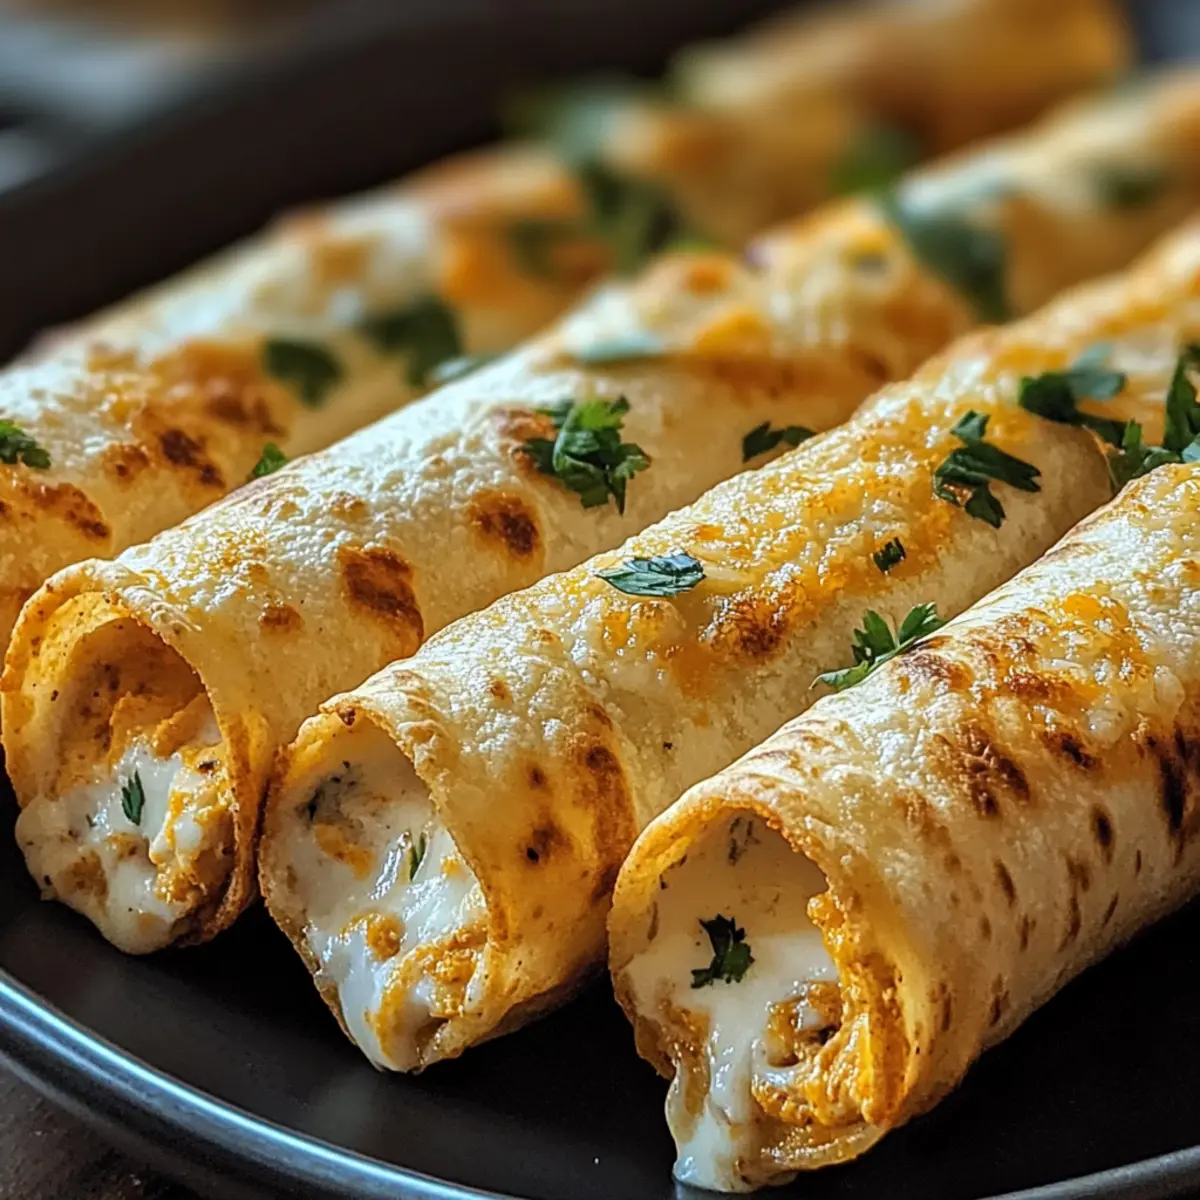
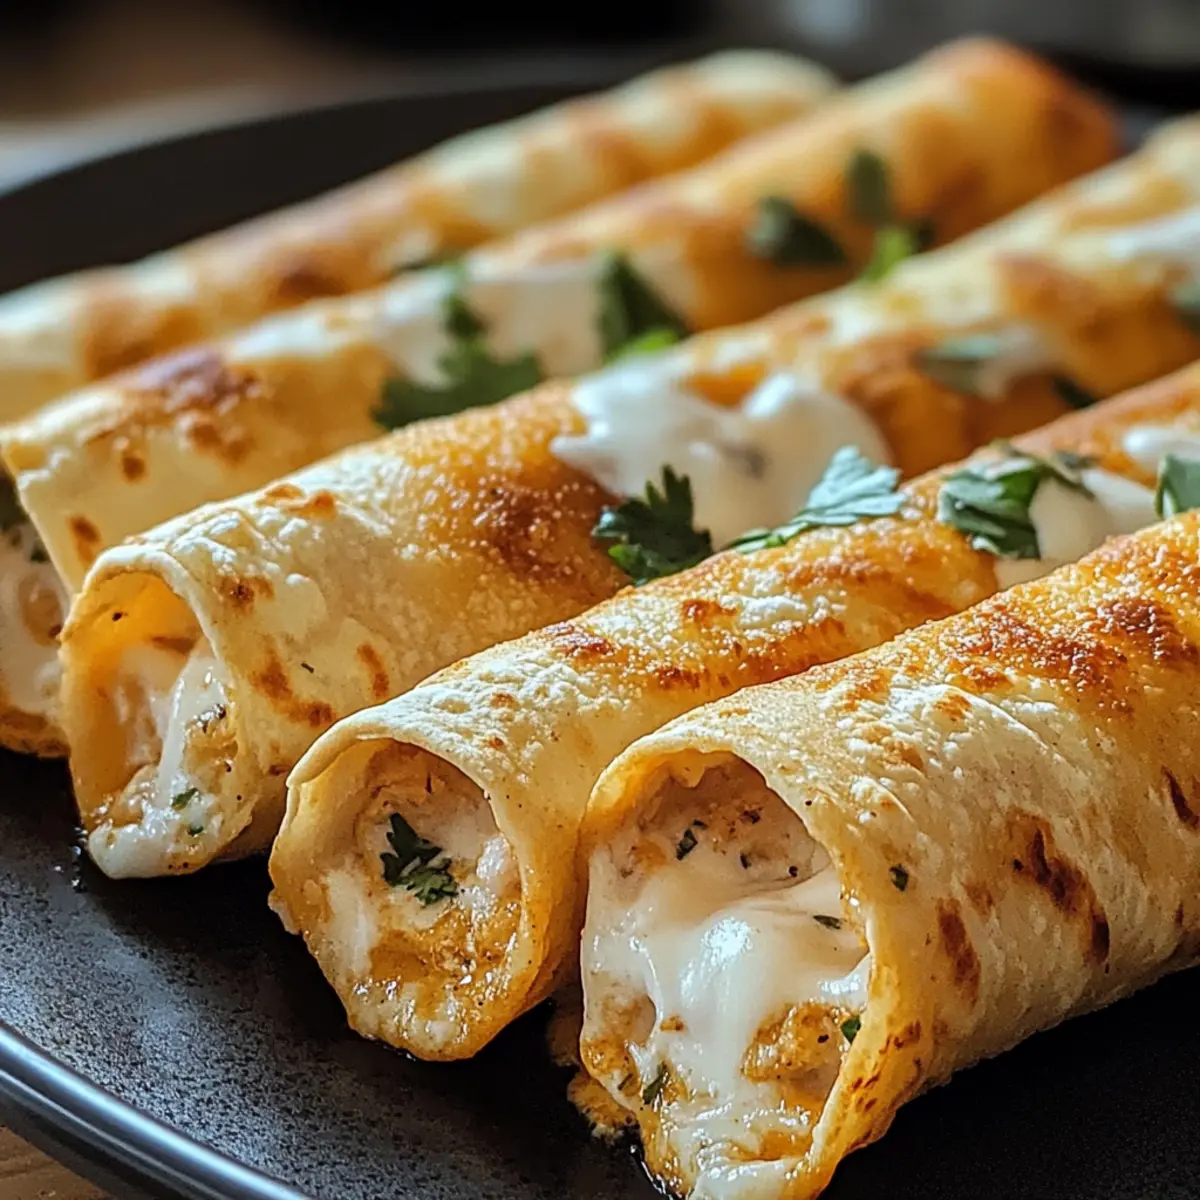
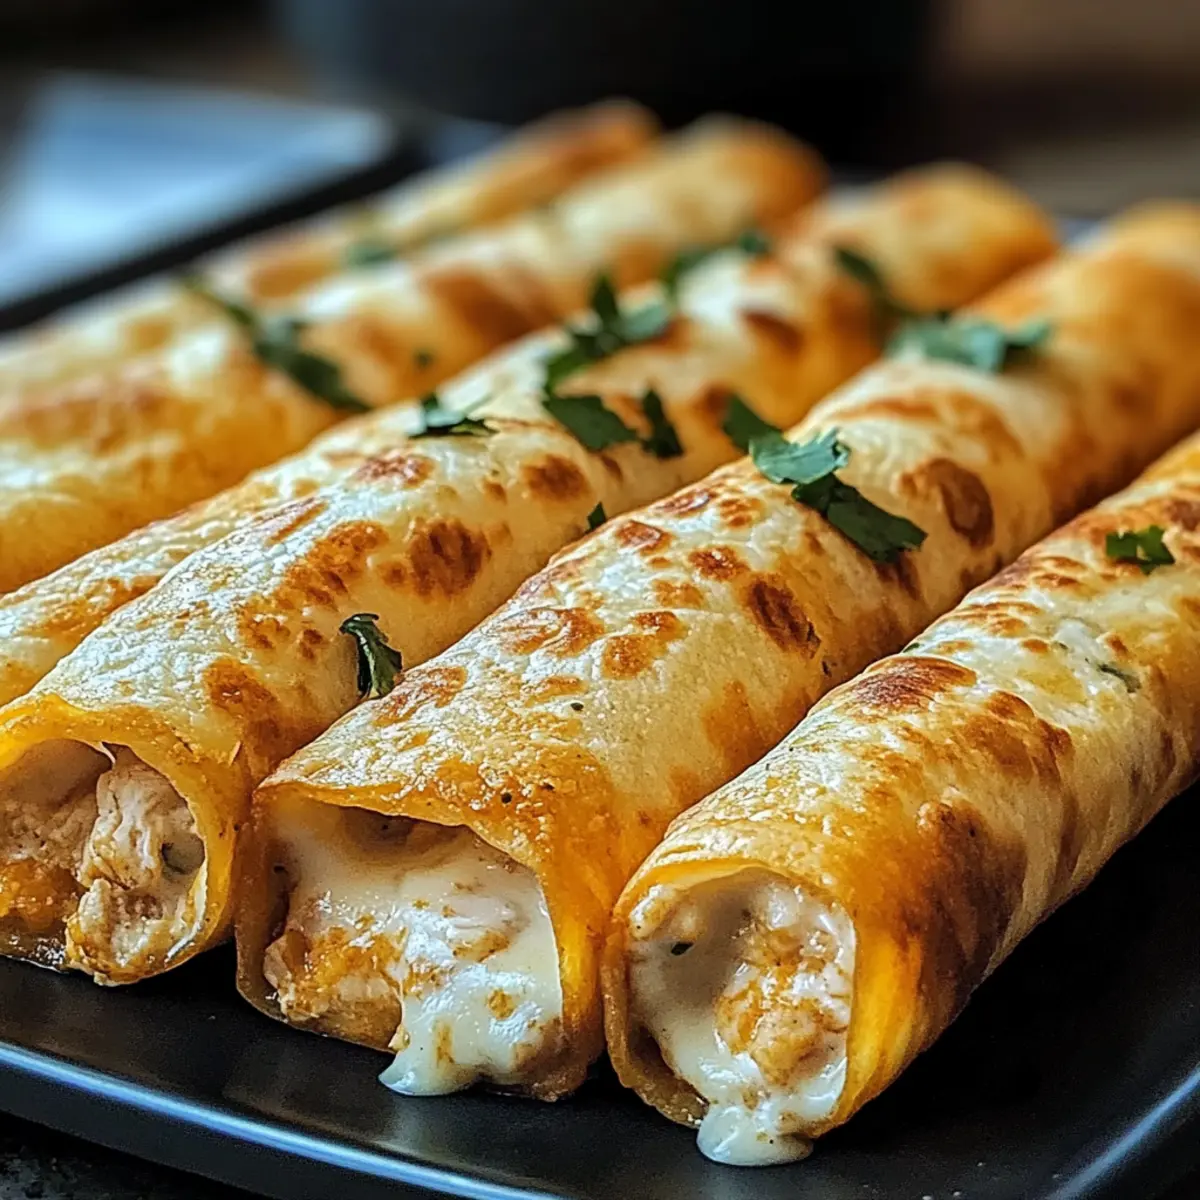
The smell of sizzling tortillas filled with savory chicken is enough to take me back to my favorite Mexican cantina. That’s why I’m thrilled to share my Crispy Chicken Taquitos recipe with you! These delightful baked taquitos are not only quick to whip up but also customizable, allowing you to create a filling that suits your taste buds perfectly. They make for an exceptional snack or appetizer that can elevate any gathering—from game day celebrations to cozy weeknight dinners. Plus, when you use shredded rotisserie chicken, you can have these crunchy bites ready to serve in no time, making them a far better choice than any frozen option. Curiosity piqued? Let’s dive into how to create this mouthwatering treat!
Why are Crispy Chicken Taquitos a must-try?
Bold flavors: Each bite is a burst of savory goodness, thanks to the perfect blend of seasoned chicken and creamy cheese.
Quick and easy: With rotisserie chicken as a shortcut, these taquitos can be assembled in no time, making them a go-to for busy weeknights.
Customizable: Tailor the filling to your liking—add jalapeños for heat or swap for beans for a vegetarian twist.
Crispy goodness: Baking these taquitos ensures a crunchy exterior without the need for frying, making them a healthier indulgence.
Crowd favorite: Perfect for parties, these taquitos are sure to impress your guests alongside a side of guacamole or sour cream.
You can enjoy a delicious snack experience reminiscent of your favorite Mexican eateries with these homemade delights!
Crispy Chicken Taquitos Ingredients
Here’s everything you need to whip up your own delicious Crispy Chicken Taquitos at home!
For the Filling
• Cooked Shredded Chicken – This is your primary protein; using rotisserie chicken saves time and adds rich flavor.
• Cream Cheese – Adds a creamy texture; be sure it’s softened for easy mixing.
• Shredded Cheddar or Mexican Blend Cheese – This contributes melty goodness; feel free to substitute with your favorite cheese blend.
• Salsa – An essential for moisture and flavor; choose mild or spicy based on your preference.
• Garlic Powder – Enhances the savory profile of the filling.
• Chili Powder – Brings warmth and depth characteristic of Mexican flavors.
• Cumin – Adds an earthy touch that complements the chicken beautifully.
• Salt and Black Pepper – Crucial for flavor; don’t forget to adjust to your taste.
For the Taquitos
• Tortillas (Flour or Corn) – The vessel for your filling; warm them slightly before rolling to prevent tearing.
• Cooking Spray or Oil – A light brush helps achieve that desirable crispiness when baked.
Optional Toppings
• Chopped Cilantro – For a fresh touch, sprinkle on top before serving.
• Sour Cream – A classic creamy dip that pairs perfectly with your taquitos.
• Guacamole – Adds a delicious and creamy element for dipping.
• Extra Cheese – Sprinkle some on top for an even cheesier taquito experience.
Gather these ingredients and get ready to indulge in the mouthwatering experience of Crispy Chicken Taquitos!
Step‑by‑Step Instructions for Crispy Chicken Taquitos
Step 1: Preheat the Oven
Begin by preheating your oven to 425°F (220°C). Prepare a baking sheet by lining it with parchment paper or lightly greasing it with cooking spray to prevent sticking. This setup ensures your Crispy Chicken Taquitos come out perfectly golden and crispy without any hassle during cleanup later.
Step 2: Mix the Filling
In a large mixing bowl, combine the cooked shredded chicken, softened cream cheese, shredded cheese, salsa, garlic powder, chili powder, cumin, salt, and pepper. Stir the mixture until it’s well-combined and creamy, ensuring that every bite of your filling will be bursting with flavor. This savory filling is the heart of your delicious taquitos.
Step 3: Soften the Tortillas
To make rolling easier, microwave the tortillas for about 20 seconds until they are soft and pliable. This quick warming step helps prevent the tortillas from tearing as you fill and roll them. Keep them in a warm towel while you prepare the filling to maintain their softness.
Step 4: Fill the Tortillas
Take each tortilla and spoon 2-3 tablespoons of the creamy chicken filling onto one side. Carefully roll the tortilla tightly, ensuring the filling stays secure inside. Place the rolled taquitos seam-side down on the prepared baking sheet, which helps hold their shape as they bake to crispy perfection.
Step 5: Brush with Oil
Lightly brush the tops of the rolled taquitos with cooking spray or a thin layer of oil. This step enhances the golden-brown color and crispiness of your taquitos during baking. Make sure to coat them evenly, so every taquito bakes up just right, craving-like on your plate.
Step 6: Bake the Taquitos
Place the baking sheet in the preheated oven and bake for 15-20 minutes. Keep an eye on them; they should become beautifully golden brown and crisp. If you desire extra crispness, you can broil them for an additional 1-2 minutes at the end, but watch closely to avoid burning.
Step 7: Serve with Toppings
Once baked, remove the taquitos from the oven and let them cool slightly. Serve your Crispy Chicken Taquitos warm, with optional toppings like chopped cilantro, sour cream, or guacamole for dipping. These delicious bites are sure to delight your friends and family, providing a wonderful flavor experience!
Expert Tips for Crispy Chicken Taquitos
- Season Generously: Ensure the chicken is well-seasoned to elevate flavor; a pinch of salt and pepper can make a big difference.
- Tortilla Choice: Use flour tortillas for a softer bite or corn for a traditional approach; warm them to reduce tearing while rolling.
- Customize the Heat: For a spicy kick, mix in jalapeños or your favorite hot sauce into the filling—tailor the heat level to your taste!
- Perfectly Crispy: Avoid soggy taquitos by not overfilling them; 2-3 tablespoons of filling is sufficient for good crispiness.
- Make Ahead: Assemble and freeze taquitos then bake from frozen, just adding a few extra minutes to the cooking time for delicious convenience.
Crispy Chicken Taquitos Variations
Feel free to get creative and tailor these taquitos to match your cravings and dietary preferences!
- Vegetarian Option: Substitute shredded chicken with black beans or refried beans for a hearty and delicious filling. You won’t miss the meat!
- Salsa Verde Twist: Use salsa verde instead of regular salsa for a vibrant, tangy flavor that adds a refreshing kick to every bite.
- Add Veggies: Mix in finely chopped bell peppers or spinach to the filling for a nutrient boost and extra color—perfect for sneaking in some greens!
- Spicy Kick: Add diced jalapeños or a dash of your favorite hot sauce to the filling to elevate the heat level—your taste buds will thank you!
- Cheesy Variation: Swap the cream cheese with a mix of ricotta and mozzarella for a creamy, cheesy goodness that’s perfect for cheese lovers. It’s a gooey delight!
- Herbed Version: Sprinkle in some fresh cilantro, dill, or even a bit of smoked paprika to the filling for an explosion of flavor that brightens the whole dish.
- Crispy Air-Fried: For a lighter option, try cooking the taquitos in an air fryer for that same irresistible crunch without the extra oil—it’s a win-win!
- Dipping Delight: Serve with a variety of dipping sauces like chipotle mayo, ranch dressing, or a zesty cilantro lime sauce for an added layer of deliciousness.
Whether you try these Bang Bang Chicken sliders or indulge in a creamy Hearty Bokchoy Chicken soup, the options are endless! Enjoy mixing and matching to create your perfect snack!
What to Serve with Crispy Chicken Taquitos
Pair your crispy delights with these delicious accompaniments that will elevate your meal experience.
-
Creamy Guacamole: A rich, creamy blend that adds an avocado twist, complementing the savory filling perfectly.
-
Sour Cream: The cool, tangy taste of sour cream balances the warmth of the taquitos, making each bite even more satisfying.
-
Fresh Pico de Gallo: A bright salsa packed with diced tomatoes, onion, and cilantro, adding freshness and a zesty kick to each bite!
-
Mexican Street Corn: Charred corn topped with creamy dressing and spices brings a sweet and savory combo that pairs exceptionally well.
-
Refried Beans: Creamy and hearty, they are an excellent side that provides a comforting and filling contrast to the crispy taquitos.
-
Tropical Fruit Salad: Fresh fruits like mango and pineapple offer a sweet, refreshing contrast that enhances the savory flavors of the taquitos.
For drinks, consider a chilled Mexican cerveza or zesty margarita. Both are delightful partners to complete your feast!
How to Store and Freeze Crispy Chicken Taquitos
Fridge: Store leftover taquitos in an airtight container for up to 3 days. Reheat in the oven for 10 minutes at 350°F (175°C) for best texture.
Freezer: Assemble and freeze taquitos individually on a baking sheet before transferring to a freezer bag. They can be frozen for up to 3 months.
Reheating: Bake from frozen at 425°F (220°C) for 20-25 minutes until crisp and hot. This ensures your Crispy Chicken Taquitos stay delicious!
Make-Ahead: Assemble taquitos and refrigerate for up to 24 hours before baking to save time on busy days.
Make Ahead Options
Crispy Chicken Taquitos are fantastic for meal prep, saving you time during busy weeknights! You can assemble the taquitos up to 24 hours in advance; simply prepare them following the recipe instructions but stop before baking. Place the filled taquitos in an airtight container in the refrigerator to keep them fresh and prevent them from browning. When you’re ready to serve, just take them out, brush with oil, and bake as directed, adding a few extra minutes if they’re chilled. For longer storage, these taquitos can be frozen prior to baking for up to 3 months. Enjoy the convenience of homemade snacks that taste just as delicious as when freshly made!
Crispy Chicken Taquitos Recipe FAQs
How do I choose the right tortillas for taquitos?
For the best results, I recommend using flour tortillas for a softer bite. However, if you prefer a more traditional approach, corn tortillas work beautifully too! Just remember to warm them up slightly before filling to prevent any tearing when rolling.
Can I make these taquitos ahead of time?
Absolutely! You can assemble the taquitos and refrigerate them for up to 24 hours before baking. This way, you’ll have a convenient snack ready for your busy days. Just cover them tightly with plastic wrap or place in an airtight container to keep them fresh.
How do I store leftover taquitos?
Leftover Crispy Chicken Taquitos should be stored in an airtight container in the fridge for up to 3 days. When you’re ready to enjoy them again, simply reheat in the oven at 350°F (175°C) for about 10 minutes to restore their crunch.
Can I freeze the taquitos?
Yes, you can! To freeze, first assemble the taquitos and place them individually on a baking sheet. Freeze them for a couple of hours until solid, then transfer them to a freezer bag. They can be stored for up to 3 months. When you’re ready to cook, bake them from frozen at 425°F (220°C) for about 20-25 minutes until they are scorching hot and crispy.
What can I do if my taquitos come out soggy?
If you find your taquitos aren’t as crispy as you’d like, double-check that you’re not overfilling them; too much filling can lead to sogginess. Additionally, brushing the tops with oil or cooking spray helps achieve that desired crunch. If you want them even crispier next time, consider increasing the baking time a little.
Are these taquitos suitable for dietary restrictions?
You can definitely customize these Crispy Chicken Taquitos to meet various dietary needs! For gluten-free options, just opt for corn tortillas. If you’re looking for a vegetarian version, feel free to swap out the chicken for seasoned beans or vegetables. Enjoy crafting a version that’s perfect for you!
Crispy Chicken Taquitos: A Flavor-Packed Mexican Delight
Ingredients
Equipment
Method
- Preheat your oven to 425°F (220°C) and prepare a baking sheet with parchment paper or spray with cooking spray.
- In a large mixing bowl, combine the cooked shredded chicken, softened cream cheese, shredded cheese, salsa, garlic powder, chili powder, cumin, salt, and pepper until well-combined.
- Microwave the tortillas for about 20 seconds until soft and pliable, and keep them in a warm towel.
- Spoon 2-3 tablespoons of filling onto each tortilla, roll tightly, and place seam-side down on the baking sheet.
- Lightly brush the tops of the taquitos with cooking spray or oil.
- Bake in the preheated oven for 15-20 minutes until golden brown and crisp; broil for an additional 1-2 minutes if desired.
- Serve warm with optional toppings like chopped cilantro, sour cream, or guacamole.
Leave a Reply