
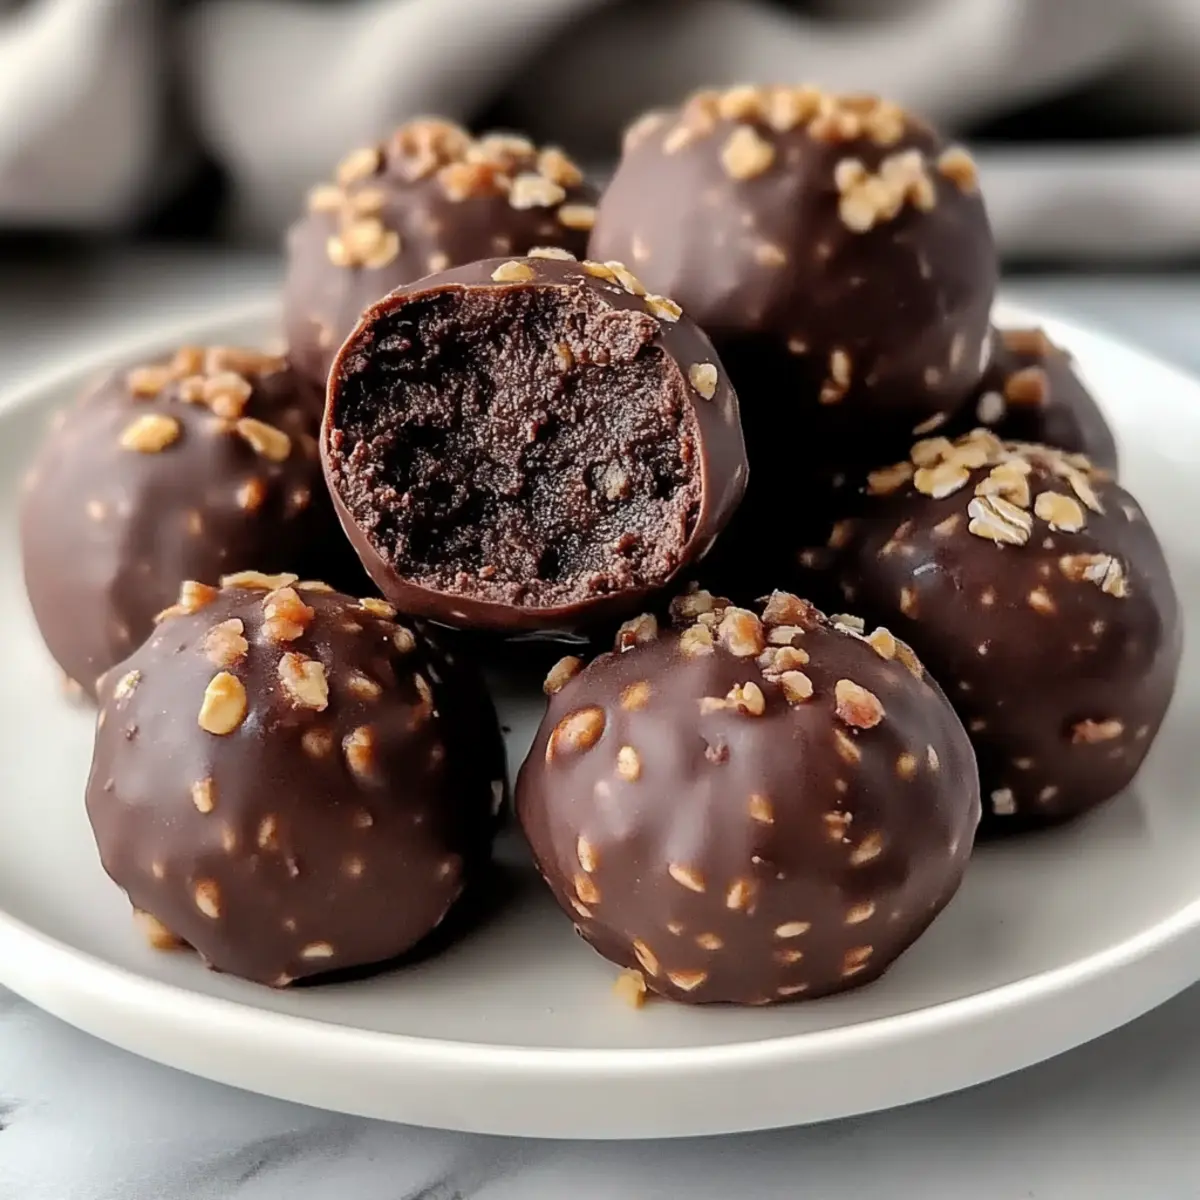
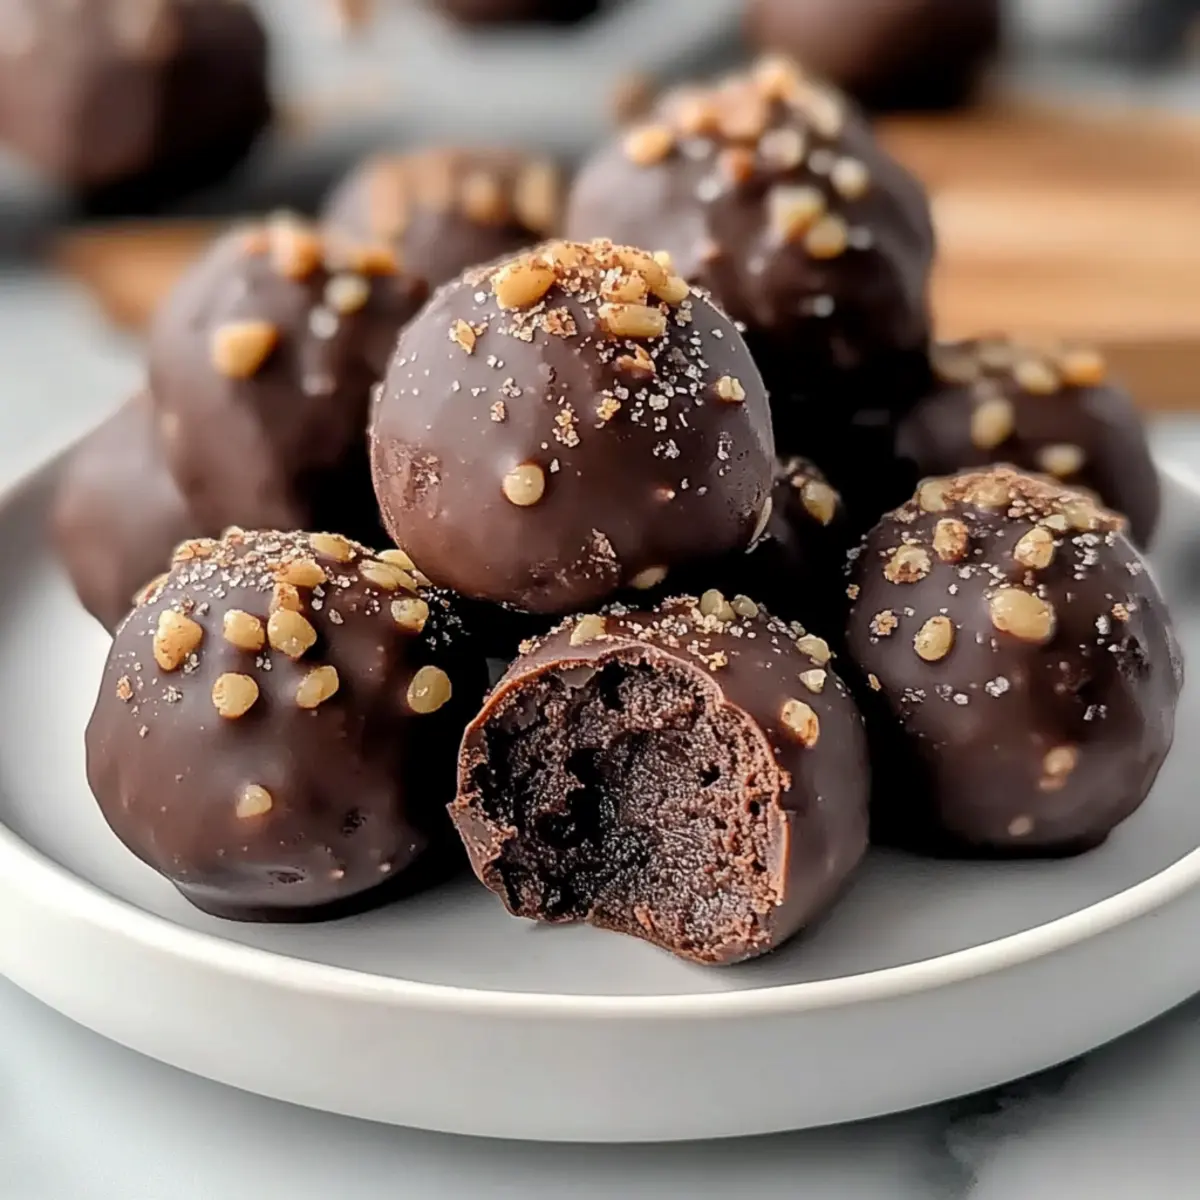
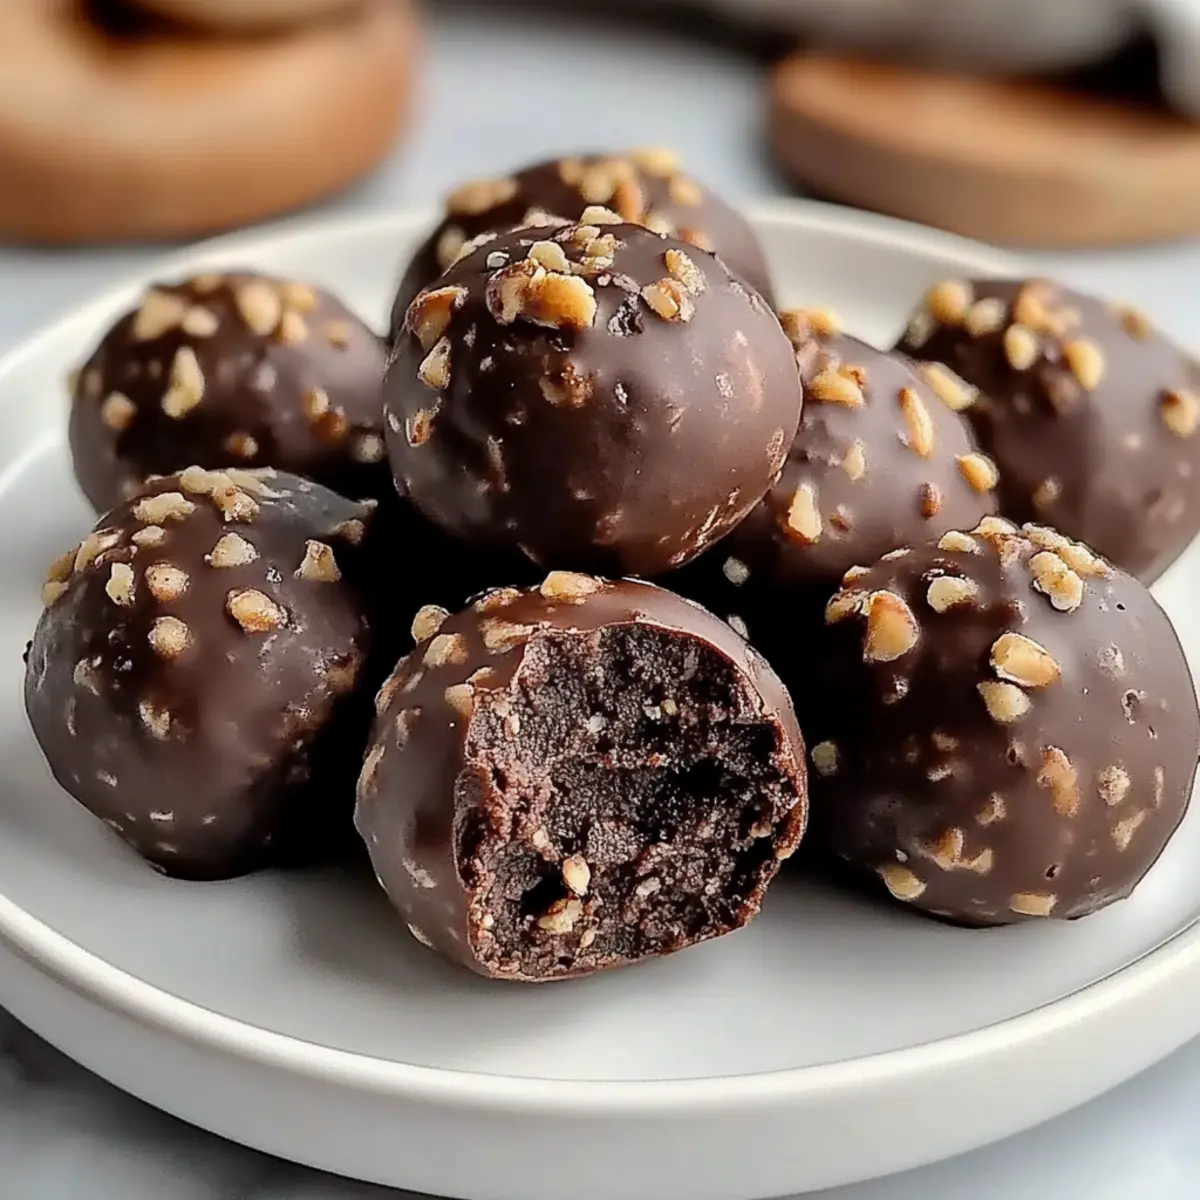
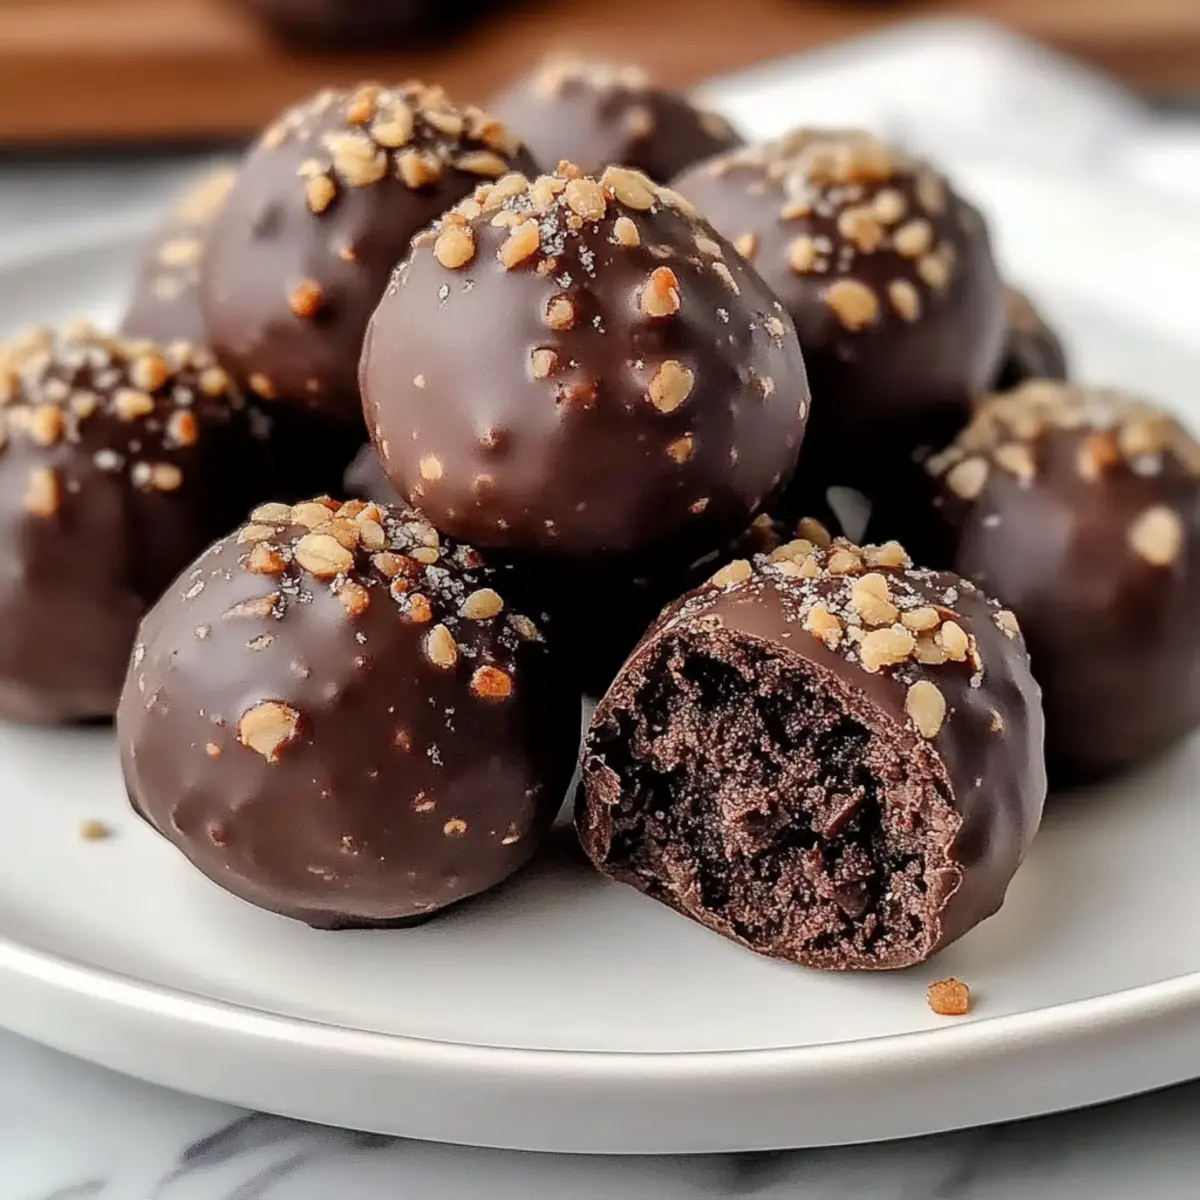
There’s nothing quite like the satisfying crunch followed by the soft chew of a snack that hits all the right notes. Enter my No-Bake Chocolate Protein Balls recipe—a guilt-free indulgence that also doubles as a powerhouse of nutrition. These nutrient-packed bites combine wholesome oats, rich cocoa, and a delightful hint of natural sweetness, making them a go-to for anyone seeking a quick, energy-boosting treat. With just a handful of simple ingredients and no need for baking, they are ideal for meal prep or a spur-of-the-moment craving. Plus, they’re gluten-free and offer a vegan option, so everyone can enjoy their chocolatey goodness. Are you ready to transform snacking into a deliciously healthy experience?
Why Choose This Chocolate Protein Balls Recipe?
Guilt-Free Indulgence: These No-Bake Chocolate Protein Balls are the perfect way to satisfy your sweet cravings without the added sugars.
Easy to Make: With minimal ingredients and no baking required, you can whip these up in minutes!
Versatile Ingredients: Swap almond butter for peanut butter or mix in your favorite seeds for a personalized touch.
Meal Prep Hero: Store them in the fridge or freeze for a quick snack anytime—ideal for busy days!
Power-Packed Nutrition: Each ball is loaded with protein and fiber, making it great for post-workout recovery or a mid-afternoon pick-me-up.
For another tasty option, check out these Breakfast Protein Biscuits for a wholesome breakfast treat.
Chocolate Protein Balls Ingredients
• Delightfully simple and nutritious!
For the Base
- Oats – Adds bulk and fiber, creating a chewy texture that keeps you full.
- Chocolate Protein Powder – Boosts protein content; feel free to use vegan protein powder for a plant-based option.
- Cocoa Powder – Infuses rich chocolate flavor; opt for unsweetened to keep sugar levels low.
For the Binding
- Almond Butter – Provides healthy fats and creaminess; can be swapped for peanut butter for a nutty twist.
- Honey – Acts as a natural sweetener and binding agent; substitute with maple syrup for a vegan-friendly alternative.
- Almond Milk – Adjusts consistency; any non-dairy milk works beautifully for a dairy-free version.
Embrace the joy of making these delectable Chocolate Protein Balls, perfect for snacking without any guilt!
Step‑by‑Step Instructions for Chocolate Protein Balls Recipe
Step 1: Mix the Dry Ingredients
In a large mixing bowl, combine 1 cup of oats, 1/2 cup of chocolate protein powder, and 1/4 cup of cocoa powder. Stir the dry ingredients together until evenly mixed, ensuring there are no clumps of cocoa powder. This will create a great base for your Chocolate Protein Balls, providing both fiber and a rich chocolate flavor.
Step 2: Add the Wet Ingredients
Next, add 1/2 cup of almond butter, 1/4 cup of honey, and 1/4 cup of almond milk to the bowl. Using a spatula, mix thoroughly until a sticky dough forms, making sure all dry ingredients are absorbed. If the mixture feels too dry, add a bit more almond milk gradually until the desired consistency is achieved, and the dough holds together without being overly sticky.
Step 3: Chill the Dough
If the dough is a little too sticky to handle, cover the bowl with plastic wrap and refrigerate for about 10 minutes. This will help firm up the mixture, making it easier to scoop and roll into balls without making a mess. Look for a consistency that’s slightly tacky but can hold its shape well.
Step 4: Form the Protein Balls
Once chilled, scoop out tablespoon-sized amounts of the dough and roll them into 1-inch balls using your hands. Aim for a uniform size so they are consistent in both taste and appearance. Set the rolled balls aside on a clean surface or a plate until all the dough has been shaped into delightful Chocolate Protein Balls.
Step 5: Refrigerate to Set
Transfer the formed balls onto a parchment-lined baking sheet. Refrigerate for at least 30 minutes to help them firm up nicely. Checking at the 30-minute mark, they should be slightly firm to the touch but still have a soft and chewy texture—a perfect treat ready to enjoy!
Step 6: Store the Protein Balls
Once set, store your Chocolate Protein Balls in an airtight container in the fridge for up to 1 week. If you want to keep them longer, freeze them for up to 3 months. This makes them a fantastic meal prep option for quick, nutritious snacks anytime you need a boost!
Chocolate Protein Balls Recipe Variations
Feel free to make these delightful bites your own with these fun and simple twists!
-
Nut-Free: Swap almond butter for sunflower seed butter to create a nut-free option. This is perfect for schools or gatherings with nut restrictions, while still being delicious!
-
Vegan Sweetener: Replace honey with agave nectar or maple syrup for a fully vegan treat. This substitution keeps all the sweetness without any animal products.
-
Add Crunch: Mix in some chopped nuts or seeds for an added crunch, such as walnuts or pumpkin seeds. This will provide a delightful texture contrast with each bite!
-
Flavor Boost: Incorporate 1 teaspoon of cinnamon or a splash of vanilla extract for a flavor twist that elevates the chocolatey goodness to another level.
-
Extra Protein: Add a serving of chia seeds or hemp hearts into the mix for an extra protein punch. They blend seamlessly and boost the nutritional value even more.
-
Fruit Surprise: Toss in some dried fruit like cranberries or chopped dates for a touch of sweetness and chew. The little bursts of flavor will make every bite exciting.
-
Cocoa Alternatives: Experiment with carob powder instead of cocoa for a unique, slightly sweeter flavor. This option brings a new taste while maintaining that chocolaty feel.
For more nourishing recipes, don’t miss out on these irresistibly delicious options like High Protein Cajun and Winter Wonderland Chocolate. Enjoy customizing your Chocolate Protein Balls!
Make Ahead Options
These No-Bake Chocolate Protein Balls are a fantastic choice for meal prep! You can mix and form the balls up to 24 hours in advance, simply refrigerating them until you’re ready to enjoy. To maximize freshness, consider rolling the balls and placing them in an airtight container in the fridge, where they can stay fresh for up to 1 week. Alternatively, freeze them for up to 3 months—just be sure to thaw them in the refrigerator overnight before serving. When it’s time to indulge, they’ll be just as delicious and nutritious, ready to provide that perfect energy boost whenever you need it!
What to Serve with No-Bake Chocolate Protein Balls?
Looking to elevate your snacking experience with delightful pairings that perfectly complement these guilt-free treats?
- Fresh Fruit: Slices of apple or banana add a juicy freshness that balances the rich chocolate flavor.
- Greek Yogurt: Creamy and tangy, yogurt offers a nutritious dip or side for a refreshing contrast.
- Nutty Granola: Crunchy granola provides an extra layer of texture and flavor, making every bite more satisfying.
- Coconut Chia Pudding: An exotic twist with coconut flavor and added health benefits, this pudding pairs beautifully with the protein balls. Enjoy it as a side dish for a refreshing treat!
- Chocolate Almond Milk: For a sweet, chocolatey drink that resonates with the flavor of the protein balls, this is a perfect pick-me-up!
- Trail Mix: A handful of nuts and dried fruits adds delightful crunch and sweetness, creating a wholesome snack mix to enjoy alongside.
- Energy Smoothie: Blend your favorite fruits and vegetables for a nutrient-rich smoothie that enhances your snacking moment!
- Dark Chocolate Dipped Strawberries: Add a touch of indulgence with these luscious bites that elevate the chocolate experience even more.
- Honey Drizzle: A light drizzle of honey over the protein balls can enhance their sweetness, making them an irresistible treat!
- Herbal Tea: Sipping a warm tea will cleanse your palate and provide a comforting solution to counterbalance the sweetness.
Storage Tips for Chocolate Protein Balls
-
Fridge: Store your Chocolate Protein Balls in an airtight container in the fridge for up to 1 week. This keeps them fresh and ready for snacking.
-
Freezer: For longer storage, freeze the protein balls for up to 3 months. Just place them in a single layer on a baking sheet to freeze individually before transferring to a freezer-safe container.
-
Thawing: To enjoy, simply take out the desired amount and let them thaw at room temperature for about 10–15 minutes. Avoid using a microwave, as it may alter their delicious texture.
-
Meal Prep: These protein balls make excellent meal prep snacks. Prepare a larger batch on the weekends and have a healthy treat on hand all week long!
Tips for the Best Chocolate Protein Balls
-
Perfect Dough Consistency: Make sure the dough holds together well but isn’t too sticky. If it’s too sticky, refrigerate for easier handling.
-
Mix-In Magic: Feel free to customize your Chocolate Protein Balls by adding dried fruits, seeds, or even mini chocolate chips for a fun twist.
-
Flavor Variations: Swap almond butter with other nut butters or seed butters to create a flavor profile that excites your taste buds!
-
Storage Savvy: Keep your protein balls in an airtight container in the fridge for freshness, or freeze them for later; undeniably handy for on-the-go snacking!
-
Avoid Overmixing: Just combine the ingredients until well mixed; overmixing can lead to a tough texture. Enjoy your strong yet soft bites!
Chocolate Protein Balls Recipe FAQs
How do I choose ripe or quality ingredients for this recipe?
Absolutely! When selecting your oats, go for rolled oats rather than instant for the best texture. For the almond butter, choose natural varieties without added sugar or hydrogenated oils for a healthier option. If you’re opting for cocoa powder, unsweetened versions will give you the richest, most chocolatey flavor without added sugars.
How should I store the Chocolate Protein Balls?
Very simple! Store your Chocolate Protein Balls in an airtight container in the fridge for up to 1 week. Make sure they are completely chilled before storing to maintain freshness. If you’ve made a big batch, or just want to extend their shelf life, you can freeze them for up to 3 months. Just layer them between parchment paper in a freezer-safe container.
Can I freeze Chocolate Protein Balls, and if so, how?
Absolutely! To freeze, first place the rolled balls on a baking sheet in a single layer and freeze them individually for about 1-2 hours. Once firm, transfer them into a freezer-safe container or a zip-top bag, separating layers with parchment paper. This method prevents them from sticking together and allows for easy snacking later.
What should I do if my dough is too sticky?
If your dough is too sticky to handle, simply refrigerate it for about 10 minutes. This chilling time makes the dough easier to scoop and roll into balls. If it remains sticky after chilling, try adding a bit more oats or protein powder, a teaspoon at a time, until you reach a workable consistency.
Are there any dietary considerations I should be aware of?
Yes! If you have nut allergies, you can swap almond butter for sunflower seed butter to make a nut-free version. For anyone managing sugar intake, using unsweetened protein powder and replacing honey with a sugar-free syrup can keep your Chocolate Protein Balls both tasty and lower in sugar. Always double-check ingredient labels to ensure they meet your dietary needs.
How can I customize the Chocolate Protein Balls for variety?
The more the merrier! You can add in extras such as dried fruit like cranberries or apricots, seeds for a nutrient boost, or even mini chocolate chips for a delightful surprise in every bite. Experimentation is key — feel free to mix and match to find your favorite combination!
Delicious Chocolate Protein Balls Recipe for Guilt-Free Indulgence
Ingredients
Equipment
Method
- In a mixing bowl, combine oats, chocolate protein powder, and cocoa powder. Stir until evenly mixed.
- Add almond butter, honey, and almond milk to the bowl. Mix until a sticky dough forms.
- If too sticky, refrigerate the dough for about 10 minutes.
- Scoop out tablespoon-sized amounts and roll into balls.
- Place onto parchment-lined baking sheet and refrigerate for at least 30 minutes.
- Store in an airtight container in the fridge for up to 1 week or freeze for up to 3 months.
Leave a Reply