
Amidst the chaos of modern life, who doesn’t crave the warm embrace of freshly baked bread? This BEST Artisan No-Knead Bread Recipe (Overnight Method) is here to bring the comforting magic of homemade bread right to your kitchen, with none of the fuss. Imagine waking up to the smell of warm, crusty loaves, ready for your perfect morning toast or an indulgent sandwich. With a crust that crackles and an airy, chewy inside, this recipe is not only impressively easy—perfect for busy schedules—but also a delightful way to impress friends and family with your baking prowess. Just mix and leave it overnight, and I promise, the results will make it a staple in your home. Are you ready to unlock the secret to simple artisan baking? Let’s dive in!
Why Is This Bread So Irresistible?
Simplicity is at the heart of this recipe, allowing you to create bakery-quality bread without any kneading fuss. Aromatic and Fresh, it fills your home with a mouth-watering scent while baking overnight, making it the perfect start to your day. Versatile in its use, enjoy it as toast, sandwiches, or a charming bruschetta base. Time-saving, it requires minimal effort—just mix ingredients and let time do the work. With crowd-pleasing charm, it’s sure to wow family and friends, proving that great taste can come effortlessly! Plus, for more baking inspiration, check out my Best Banana Bread Comfort or Moist Chocolate Bread recipes!
BEST Artisan No-Knead Bread Ingredients
• To create the magic of this overnight artisan bread, gather these essential ingredients.
For the Dough
- Bread Flour – Provides the necessary structure and chewiness; for a softer texture, consider using all-purpose flour.
- Salt – Enhances flavor and supports gluten structure; measure accurately for the best results.
- Instant Yeast – Starts fermentation and gives rise to the dough; active dry yeast can substitute but may need proofing.
- Diastatic Malt Powder – Improves flavor and crust color; if unavailable, it can be omitted but contributes to a superior texture.
- Warm Water – Activates the yeast and hydrates the flour; perfect temperature is between 100°F to 110°F for optimum results.
This BEST Artisan No-Knead Bread Recipe (Overnight Method) transforms simple ingredients into a delightful experience that’ll make your kitchen the heart of the home!
Step‑by‑Step Instructions for BEST Artisan No Knead Bread Recipe (Overnight Method)
Step 1: Mix Dry Ingredients
In a large mixing bowl, whisk together 3 cups of bread flour, 1 ½ teaspoons of salt, ½ teaspoon of instant yeast, and 1 tablespoon of diastatic malt powder until evenly combined. This process helps distribute the yeast and salt uniformly, ensuring a well-balanced flavor throughout your BEST Artisan No-Knead Bread.
Step 2: Combine with Water
Pour in 1 ½ cups of warm water (between 100°F to 110°F) into the dry ingredients. Use a wooden spoon or spatula to stir until no dry flour remains, and the dough appears shaggy and slightly sticky. This mixture forms the base for your bread, allowing the flour to hydrate fully and activate the yeast for overnight fermentation.
Step 3: Initial Proofing
Cover the bowl tightly with plastic wrap or a lid, creating a warm environment for the dough. Allow it to rest at room temperature for 12 to 18 hours, giving it time to rise and develop its flavor. After this period, the surface should be bubbly and the dough will have increased significantly in size, indicating it’s ready for the next step.
Step 4: Shape the Dough
Once the dough has proofed, generously flour a clean surface. Use floured hands to gently scrape the dough out of the bowl, being careful not to deflate it too much. Shape it into a ball by folding the edges toward the center, then transfer the formed dough onto a piece of parchment paper. Cover it with a towel and let it rest for about 30 minutes.
Step 5: Prepare Dutch Oven
While the dough is resting, place your Dutch oven (with the lid on) in an unheated oven. Preheat to 450°F (232°C) so it warms up thoroughly. Preheating the Dutch oven creates a steam environment that gives your BEST Artisan No-Knead Bread a wonderfully crispy crust during baking.
Step 6: Bake the Bread
Once preheated, carefully remove the Dutch oven from the oven (it will be extremely hot). Lift the dough using the parchment paper and gently place it into the hot Dutch oven. Cover with the lid and bake for 30 minutes. This initial covered phase allows the dough to rise properly before forming a crust.
Step 7: Finish Baking
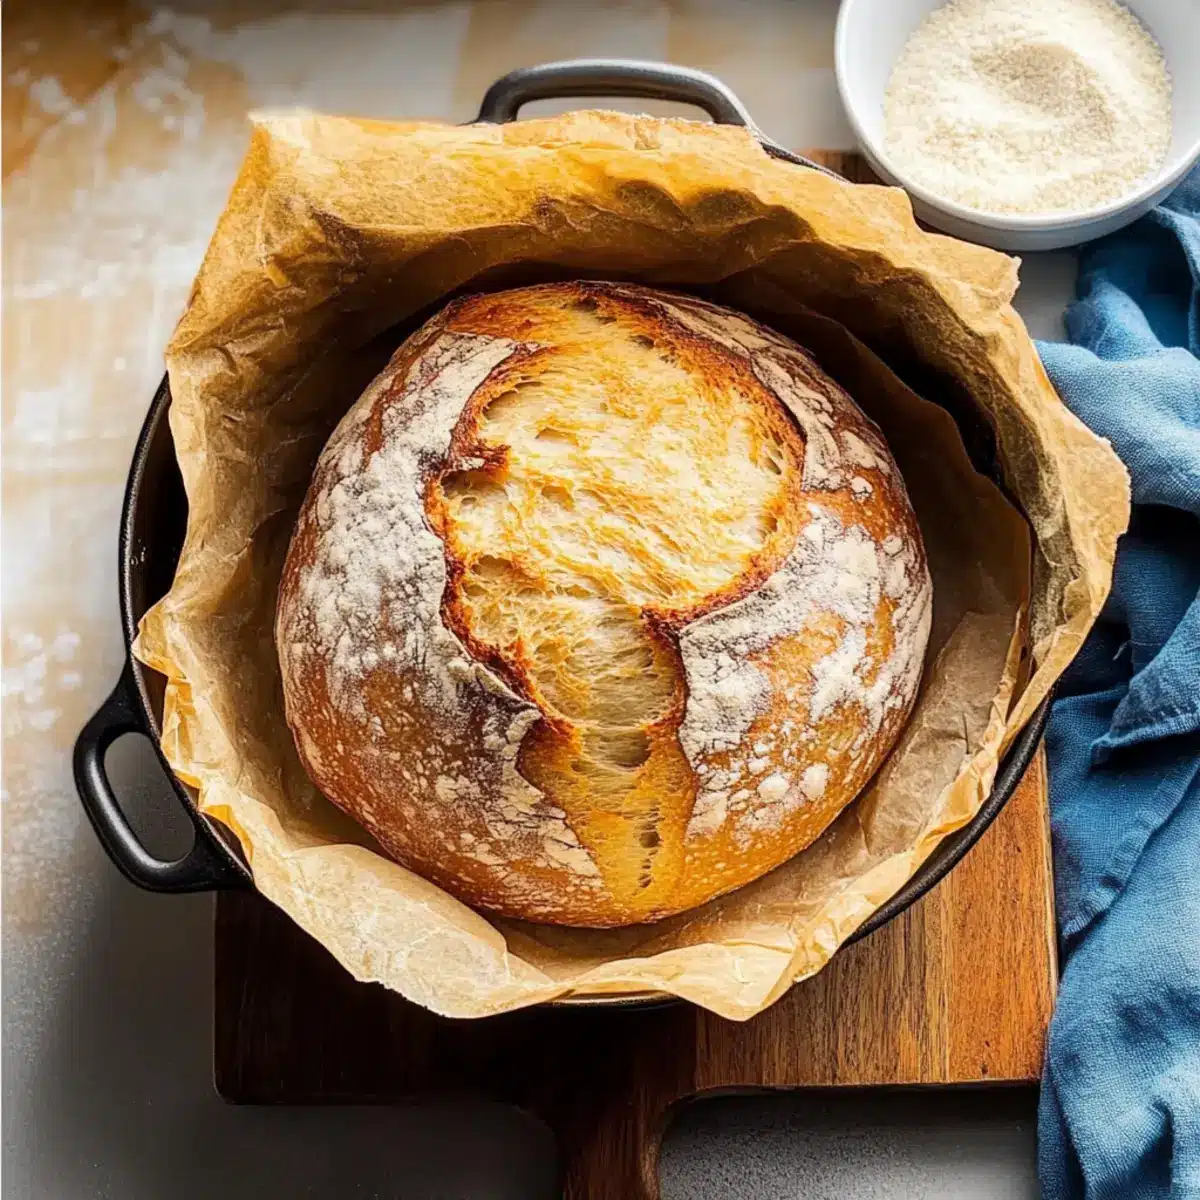
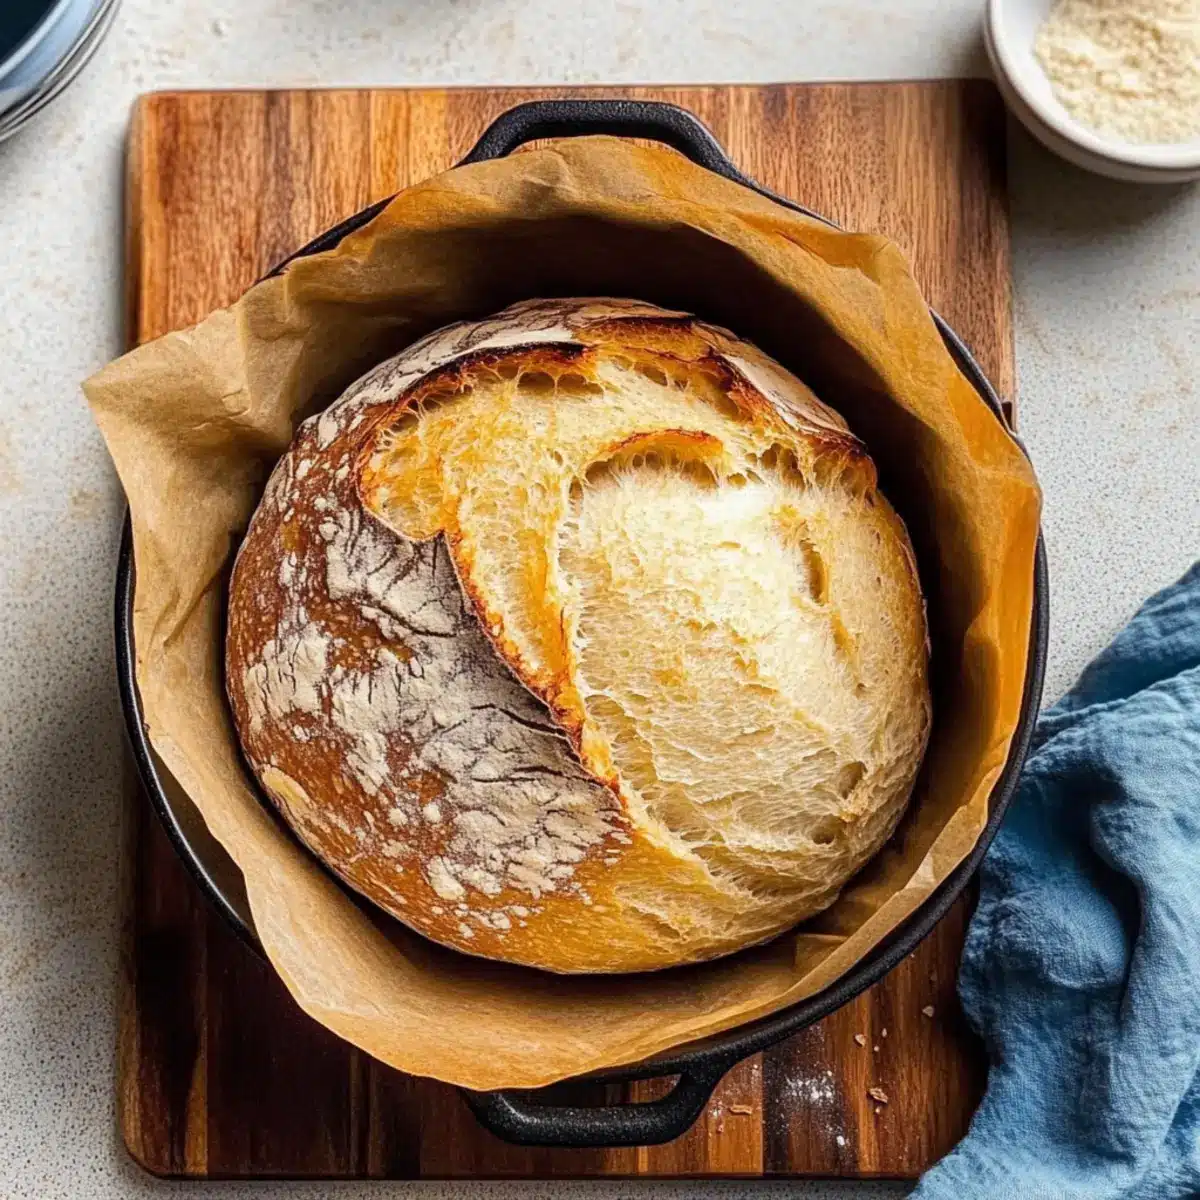
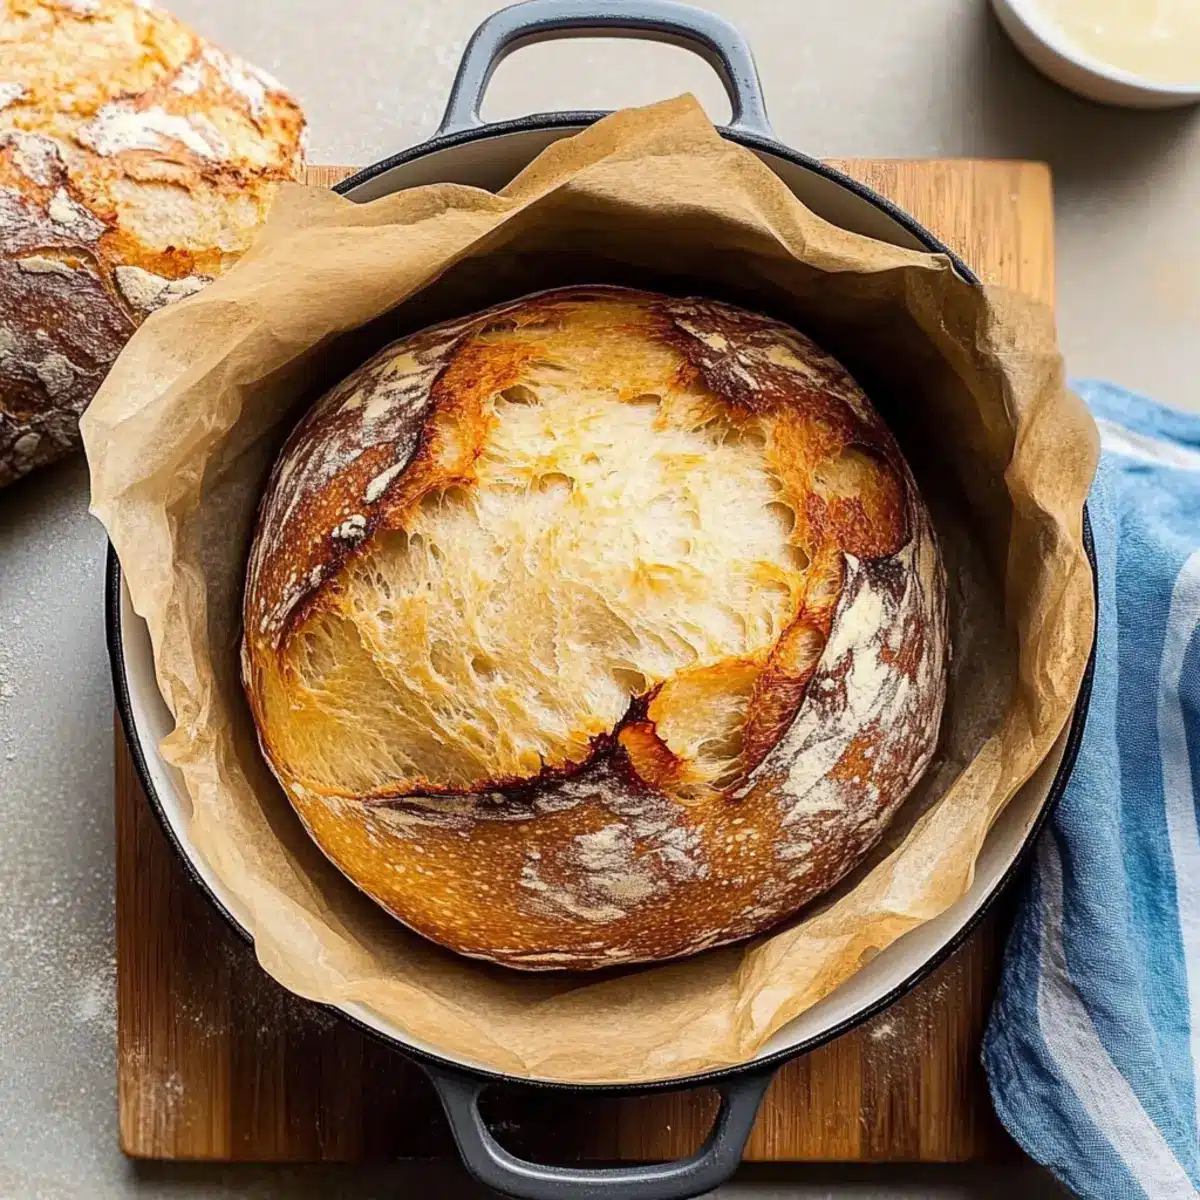
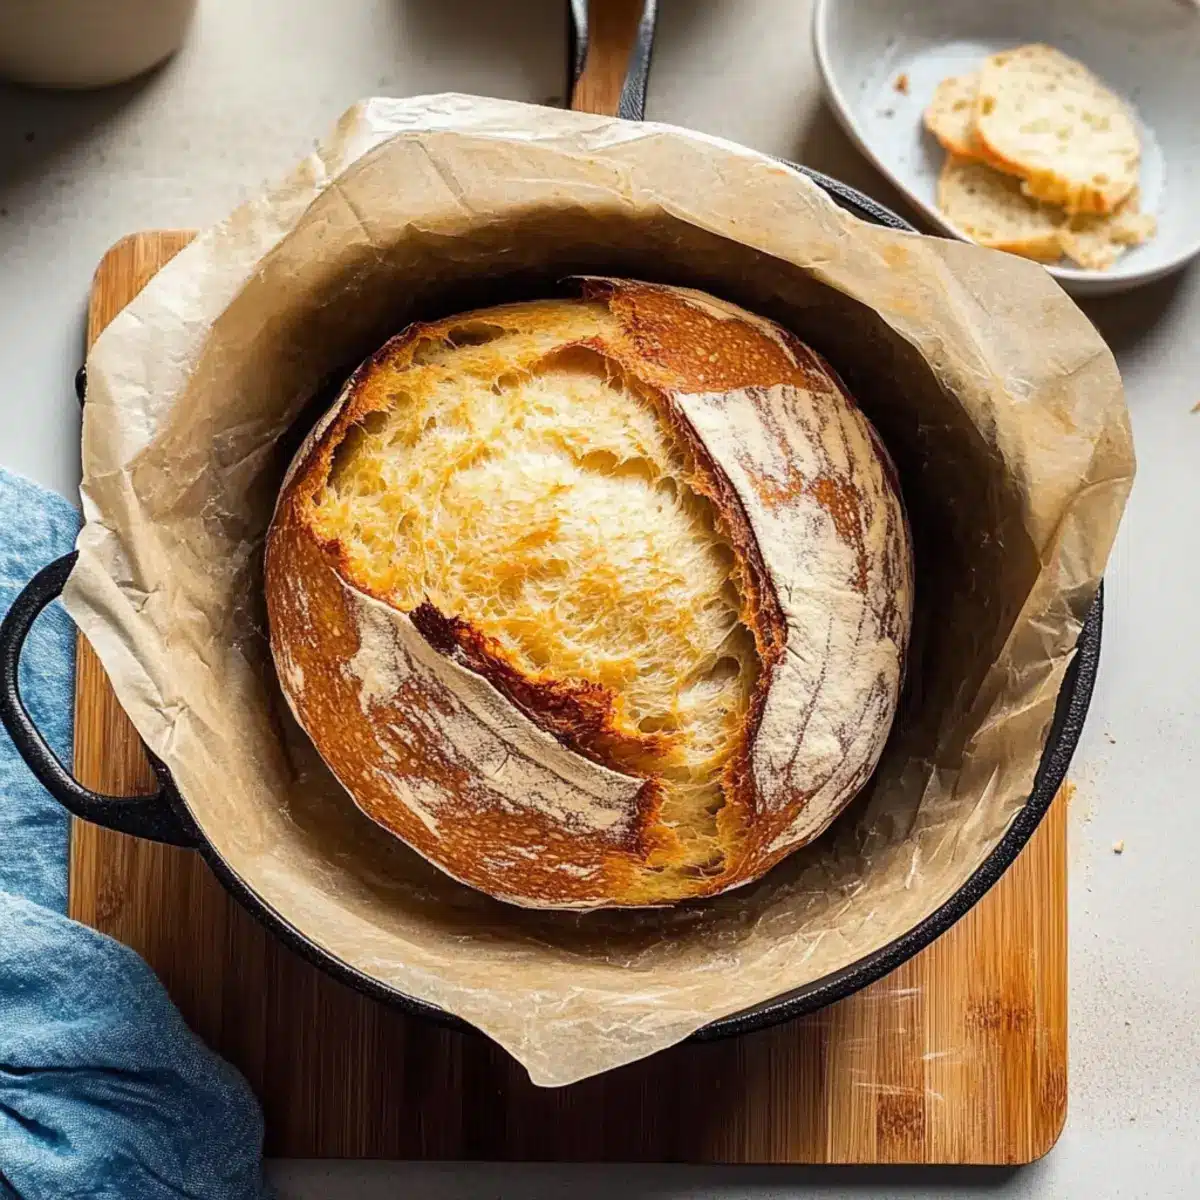
After 30 minutes, carefully remove the lid to reveal your beautiful loaf. Bake for an additional 10 to 15 minutes until the crust is a rich golden brown and crackles invitingly. Keep an eye on it, as oven conditions may vary slightly, checking for that signature crispiness that defines artisan bread.
Step 8: Cool the Bread
Once baked, transfer the bread on the parchment paper to a wire rack and let it cool for 1 to 2 hours. This cooling period is essential for the bread to set properly; slicing too soon can affect the interior texture. Enjoy the warm aroma of your freshly completed BEST Artisan No-Knead Bread!
Make Ahead Options
Preparing the BEST Artisan No-Knead Bread ahead of time makes your busy mornings effortless! You can mix the dough and allow it to proof for up to 24 hours at room temperature, which enhances its flavor while you kick back. If you’re looking to prep even further in advance, shape the dough after the initial proofing and refrigerate it for up to 3 days (just cover it tightly with plastic wrap). Before baking, let it rest at room temperature for about 30 minutes while your Dutch oven preheats. This way, your bread will rise beautifully, delivering the same incredible texture and taste! Following these tips ensures your homemade bread is just as delicious when baked, perfect for any meal or occasion.
Storage Tips for BEST Artisan No-Knead Bread
Room Temperature: Store leftover bread in a bread box or tightly wrapped in plastic for up to 3 days to maintain freshness.
Fridge: While refrigeration can extend shelf life, it may dry out the bread; only refrigerate if you live in a very humid environment.
Freezer: For long-term storage, slice and freeze the bread for up to 2 months in an airtight bag. Thaw in the refrigerator before reheating.
Reheating: Warm slices in a toaster or oven at 350°F (175°C) for 5-10 minutes to revive that fresh-baked texture with your BEST Artisan No-Knead Bread.
BEST Artisan No-Knead Bread Variations
Feel free to get creative and personalize your baking journey with these delightful twists!
-
Herb-Infused:
Add fresh or dried herbs like rosemary, thyme, or oregano for a fragrant touch. The aroma will mingle beautifully with the baking bread. -
Olive & Feta:
Mix in chopped olives and crumbled feta cheese for a Mediterranean flair. This variation adds a burst of saltiness and depth, creating a perfect pairing for soups. -
Seed Medley:
Toss in pumpkin seeds, sunflower seeds, or sesame seeds for added crunch and nutrition. These seeds not only enhance texture but also elevate the bread’s visual appeal. -
Spicy Kick:
Integrate crushed red pepper flakes for a touch of heat. This little addition brings an unexpected zing that will keep your taste buds dancing! -
Sweet Cinnamon Raisin:
Add cinnamon and plump raisins for an ideal breakfast loaf. This variation turns your no-knead bread into a comforting morning treat, especially delightful with a pat of butter. -
Cheddar & Chive:
Incorporate shredded sharp cheddar and fresh chives for a savory twist. The melted cheese creates that gooey texture that’s perfect for a side dish at dinner. -
Nutty Delight:
Mix in chopped walnuts or pecans for added richness. The nuts not only contribute to flavor but also add a pleasant crunch on every bite. -
Fruit & Nut Blend:
Experiment with dried fruits and nuts for a hearty, wholesome loaf. Apricots, cranberries, or figs combined with almonds or hazelnuts create an explosion of flavors, especially great for brunch!
Dive into these irresistible variations while exploring the endless possibilities of your BEST Artisan No-Knead Bread Recipe. If you’re craving more baking ideas, don’t miss out on my Moist Apple Bread or the deliciously quick One Bowl Banana Bread! Enjoy your baking adventure!
What to Serve with Artisan No-Knead Bread
The delightful aroma of freshly baked bread invites a feast that excites the senses and warms the soul.
-
Creamy Tomato Soup: A classic pairing that complements the chewy texture of the bread while enhancing its flavor with comforting richness.
-
Herb Butter: Whipped butter mixed with fresh herbs adds a burst of flavor, perfect for slathering on warm slices. This pairing takes bread indulgence to another level.
-
Fresh Salad: A crisp, garden salad introduces a refreshing contrast, balancing the hearty bread while adding a burst of vibrant colors to your meal. Toss in a tangy vinaigrette for an extra zing.
-
Charcuterie Board: Serve alongside cured meats, cheeses, and olives to create a sophisticated spread. The bread acts as a wonderful vessel, perfect for savoring rich flavors.
-
Garlic and Herb Mushrooms: Sautéed mushrooms in butter and herbs provide an earthy depth and a treat for the palate, making your meal truly unforgettable.
-
Olive Oil and Balsamic Vinegar: Pair with a bowl for dipping; this simple yet flavorful option emphasizes the rustic charm of the artisan bread.
-
Red Wine: A glass of full-bodied red wine enhances the overall experience, making every bite and sip a moment to savor.
-
Chocolate Fondue: End with a sweet twist by pairing with homemade chocolate fondue. The crusty bread dipped into melted chocolate creates an indulgent dessert experience.
Expert Tips for BEST Artisan No-Knead Bread
-
Perfect Timing: Allow the dough to proof for 12-18 hours; this fermentation time is essential for developing flavor in your BEST Artisan No-Knead Bread.
-
Avoid Over-Handling: When shaping the dough, handle it gently to retain air bubbles that create the airy texture. Avoid deflating it too much to ensure a light rise.
-
Check Dough Temperature: Use a thermometer to ensure your warm water is between 100°F to 110°F. Getting this temperature right is crucial for activating yeast effectively.
-
Temperature Control: Make sure your Dutch oven is preheated properly; this creates steam which is vital for that desirable crispy crust on your loaf.
-
Cooling Time Matters: Allow the bread to cool completely before slicing. This waiting period helps the interior set properly and enhances texture and flavor—trust me, it’s worth it!
BEST Artisan No-Knead Bread Recipe FAQs
How do I select the right flour for this recipe?
Absolutely! For the BEST Artisan No-Knead Bread, using bread flour is key because it provides the necessary structure and chewiness. However, if you’re looking for a softer texture, all-purpose flour can work as a fine substitute. Just remember, bread flour typically yields a more authentic artisan crumb.
How should I store leftover bread?
To keep your bread fresh, I recommend storing it at room temperature, tightly wrapped in plastic or in a bread box for up to 3 days. For longer storage, slice the bread and freeze it in an airtight bag for up to 2 months. When you’re ready to enjoy it again, just thaw it in the refrigerator overnight and reheat it in a warm oven for that fresh-baked taste!
Can I freeze the dough before baking?
Absolutely! If you’d like to freeze the dough, after the initial proofing step, shape it into a ball and wrap it tightly in plastic wrap. It can be frozen for up to 3 months. When you’re ready to bake, simply thaw it in the refrigerator overnight and let it sit at room temperature for about an hour before baking.
What should I do if my bread doesn’t rise?
Very! If your bread doesn’t rise as expected, it could be due to a couple of factors. Check the age of your yeast; if it’s expired, it can lose potency. Also, ensure your warm water is at the proper temperature (100°F to 110°F) since water that is too hot can kill the yeast. Lastly, give it more time during the proofing stage; some environments are cooler and may require longer to rise.
Can I make this recipe gluten-free?
While I recommend sticking with bread flour for the original recipe, you can try using a gluten-free bread flour blend. However, please note that the texture may vary and the results might not be exactly the same. Additionally, using xanthan gum can help to mimic the elasticity gluten provides in baking.
Is this bread safe for pets?
It’s best to keep this bread away from pets. While ingredients like flour and water are generally safe, the salt and yeast can be harmful to animals if consumed in significant quantities. For your pet’s safety, it’s advisable to only share small, plain pieces (without any toppings) occasionally!
Best Artisan No-Knead Bread Recipe for Effortless Mornings
Ingredients
Equipment
Method
- In a large mixing bowl, whisk together bread flour, salt, instant yeast, and diastatic malt powder until evenly combined.
- Pour in warm water into the dry ingredients and stir until no dry flour remains.
- Cover the bowl tightly and let it rest at room temperature for 12 to 18 hours.
- Generously flour a clean surface and gently scrape the dough out of the bowl.
- Shape the dough into a ball and transfer it onto a piece of parchment paper. Let rest for about 30 minutes.
- Preheat your Dutch oven at 450°F with the lid on.
- Carefully remove the Dutch oven and place the dough with parchment paper inside. Cover and bake for 30 minutes.
- Remove the lid and bake for an additional 10 to 15 minutes until the crust is golden brown.
- Transfer the bread to a wire rack and let it cool for 1 to 2 hours.
Leave a Reply