
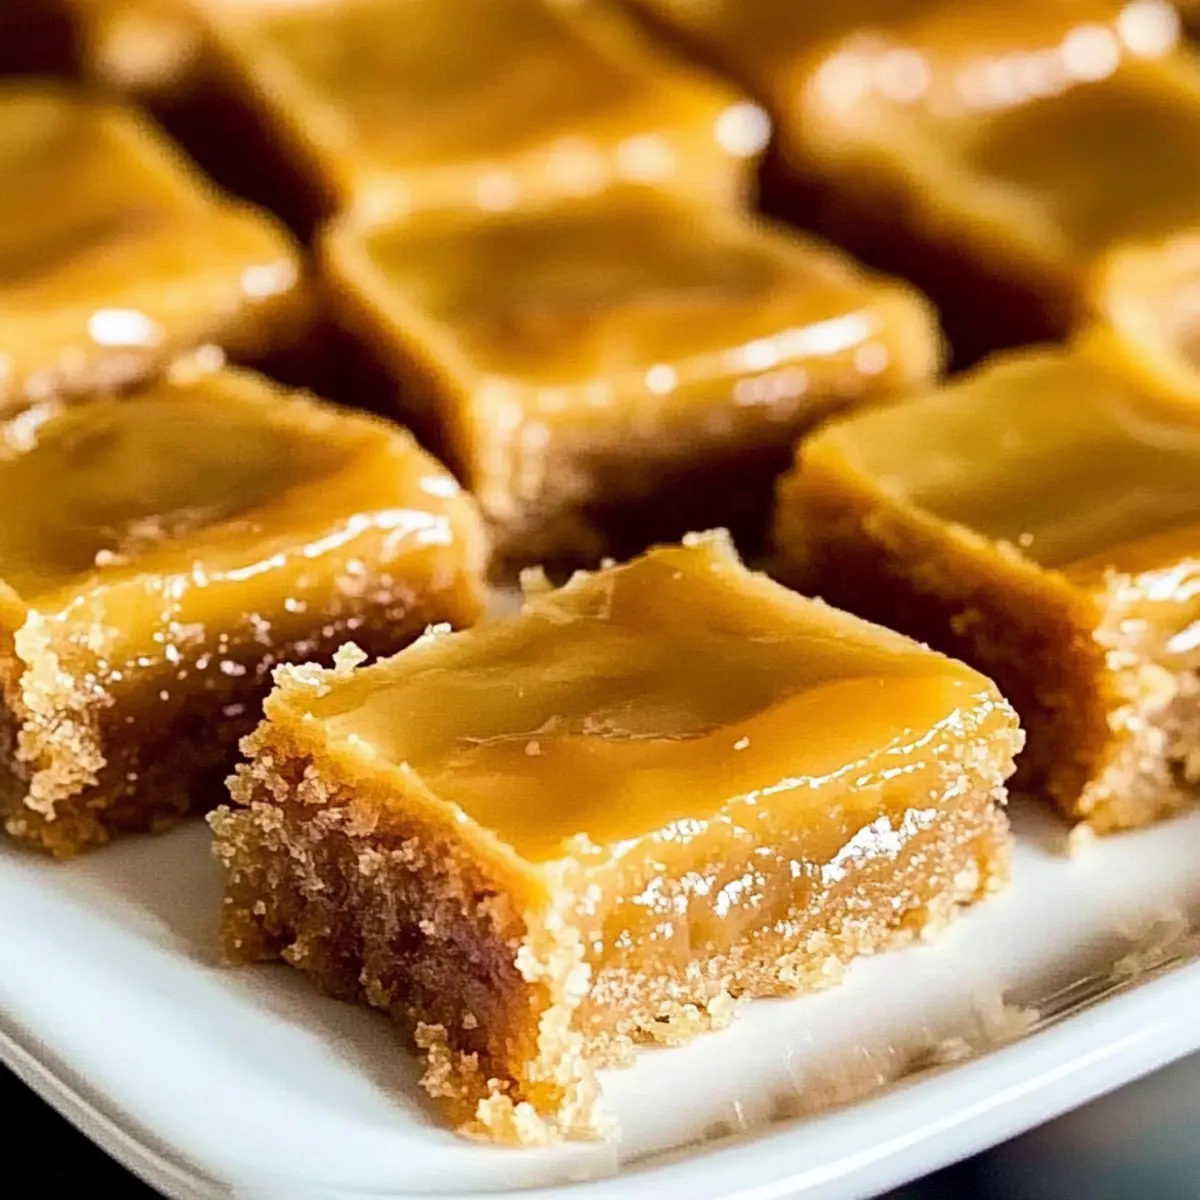
As I stirred the butter and brown sugar together, a sweet, caramel-like aroma began to fill my kitchen, transforming the atmosphere into a warm embrace of nostalgia. That’s the magic of Trisha Yearwood’s Butterscotch Bars—it’s not just a dessert, but a heartfelt connection to homemade bliss. With just a few simple ingredients, this easy-to-make treat blends convenience with a heavenly taste that will transport you right back to your childhood. These bars are perfect for sharing with family or indulging in on a cozy night in, making them an ideal option for any occasion. Ready to delight your taste buds and create memories in the process? Let’s dive into this delicious recipe and share the love!
Why Are These Bars So Irresistible?
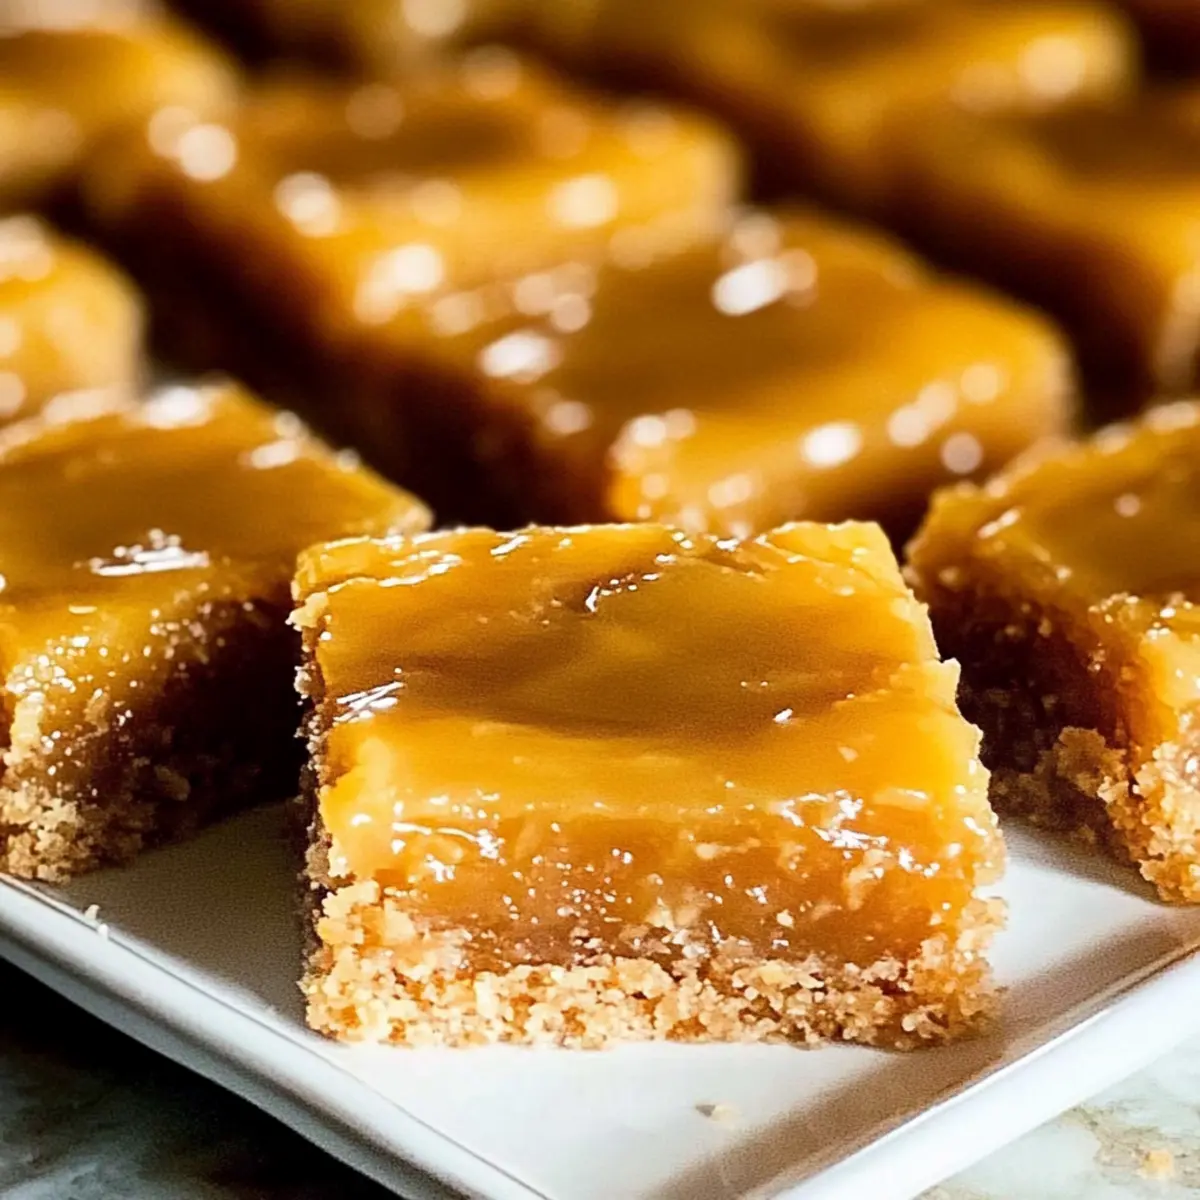
Gooey, Melt-in-Your-Mouth Texture: Each bite of Trisha Yearwood’s Butterscotch Bars is a delightful experience, blending rich buttery flavor with a soft, chewy consistency that keeps you coming back for more.
Easy to Make: With simple ingredients and straightforward steps, even novice bakers can whip these up in no time, giving them the confidence to create homemade desserts.
Nostalgic Flavor: The warm butterscotch glaze evokes sweet childhood memories, making it a perfect treat to share during family gatherings or cozy evenings.
Versatile Treats: From adding chocolate chips to sprinkling in nuts, you can easily customize these bars to suit your taste or dietary needs, mirroring the classic vibe of my Spice Cheesecake Bars.
Crowd-Pleaser: These bars are a sure hit at parties, easily satisfying both sweet tooths and those craving a comforting dessert. Whether enjoyed warm or cool, they’re guaranteed to leave smiles all around!
Butterscotch Bars Ingredients
• For the Bars
- 2 cups packed light brown sugar – This is the primary sweetener, adding both moisture and depth; light brown ensures that classic butterscotch taste.
- 1/2 cup unsalted butter, melted – Provides richness and a soft texture; make sure it’s fully melted for even mixing.
- 2 large eggs – Binds ingredients and contributes to the structure; use room temperature for better incorporation.
- 1 teaspoon vanilla extract – Enhances overall flavor; opt for pure extract for a deeper flavor profile.
- 2 cups all-purpose flour – This is the main structure-building ingredient; you can substitute with 1:1 gluten-free flour if desired.
- 2 teaspoons baking powder – Acts as a leavening agent to aid in rising.
- 1/2 teaspoon salt – Balances sweetness and enhances flavor.
• For the Glaze
- 1/4 cup unsalted butter – Adds richness to the glaze, making it extra delightful.
- 1/2 cup packed light brown sugar – The main sweetener for the glaze, enhancing that lovable butterscotch flavor.
- 2 tablespoons milk – Helps to combine the glaze ingredients and improves texture.
- 1/2 teaspoon vanilla extract – Adds depth to the glaze flavor, making every bite a delicious experience.
Whether you’re looking to indulge in these Butterscotch Bars by Trisha Yearwood or create some sweet memories in the kitchen, these simple ingredients are sure to deliver a delightful treat!
Step‑by‑Step Instructions for Butterscotch Bars by Trisha Yearwood
Step 1: Preheat and Prepare
Begin by preheating your oven to 350°F (175°C). While the oven is heating, take a 9×13-inch baking dish and grease it with cooking spray or line it with parchment paper for easy removal later. This ensures that your Butterscotch Bars will come out perfectly baked and easy to slice once they’re done.
Step 2: Combine Wet Ingredients
In a large mixing bowl, whisk together the melted unsalted butter and 2 cups of packed light brown sugar. Mix until the mixture appears smooth and glossy, which should take about 1–2 minutes. This step is crucial as it sets the rich, sweet base for your Butterscotch Bars by Trisha Yearwood, making them delightfully gooey.
Step 3: Add Eggs and Vanilla
Next, beat in the 2 large eggs, ensuring they are at room temperature for optimal mixing, followed by 1 teaspoon of vanilla extract. Continue whisking until the eggs are fully incorporated and the mixture is uniform, about 1 minute. The eggs will help bind the ingredients together, creating a lovely texture in your bars.
Step 4: Mix Dry Ingredients
In a separate bowl, whisk together the 2 cups of all-purpose flour, 2 teaspoons of baking powder, and 1/2 teaspoon of salt. Gradually add this dry mixture into the wet ingredients, stirring gently just until combined. You want to avoid overmixing to keep the bars tender, so stop as soon as the flour is incorporated.
Step 5: Bake the Batter
Pour the thick batter into your prepared baking dish and spread it evenly with a spatula, smoothing the top. Place it in the oven and bake for 25–30 minutes until the edges are golden and a toothpick inserted in the center comes out with a few moist crumbs. This is the perfect time for your kitchen to fill with that delicious butterscotch aroma!
Step 6: Prepare the Glaze
While the bars are baking, prepare the glaze. In a saucepan over medium heat, combine 1/4 cup of unsalted butter, 1/2 cup of packed light brown sugar, and 2 tablespoons of milk. Stir the mixture continuously until it reaches a gentle boil, then allow it to boil for about 1–2 minutes while you keep stirring to avoid graininess.
Step 7: Finish the Glaze
Remove the pan from the heat and add in 1/2 teaspoon of vanilla extract, stirring until fully blended. The glaze should be smooth and creamy, ready to add a delightful finish to your Butterscotch Bars.
Step 8: Glaze the Bars
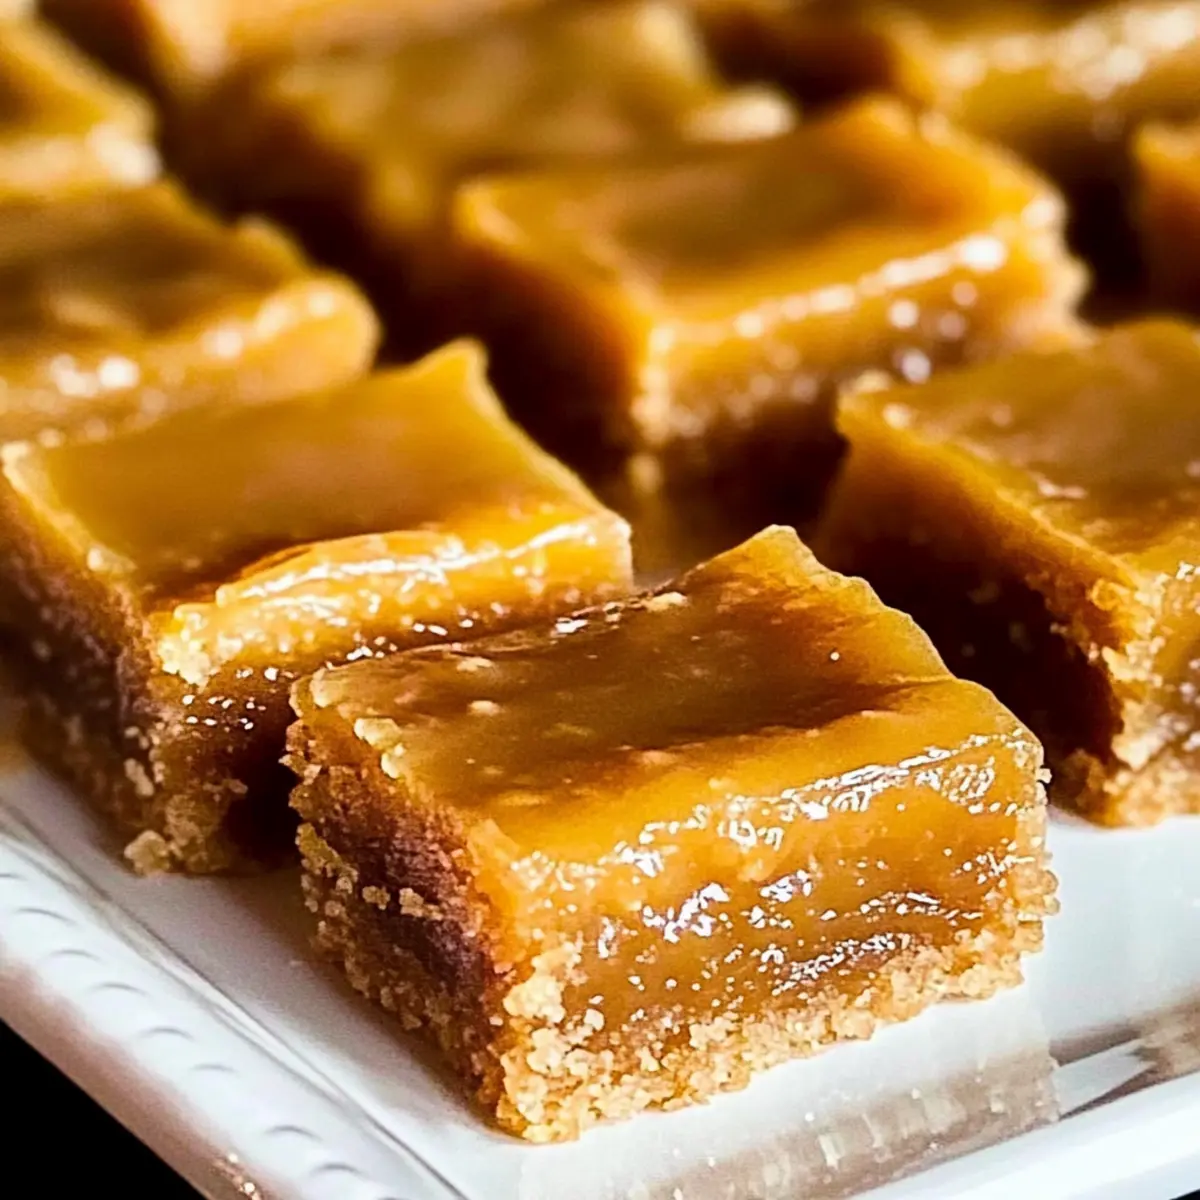
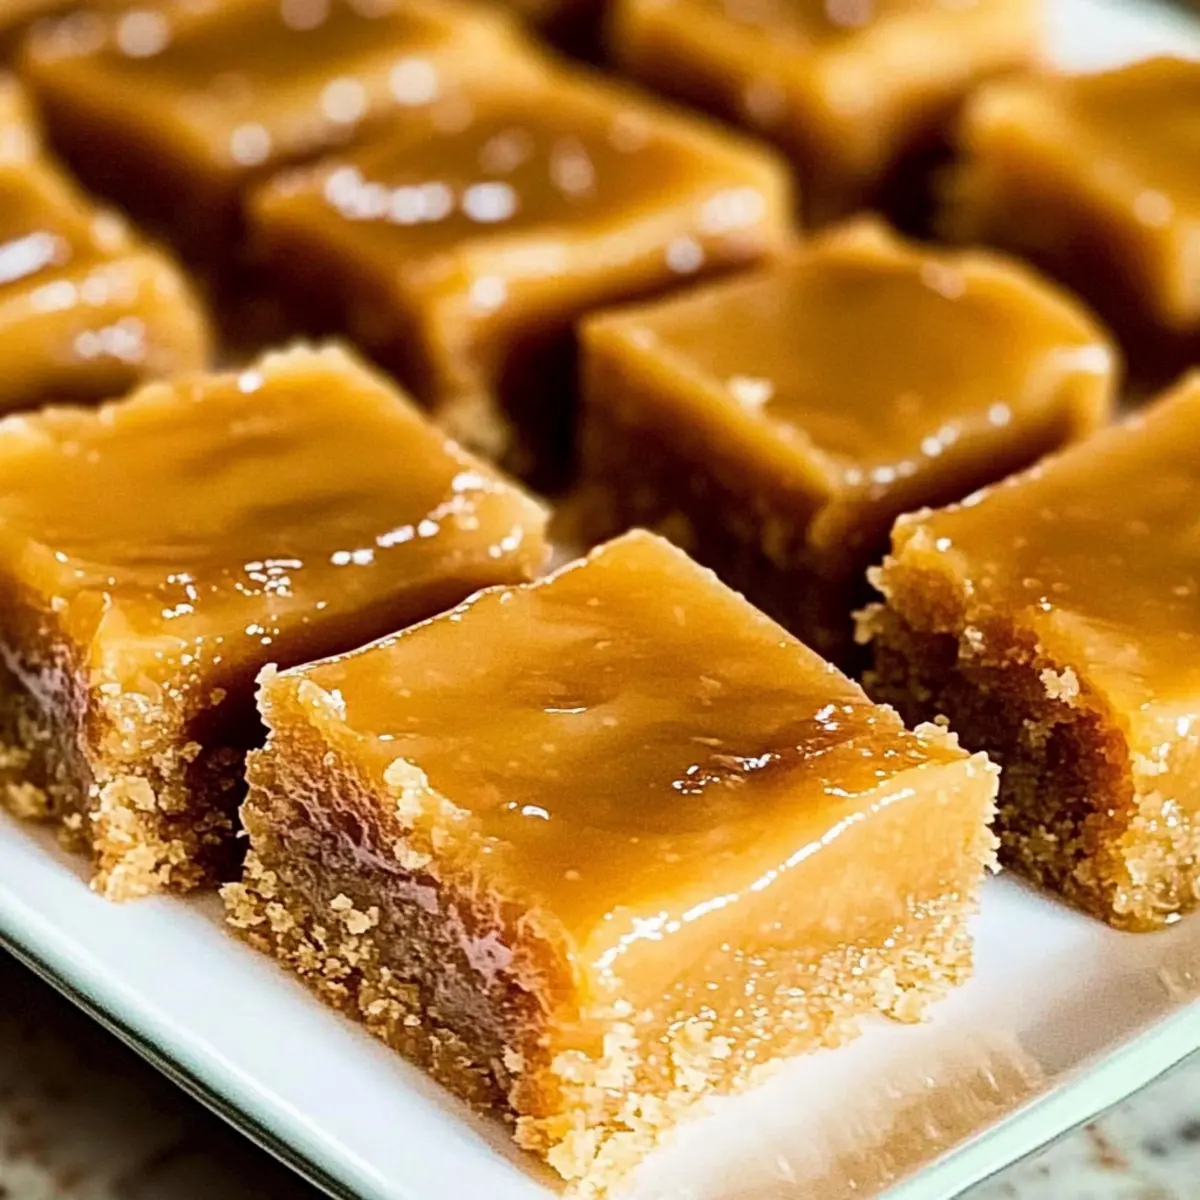
Once the bars are out of the oven, allow them to cool for about 5–10 minutes. While they are still warm, pour the luscious butterscotch glaze over the surface and use a spatula to spread it evenly. This step enhances the sweetness and gives a beautiful finish to your bars.
Step 9: Cool and Serve
Let the bars cool completely in the pan before slicing them into squares. This cooling time is essential for achieving clean cuts and enjoying each treat at its best. Once cooled, you can serve the bars as a delightful dessert or a sweet snack, perfect for sharing with family and friends!
Butterscotch Bars Variations & Substitutions
Feel free to explore these delightful variations that can elevate your Trisha Yearwood’s Butterscotch Bars into a whole new level of yum!
-
Nutty Crunch: Add 1 cup of chopped pecans or walnuts for a delightful crunch. The nuts not only enhance the flavor but also bring a satisfying texture to the bars.
-
Chocoholics Delight: Stir in 1 cup of semi-sweet chocolate chips for a rich, chocolatey twist. The combination of butterscotch and chocolate is simply irresistible!
-
Spicy Kick: Incorporate 1 teaspoon of cinnamon or a pinch of cayenne pepper to the batter for a warm, spicy flavor. This unexpected twist could surprise your taste buds and create a unique depth!
-
Dairy-Free Alternative: Substitute the butter with coconut oil or dairy-free margarine and use almond milk in the glaze. This provides a deliciously tropical hint while keeping the bars vegan-friendly.
-
Gluten-Free Option: Replace the all-purpose flour with a 1:1 gluten-free flour mix. This keeps everyone happy, ensuring even those with dietary restrictions can indulge.
-
Caramel Drizzle: Add a drizzle of store-bought caramel sauce on top of the glaze for extra sweetness and a luscious finish. It’s a perfect way to take these bars to gourmet status!
-
Fruit Addition: Mix in 1 cup of dried fruits like raisins or chopped dates for a chewy texture and a hint of natural sweetness. These fruity additions balance the rich butterscotch beautifully.
-
Zesty Twist: Add 1 tablespoon of orange or lemon zest to the batter for a refreshing citrus note. This brightens the overall flavor and compliments the richness of the butterscotch wonderfully.
Each variation invites you to put your own twist on this beloved recipe, much like how I enjoy experimenting with my own Spice Cheesecake Bars. So, gather your ingredients, and let creativity flow in your kitchen!
How to Store and Freeze Butterscotch Bars
Room Temperature: Store leftover butterscotch bars in an airtight container at room temperature for up to 3 days, protecting their delicious softness and flavor.
Fridge: For extended freshness, place the bars in the refrigerator. They can last up to a week when kept in an airtight container. Just let them come to room temperature before serving.
Freezer: Freeze the bars by wrapping them tightly in plastic wrap followed by aluminum foil. They will maintain quality for up to 2 months. Thaw at room temperature before enjoying again.
Reheating: If you prefer them warm, pop them in the microwave for about 10-15 seconds, ensuring the glaze remains silky smooth. Enjoy the delightful warmth of your butterscotch bars!
What to Serve with Trisha Yearwood’s Butterscotch Bars
Warm up your dining experience with complementing flavors and textures that enhance every sweet bite.
-
Creamy Vanilla Ice Cream: A scoop of this classic treat adds a delightful creaminess that balances the warm, gooey bars perfectly. The cold contrast is simply irresistible!
-
Rich Hot Chocolate: This warm drink not only elevates the comforting vibes but also intensifies the bar’s delectable sweetness, making for a cozy pairing.
-
Fresh Berries: Strawberries or raspberries offer a tart contrast that brightens the richness of the butterscotch. The burst of freshness enriches each mouthful.
-
Caramel Sauce Drizzle: Elevate your bars further with a drizzle of caramel sauce. This extra layer of sweetness enhances the already indulgent experience, ideal for special occasions.
-
Nutty Coffee: A cup of your favorite coffee, especially with nutty undertones, will harmonize beautifully, keeping the indulgent vibe while adding a satisfying warmth.
-
Whipped Cream Topping: Light and airy, whipped cream lends a delightful texture and creaminess that complements the bars without overpowering them.
-
Chocolate Chip Cookies: Serve these alongside for a delightful dessert spread that offers variety, enhancing the enjoyment of flavors while indulging the sweet tooth.
Make Ahead Options
These Trisha Yearwood’s Butterscotch Bars are perfect for busy weeknights or gatherings! You can prepare the batter up to 24 hours in advance by mixing the wet and dry ingredients separately; refrigerate them until you’re ready to bake. The baked bars can also be stored at room temperature for up to 3 days, or you can freeze them for longer storage. Just make sure they are fully cooled before wrapping in plastic wrap or placing them in an airtight container to maintain their gooey texture. When you’re ready to serve, simply drizzle on the glaze while the bars are still warm for that irresistible finish—just as delicious as when freshly baked!
Expert Tips for Butterscotch Bars
-
Use Room Temperature Ingredients: Ensure your eggs and butter are at room temperature for better mixing and to promote a smoother batter for your Butterscotch Bars by Trisha Yearwood.
-
Don’t Overmix: When combining the dry and wet ingredients, mix just until incorporated. Overmixing can lead to tough bars instead of the soft, gooey texture we love.
-
Check for Doneness: Use a toothpick to check if the bars are done. A few moist crumbs should cling to it, indicating that they remain soft and delicious without being underbaked.
-
Glaze Wisely: Stir the glaze continuously while heating to avoid graininess. This step ensures a smooth and glossy finish that will elevate your Butterscotch Bars.
-
Cool for Clean Cuts: Allow the bars to cool completely before slicing. This helps achieve clean cuts and prevents the glaze from running.
Trisha Yearwood’s Irresistible Butterscotch Bars Recipe FAQs
What’s the best way to select ripe ingredients for the bars?
Absolutely! For the best results, ensure your eggs are at room temperature, as this helps incorporate them better into the batter. The brown sugar should be fresh and moist—if you can squeeze it and it holds its shape, you’re good to go! Buying unsalted butter means you can control the saltiness and achieve a richer flavor in your bars.
How should I store leftover Butterscotch Bars?
Very simply! Store your leftover butterscotch bars in an airtight container at room temperature for up to 3 days. If you want to keep them fresh for longer, pop them in the fridge where they’ll last about a week. Just remember to let them come to room temperature before indulging again, as the flavor and texture will be at their best!
Can I freeze Butterscotch Bars? What’s the process?
Absolutely! Freezing your butterscotch bars is a great way to keep them for later. First, let the bars cool completely before wrapping them tightly in plastic wrap, followed by a layer of aluminum foil. This double protection helps prevent freezer burn. They can be stored this way for up to 2 months. To enjoy, simply thaw them at room temperature. If you’d like a warm treat, microwave them for about 10–15 seconds—just long enough to soften but not melt the glaze!
What if my butterscotch glaze turns grainy?
Ah, the glaze can be tricky! If you find your glaze isn’t as smooth as you’d like, this usually happens if the sugar didn’t fully dissolve while cooking. To fix it, try reheating the glaze on low heat while stirring continuously until it becomes velvety again. Ensuring a consistent stirring motion during the heating process is key to avoiding that grainy texture.
Are there any dietary concerns I should consider?
Definitely! While Trisha Yearwood’s Butterscotch Bars are vegetarian, they do contain gluten and eggs. If you’re accommodating dietary restrictions, consider using a 1:1 gluten-free flour replacement and substitute the eggs with flax eggs (1 tablespoon flaxseed meal + 3 tablespoons water = 1 egg, let sit for a few minutes until it gels). Always double-check ingredient labels if you’re concerned about allergies or sensitivities!
Can I add anything to customize the flavor of my bars?
The more the merrier! If you’d like to jazz up your butterscotch bars, consider stirring in 1 cup of chocolate chips or adding 1 cup of chopped nuts like pecans or walnuts before baking. It adds a delightful crunch and elevates the flavor profile even further. Just think of the delicious combinations you could create!
Irresistible Butterscotch Bars by Trisha Yearwood for Sweet Cravings
Ingredients
Equipment
Method
- Preheat your oven to 350°F (175°C) and grease a 9x13-inch baking dish.
- In a large mixing bowl, whisk together melted butter and brown sugar until smooth and glossy.
- Beat in the eggs and vanilla extract until fully incorporated.
- In a separate bowl, whisk together flour, baking powder, and salt. Gradually add to wet ingredients, stirring just until combined.
- Pour the batter into the prepared baking dish and bake for 25-30 minutes.
- For the glaze, combine butter, brown sugar, and milk in a saucepan over medium heat, stirring until it reaches a gentle boil.
- Remove from heat and stir in vanilla extract.
- Once bars are out of the oven, pour the glaze over the warm bars and spread evenly.
- Allow the bars to cool completely before slicing into squares.
Leave a Reply