
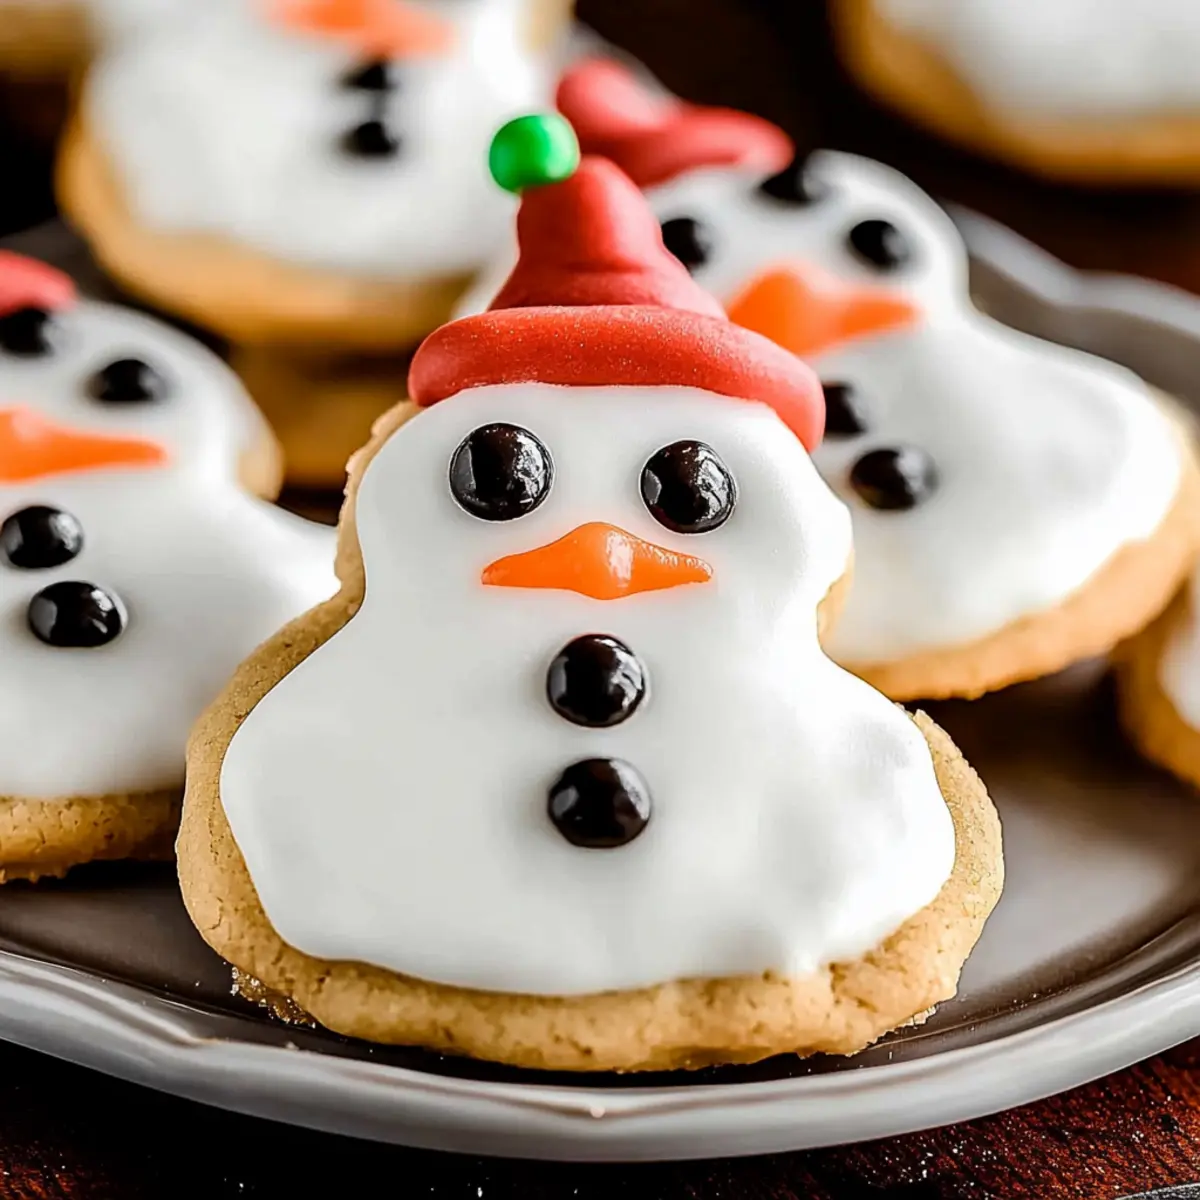
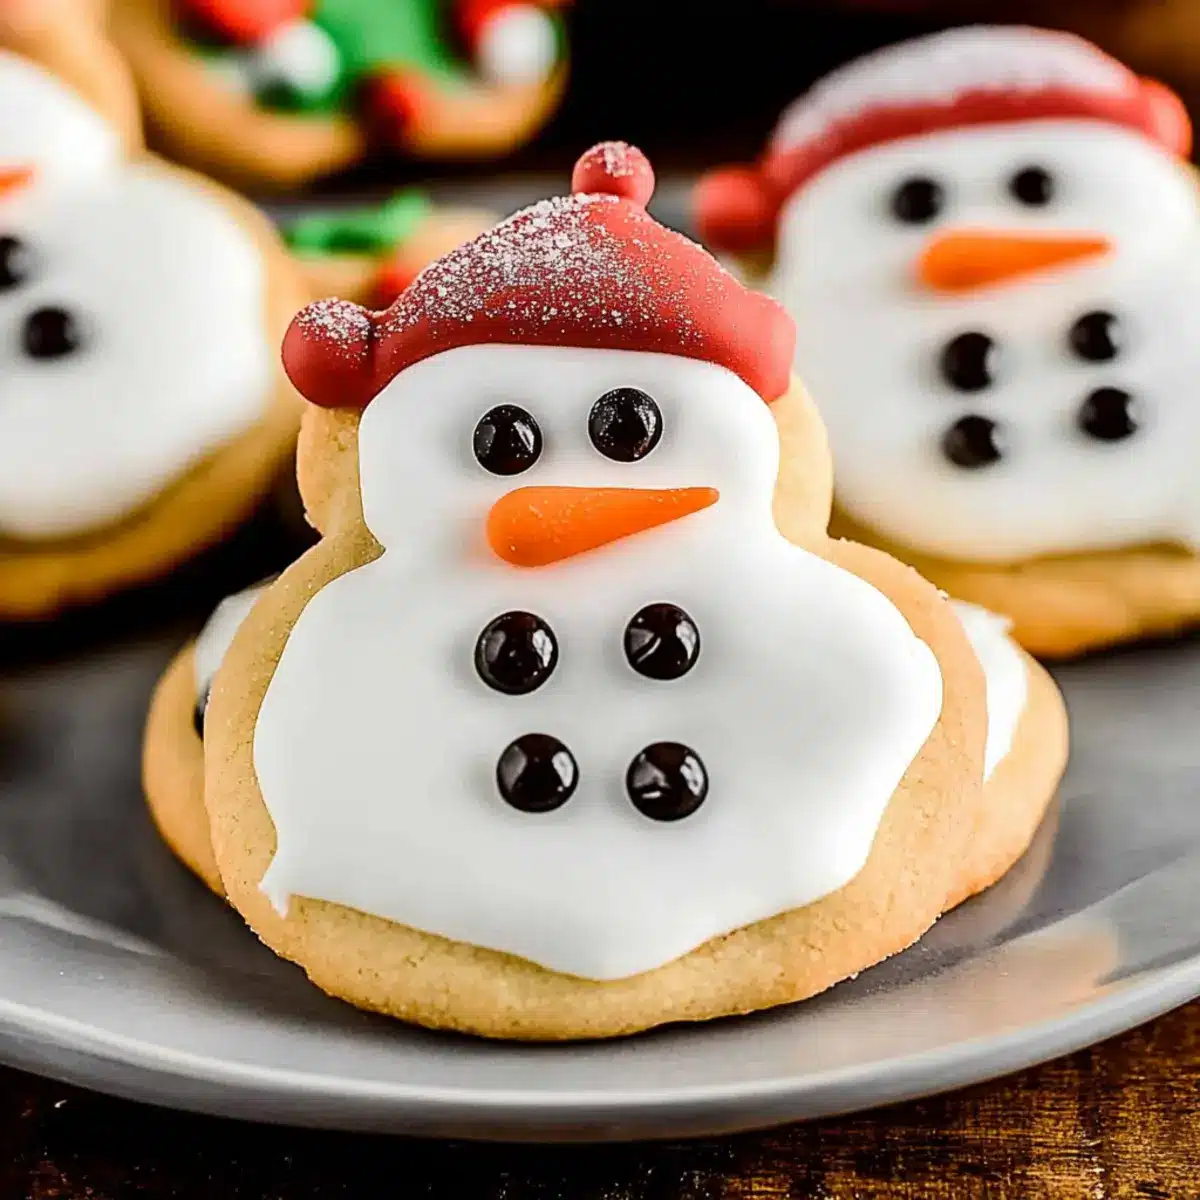
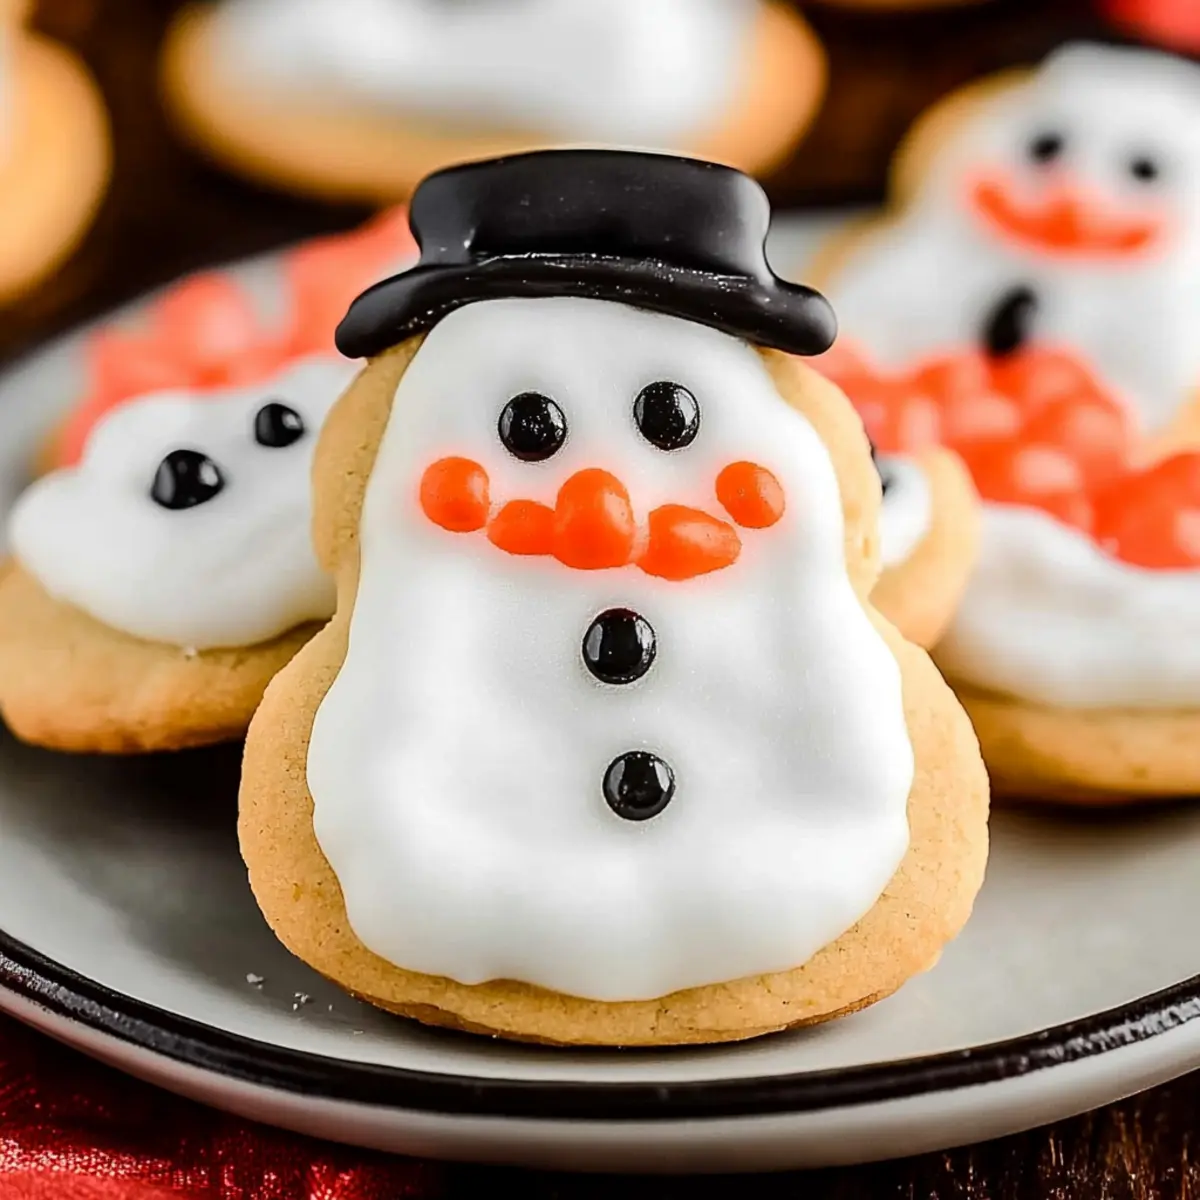
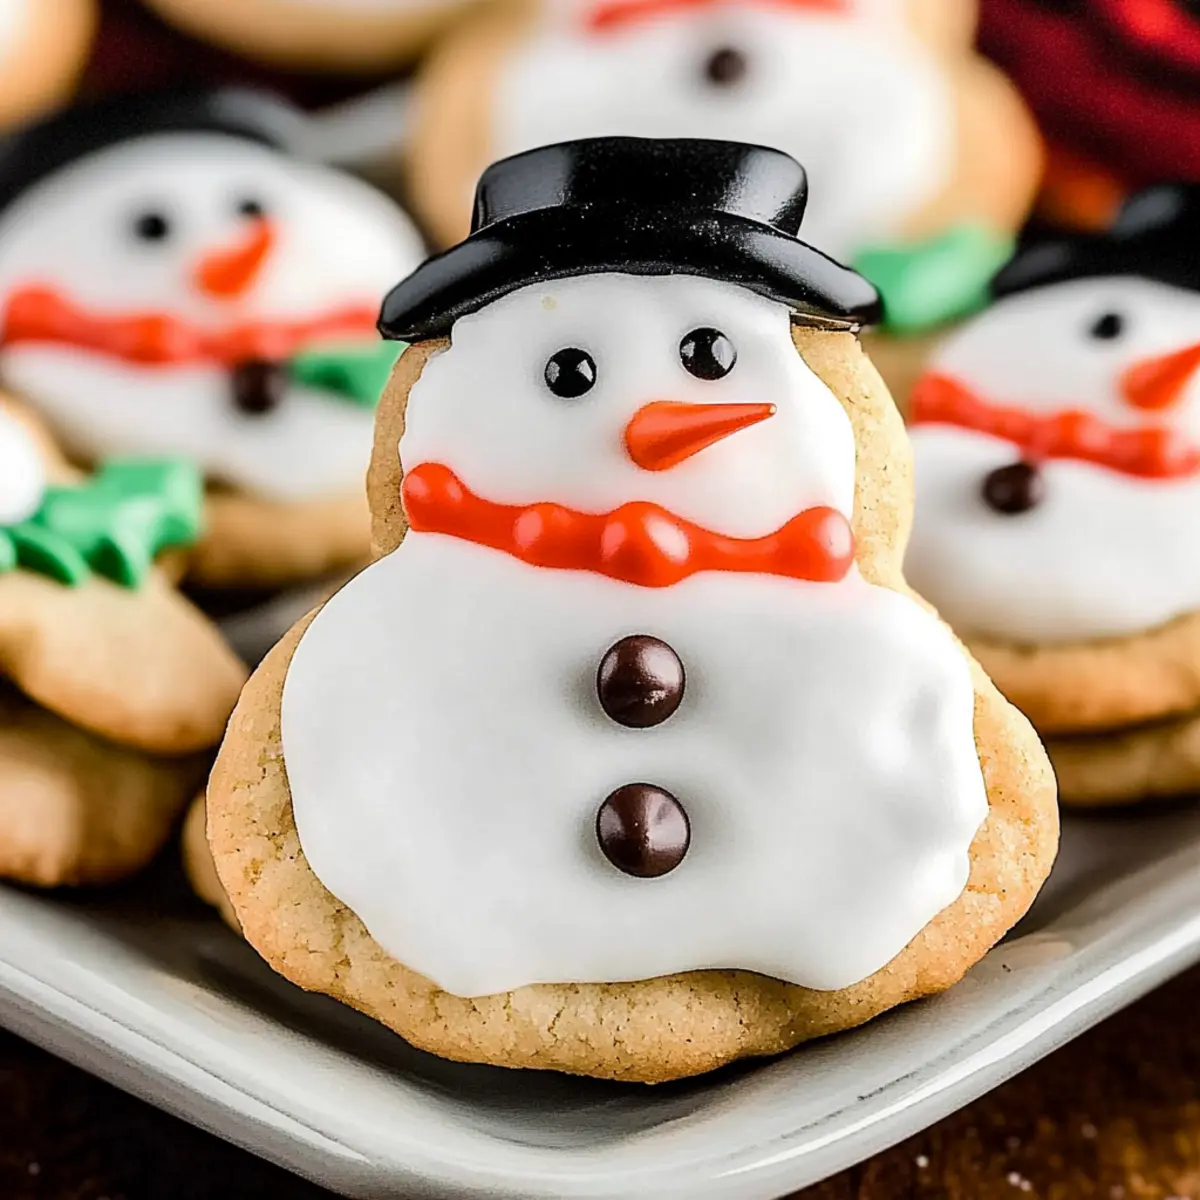
“Wait, is that a snowman on your cookie plate?” The delight in my friend’s voice perfectly captured the joy of our holiday baking spree. With these Melted Snowman Cookies with Gooey Marshmallow Centers, we’re creating more than just festive treats; we’re making memories. Every bite is a whimsical explosion of buttery goodness with slightly crisp edges, revealing warm, gooey marshmallows that simply melt in your mouth. Not only are these cookies fun to decorate, making them a perfect project for the whole family, but they also remain crowd-pleasers at holiday gatherings. Plus, they’re incredibly easy to whip up, allowing you to spend less time in the kitchen and more time with loved ones. Ready to bring some holiday cheer and impress your guests? Let’s dive into this merry baking adventure together!
Why Are Melted Snowman Cookies Special?
Whimsy: These cookies aren’t just delicious; they are a festive centerpiece that sparks joy!
Easy to Make: With simple ingredients and straightforward steps, they’re perfect for bakers of all levels.
Crowd-Pleaser: Friends and family will be enchanted by their cute snowman designs and gooey marshmallow centers.
Customizable: Feel free to switch out decorations or flavors—try your hand at an almond extract twist or colored dough! You can even serve them alongside Chicken Enchiladas with Sour Cream White Sauce for a delightful dinner party.
Memorable Moments: Bake them together with loved ones for a perfect holiday tradition, making memories as sweet as these cookies.
Versatile Treat: Ideal for holiday parties or cozy evenings with hot cocoa, just like the festive vibes you’d get from a warm slice of Apple Pie with a Unique Crust.
Melted Snowman Cookies Ingredients
For the Cookie Dough
- Unsalted Butter – Provides richness and tenderness; ensure it’s softened for easier creaming.
- Granulated Sugar – Adds sweetness and contributes to cookie texture.
- Large Egg – Binds ingredients and helps with structure; ensure it is at room temperature for better incorporation.
- Vanilla Extract – Enhances flavor; use pure vanilla for the best taste.
- All-Purpose Flour – Forms the cookie structure; can substitute with a gluten-free flour blend for gluten-free options.
- Baking Soda – Acts as a leavening agent for lightness; make sure it’s fresh for optimal rise.
- Kosher Salt – Balances sweetness and enhances flavor; don’t skip this for best results.
For the Marshmallow Filling
- Miniature Marshmallows – Central to the cookie’s theme, providing gooey centers; avoid leaving them out at room temperature for too long to prevent melting.
For Decoration
- Candy Eyes – Used for decoration to make snowman faces.
- Orange Sanding Sugar – Creates the carrot nose; any sugar can be used for color.
- Mini Chocolate Chips – Represents buttons; can be substituted with other small candies.
- Red Sanding Sugar – Adds color as a scarf; optional, but enhances visual appeal.
Now that you have the key ingredients for your Melted Snowman Cookies with Gooey Marshmallow Centers, let’s get baking and create some magical holiday memories!
Step‑by‑Step Instructions for Melted Snowman Cookies with Gooey Marshmallow Centers
Step 1: Preheat the Oven
Begin by preheating your oven to 350°F (177°C). While the oven heats up, line two baking sheets with parchment paper, ensuring they are ready for the cookies to bake on. This preparation step will set you up for success, allowing for the perfect texture as the cookies bake evenly.
Step 2: Cream Butter and Sugar
In a large mixing bowl, cream together the softened unsalted butter and granulated sugar using a hand mixer or stand mixer. Beat on medium speed for about 2 minutes, or until the mixture is light and fluffy. This process is crucial for your Melted Snowman Cookies’ tender and rich texture, as it incorporates air into the batter.
Step 3: Add Wet Ingredients
Next, add one large egg and a splash of vanilla extract to the creamed butter and sugar. Mix on low speed until the liquid ingredients fully blend into the mixture, creating a smooth, glossy batter. This step infuses the cookies with moisture and a delightful aroma, setting the stage for the flavorful treats ahead.
Step 4: Mix Dry Ingredients
In a separate bowl, whisk together the all-purpose flour, baking soda, and kosher salt. This combination helps to evenly distribute the leavening agent and ensures your cookies rise beautifully. After whisking, slowly introduce this dry mixture into your wet ingredients, stirring gently until just combined to avoid overmixing.
Step 5: Fold in Marshmallows
Gently fold in the miniature marshmallows, ensuring they remain intact. This will give the cookies their signature gooey centers. Do this with a spatula, using a folding motion to incorporate the marshmallows into the cookie dough while being careful not to break them apart.
Step 6: Scoop and Bake
Using a cookie scoop, portion out 1½-inch balls of dough and place them, about 2 inches apart, on the prepared baking sheets. Bake the cookies in the preheated oven for 10 to 12 minutes. Keep an eye on them; the edges should be slightly golden, while the centers remain soft and puffy, ready to house the delicious marshmallows.
Step 7: Cool and Decorate
Once baked, remove the cookies from the oven and allow them to cool on the baking sheets for about 5 minutes. After cooling, gently press down in the center of each cookie to create a crater for decoration. This step is essential for giving your Melted Snowman Cookies their charming character and holds the festive toppings beautifully.
Step 8: Add the Finishing Touches
Now comes the fun part—decorating your cookies! Place candy eyes on the cookies, sprinkle a pinch of orange sanding sugar for the carrot noses, and use mini chocolate chips for the buttons. If desired, add some red sanding sugar as a scarf. This whimsical decorating step makes your Melted Snowman Cookies come to life and adds a holiday cheer to your baking!
What to Serve with Melted Snowman Cookies
Indulging in these festive treats is even better when paired with delightful accompaniments that enhance their whimsical charm.
-
Hot Cocoa: A rich, creamy mug complements the warm marshmallow centers and creates a cozy, holiday vibe.
-
Peppermint Bark: The cool minty flavor contrasts perfectly with the buttery sweetness of the cookies, making it a festive duo.
-
Eggnog: This creamy, spiced drink adds a touch of classic holiday cheer and matches the cookies’ playful spirit.
-
Christmas Frosted Brownies: For a chocolatey twist, these brownies celebrate the season with fudgy decadence, balancing the sweetness of the cookies.
-
Spiced Cider: The warmth from spiced cider enhances the cookies’ buttery notes and brings a festive aroma to your gathering.
-
Mini Fruit Tarts: These fresh, fruity desserts add a lighter, zesty note to your dessert table, perfectly complementing the rich cookies.
-
Gingerbread Cookies: A classic holiday treat, their spicy warmth offers a delightful contrast to the gooey sweetness of your Melted Snowman Cookies.
-
Sugar Cookie Bars with Frosting: For an extra dose of sweetness, these bars provide a soft texture and a fun canvas for making even more festive treats.
-
Vanilla Ice Cream: Placing a scoop on top of a warm cookie creates a delightful melt-in-your-mouth sensation, perfect for a festive dessert.
-
Festive Fruit Punch: This refreshing beverage adds a splash of color and fruity flavors, making it a delightful sip alongside your holiday treats.
How to Store and Freeze Melted Snowman Cookies
- Room Temperature: Store cooled cookies in an airtight container at room temperature for up to 3 days to maintain their delightful flavor and texture.
- Fridge: For longer freshness, refrigerate cookies in an airtight container for up to 1 week. They may become slightly firmer, but still delicious!
- Freezer: Freeze cookies in a single layer for up to 1 month. To enjoy, thaw at room temperature, and warm slightly in the oven for that fresh-baked taste.
- Reheating: For a cozy treat, reheat thawed cookies in the oven at 300°F (150°C) for 5 minutes to revive their gooey marshmallow centers.
Make Ahead Options
These Melted Snowman Cookies with Gooey Marshmallow Centers are perfect for busy holiday schedules! You can prepare the cookie dough up to 24 hours in advance. Simply mix the ingredients as directed, then cover the bowl with plastic wrap and refrigerate. You can also scoop the dough into balls, arrange them on a baking sheet, and freeze them for up to 3 months—just transfer to an airtight container once frozen. When you’re ready to bake, preheat your oven and bake the cookies straight from the freezer for an extra minute or two. This way, you’ll have freshly baked cookies that are just as delicious, saving you time and effort while letting you enjoy the festive spirit with family!
Expert Tips for Melted Snowman Cookies
- Marshmallow Handling: Always fold in the miniature marshmallows gently to maintain their shape, ensuring that your cookies have those gooey marshmallow centers intact.
- Chill the Dough: If you notice your cookie dough is too soft, chill it for about 10 minutes before baking. This prevents the cookies from spreading too much.
- Perfect Baking Time: Keep a close eye on the cookies while baking; the edges should be golden but the centers should still be puffy for the best final result.
- Cooling for Decoration: Allow cookies to cool completely on the baking sheet before decorating to ensure that the toppings adhere properly and don’t slide off.
- Creative Customizations: Feel free to switch out decorations or flavors—try almond extract for a twist or colorful sprinkles to make your Melted Snowman Cookies even more festive!
Melted Snowman Cookies Variations & Substitutions
Feel free to sprinkle your own creative magic on these delightful cookies!
-
Gluten-Free: Substitute all-purpose flour with a gluten-free flour blend for a tender texture, ensuring everyone can enjoy them. Just double-check that the other ingredients are gluten-free too!
-
Vegan: Use a plant-based butter and replace the egg with a flax egg (1 tablespoon flaxseed meal mixed with 2.5 tablespoons water). This keeps your cookies deliciously vegan while maintaining that rich taste.
-
Nutty Twist: Add ½ cup of chopped nuts, like pecans or walnuts, for extra crunch and flavor. The nuttiness will beautifully complement the sweetness of the marshmallows.
-
Colorful Fun: Incorporate food coloring into the dough for a vibrant holiday look. Children especially will delight in creating custom-colored snowmen that pop on the cookie plate!
-
Chocolate Lovers: Swap out the mini chocolate chips for dark or white chocolate chips. This elevates the richness and provides a tasty surprise with every bite.
-
Spiced Variation: Add a teaspoon of cinnamon or nutmeg to the dough for a warm flavor profile that reminds everyone of classic holiday spices. It’s an effortless way to make your cookies cozy!
-
Marshmallow Swirls: Try mixing in flavored mini marshmallows, like strawberry or coconut, for a twist on the classic marshmallow centers. This adds an unexpected burst of flavor!
-
Serving Idea: Pair these cookies with a warm Spicy Korean Beef for an exciting holiday dinner that balances sweet and savory flavors perfectly.
Each version of these cookies offers a unique taste experience while still capturing the spirit of your Melted Snowman Cookies with Gooey Marshmallow Centers. Happy baking!
Melted Snowman Cookies with Gooey Marshmallow Centers Recipe FAQs
How do I choose the right marshmallows?
Absolutely! For the best Melted Snowman Cookies, opt for fresh miniature marshmallows that are soft and plump. Look for ones that are not too sticky and avoid those with dark spots or hard edges, which indicate they’ve dried out. Fresh marshmallows will melt beautifully in the center, giving you that gooey result!
How should I store my cookies, and how long will they last?
Store your cooled Melted Snowman Cookies in an airtight container at room temperature for up to 3 days. If you want them to last longer, refrigerate them for up to a week. Just remember that refrigeration may make them slightly firmer, but they’ll still taste delightful!
Can I freeze these cookies? If so, how?
Very much! You can freeze your Melted Snowman Cookies for up to 1 month. To do this, place the cooled cookies in a single layer on a baking sheet and freeze until solid. Once frozen, transfer them to an airtight container or freezer bag. When you’re ready to enjoy, simply thaw at room temperature, and if desired, warm them in the oven at 300°F (150°C) for about 5 minutes to revive the gooey centers.
Why are my cookies spreading too much while baking?
Don’t worry, it happens to the best of us! If your cookies spread too much, try chilling the dough for about 10 minutes before baking. This helps firm up the butter and dough, preventing excessive spreading. Additionally, ensure that you’re not over-creaming the butter and sugar, as incorporating too much air can lead to spreading.
Are these cookies safe for pets or those with allergies?
Absolutely! When making these cookies, be mindful of the ingredients. Marshmallows and chocolate can be harmful to pets, so keep them away from your furry friends. As for allergies, ensure you substitute any allergens in the recipe, like gluten-free flour if needed. Always double-check the specific brands of decorations you use, as they can contain allergens like nuts or dairy.
What can I do if I run out of candy eyes or colored sugars?
The more the merrier! If you find yourself without candy eyes or colored sugars, don’t panic! You can use chocolate chips for eyes or small pieces of fruit for decoration. Additionally, crushed nuts or other small candies can act as charming substitutes for scarves or buttons. Get creative—this is all about making your festive cookies unique!
Melted Snowman Cookies with Gooey Marshmallow Centers Delight
Ingredients
Equipment
Method
- Preheat your oven to 350°F (177°C) and line two baking sheets with parchment paper.
- Cream together the softened unsalted butter and granulated sugar using a mixer for about 2 minutes or until light and fluffy.
- Add the large egg and vanilla extract to the mixture and blend until smooth.
- In a separate bowl, whisk together the all-purpose flour, baking soda, and kosher salt, then slowly mix it into the wet ingredients until just combined.
- Fold in the miniature marshmallows gently to keep them intact.
- Scoop 1½-inch balls of dough onto the prepared baking sheets, spacing them 2 inches apart, and bake for 10 to 12 minutes.
- Once baked, cool the cookies on the baking sheets for 5 minutes, then press down in the center of each cookie to create space for decorations.
- Decorate the cooled cookies with candy eyes, orange sanding sugar, mini chocolate chips, and red sanding sugar as desired.
Leave a Reply