
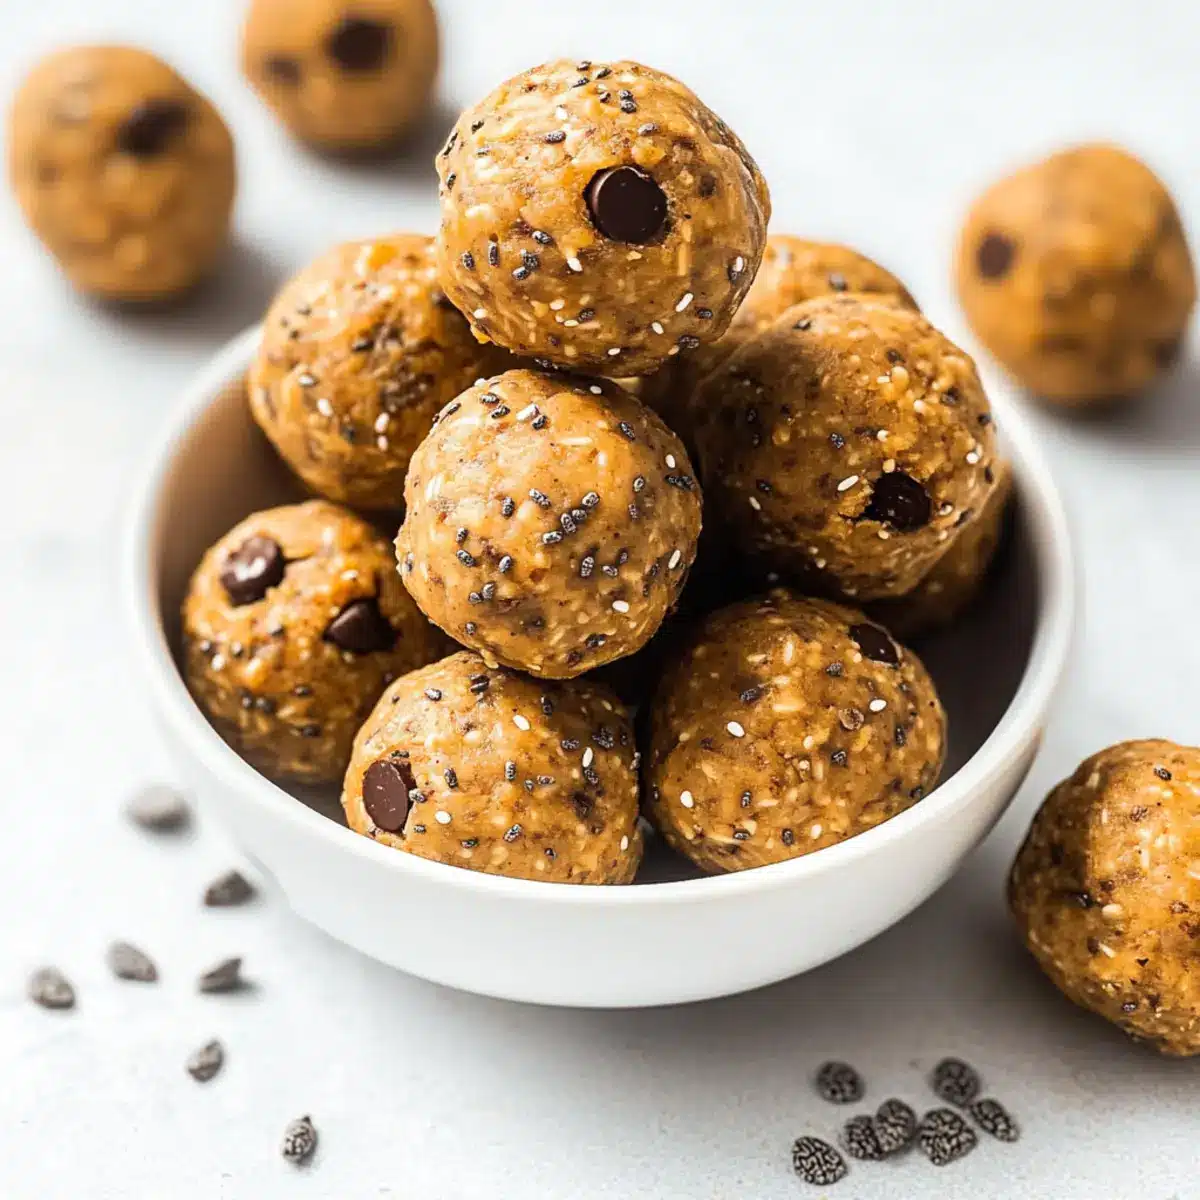
As I rummaged through my pantry one afternoon, I stumbled upon a lonely jar of peanut butter and a bag of oats. A lightbulb moment hit me—why not whip up a batch of No-Bake Protein Balls? These delightful, energy-packed bites are not only quick to prepare, but they’re also a guilt-free snack that satisfies cravings while fueling your day. With wholesome ingredients like oats, chia seeds, and a touch of honey, they’re perfect for busy mornings or as a post-workout pick-me-up. Plus, they’re easily customizable to fit your dietary needs, making them a go-to for the whole family! Ready to transform your snacking routine? Let’s dive into this scrumptious, no-bake adventure!
Why Choose No-Bake Protein Balls?
Quick and Easy: With just a few simple steps, you can whip up these protein balls in no time, making them a perfect solution for busy individuals and families.
Energy-Boosting Perfection: Packed with wholesome ingredients like oats and peanut butter, these bites provide a satisfying energy boost for your day.
Customizable Delight: Swap in your favorite nut butters or add dried fruits for a personal touch, ensuring everyone finds their perfect flavor—try adding chia seeds or mixing in mini chocolate chips for extra fun!
Health-Conscious Snack: These no-bake treats are high in protein, low in refined sugars, and perfect for guilt-free snacking after workouts or mid-afternoon slumps.
Family Favorite: Kids will love these tasty bites as a lunchbox surprise, just like our Thanksgiving Stuffing Balls that combine flavor and nutrition.
Transform your snacking experience with these No-Bake Protein Balls and discover a delicious, healthy way to satisfy your cravings!
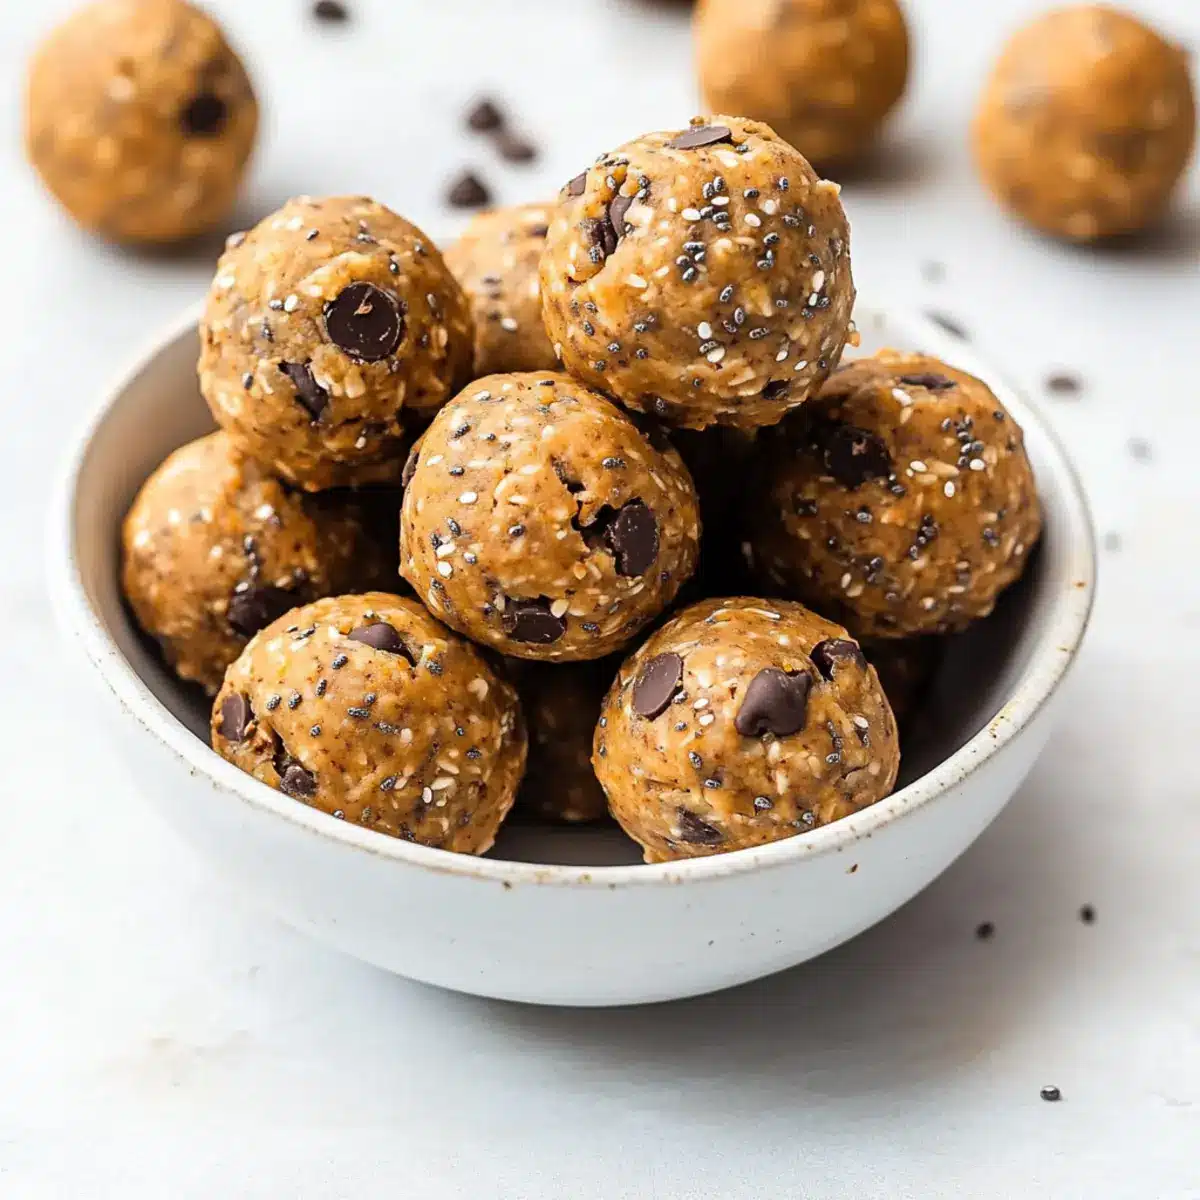
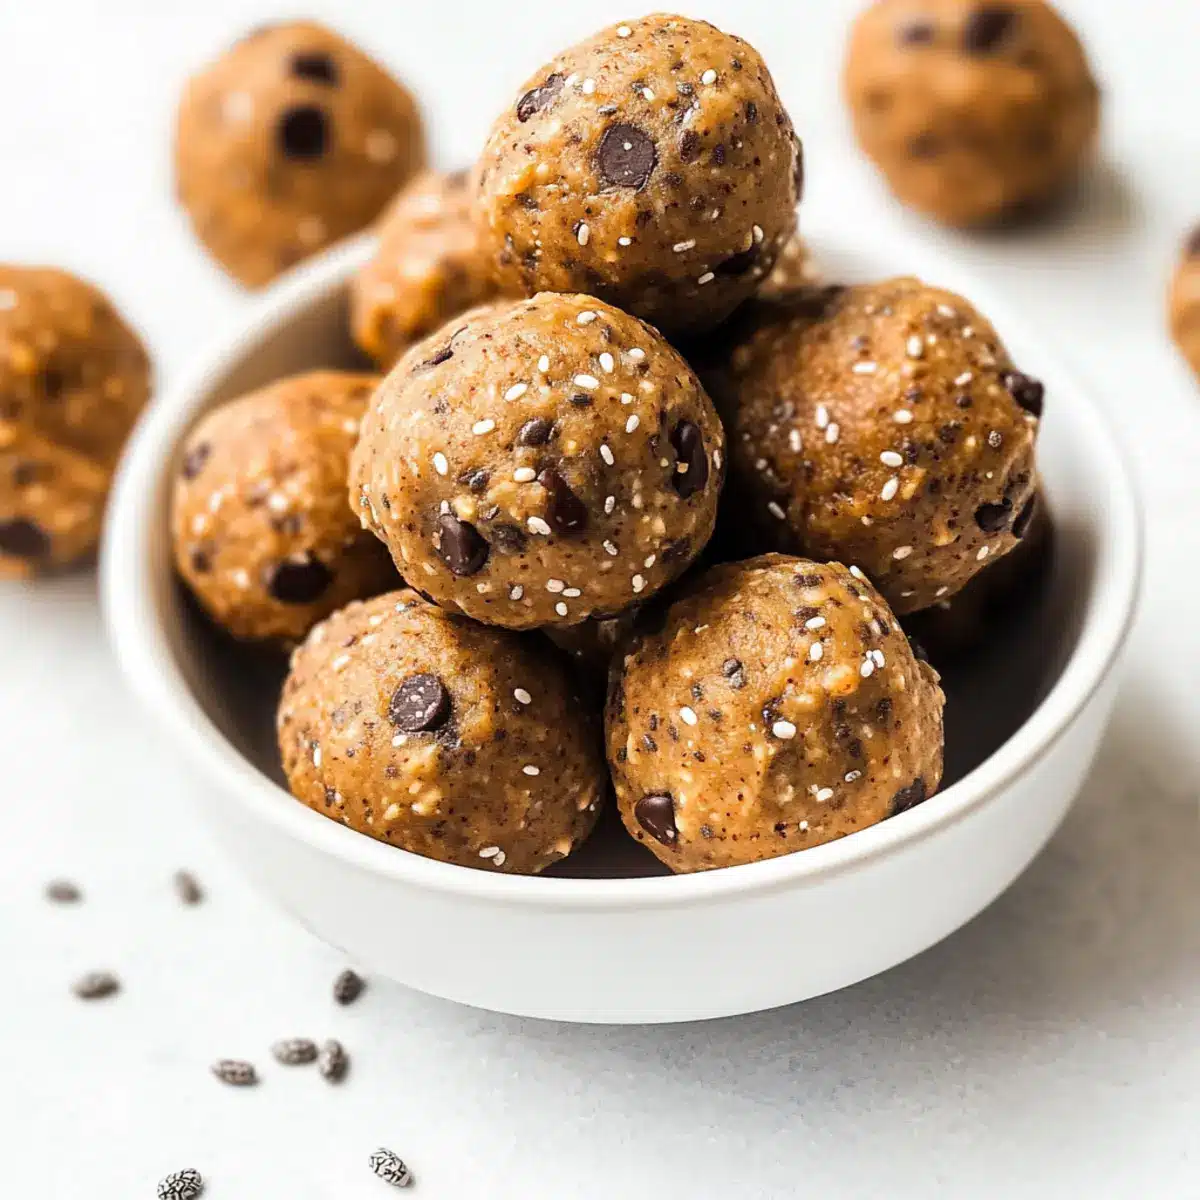
No Bake Protein Balls Ingredients
• Get ready to create a delicious, healthy snack!
For the Base
- Old-Fashioned Oats – Provides structure and chewiness; can substitute with quick oats if necessary.
- Peanut Butter – Acts as a binder and adds creaminess; alternatives include almond butter or sunflower seed butter for nut-free options.
- Honey – Adds natural sweetness; can be swapped with maple syrup for a vegan version.
- Chia Seeds – Contributes fiber and healthy fats; flaxseeds can serve as a substitute.
- Unflavored Protein Powder – Boosts protein content; chocolate or plant-based protein can be used, but avoid overly flavored varieties for balanced taste.
For the Flavor
- Mini Chocolate Chips – Provides a sweet, chocolatey burst; dark chocolate chips or omit for a lower sugar option.
These No Bake Protein Balls are an excellent way to incorporate healthy snacks into your routine!
Step‑by‑Step Instructions for No Bake Protein Balls
Step 1: Combine the Base Ingredients
In a large mixing bowl, add 1 cup of old-fashioned oats, 1 cup of peanut butter, ½ cup of honey, ¼ cup of chia seeds, and 1 scoop of unflavored protein powder. Use a spatula to mix everything together until the ingredients start to combine, forming a thick and sticky base. This should take about 2-3 minutes of mixing to ensure even distribution.
Step 2: Mix Until Smooth
Once the initial mixture is blended, switch to a fork to get a more thorough combination. Continue mixing for an additional 2-3 minutes until all the ingredients are well incorporated and the mixture looks uniform. It should be thick enough to hold together, but not too dry. If it feels too sticky, you can add a little more oats to adjust the texture.
Step 3: Fold in the Chocolate Chips
Gently fold in ½ cup of mini chocolate chips into the mixture with a spatula, taking care not to break the chips. Aim for even distribution throughout the protein ball mixture. This step adds that delightful sweetness and chocolatey flavor you’ll love in your No Bake Protein Balls. Make sure the chocolate chips are mixed in well for a tasty surprise in every bite.
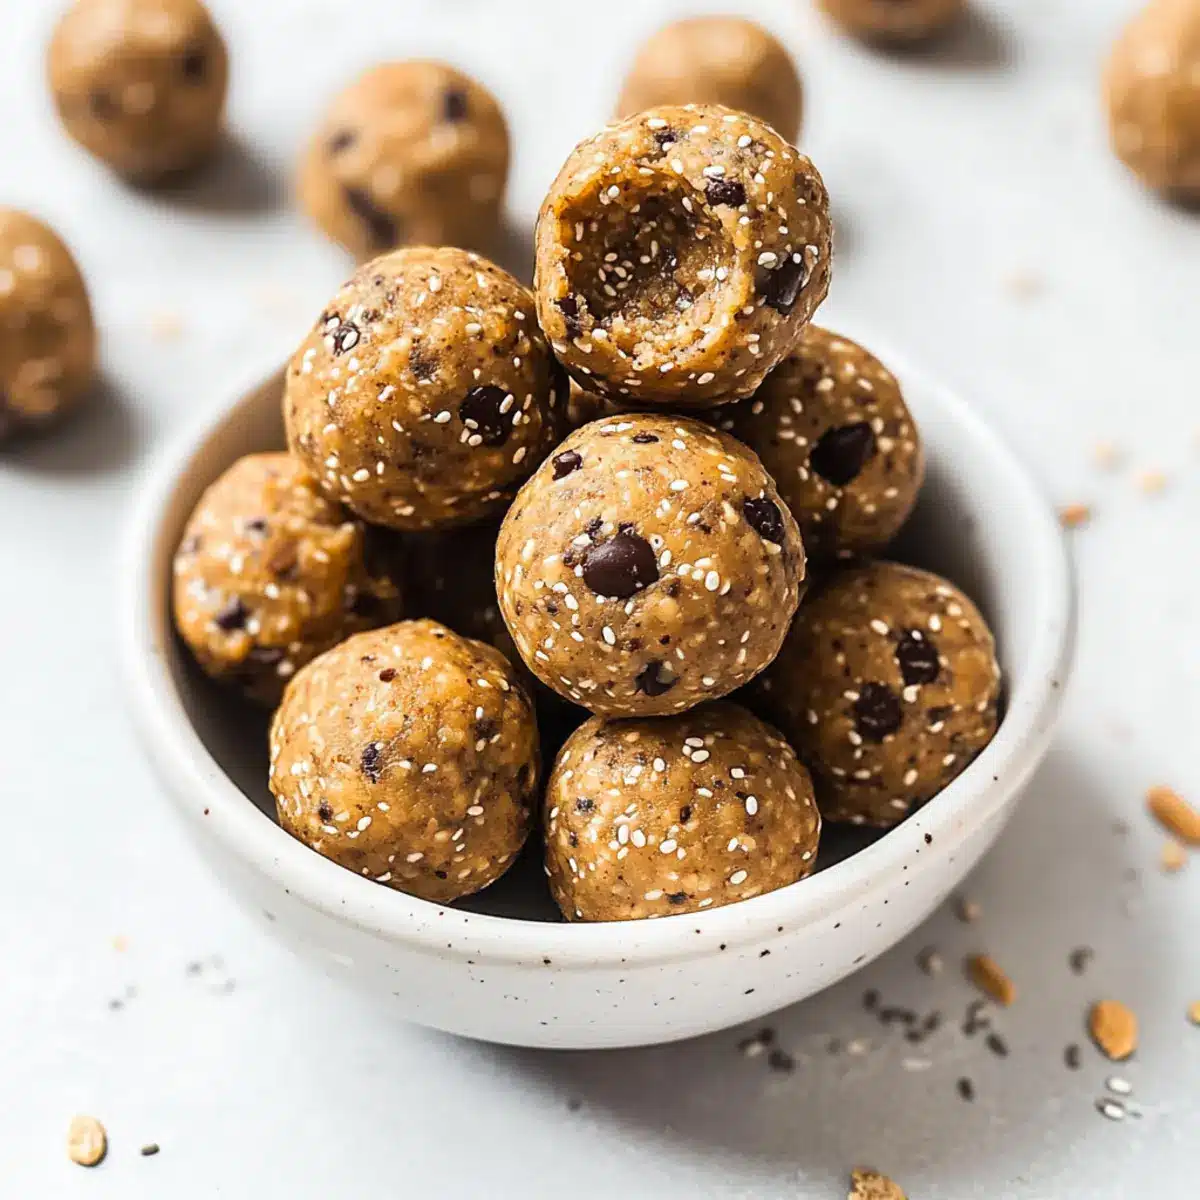
Step 4: Form the Protein Balls
Using a medium cookie scoop or your hands, take about 2 tablespoons of the mixture and roll them into balls about 1 ½ inches in diameter. Make sure to press them firmly to ensure they hold their shape. This process should yield around 12 to 16 balls, depending on the size. Place each ball on a parchment-lined baking sheet, ensuring they’re spaced apart for easy handling.
Step 5: Chill for Better Texture
For best results, place the tray of protein balls in the refrigerator for at least 30 minutes. This chilling step allows the No Bake Protein Balls to firm up, making them easier to enjoy. You can also freeze them if you prefer a colder snack, storing them in a freezer bag as an excellent make-ahead option for energy on the go.
Step 6: Store or Serve
Once chilled, your No Bake Protein Balls are ready to be served! Enjoy them immediately, or if you’re making them in advance, transfer them to an airtight container. They can be kept in the fridge for a week or stored in the freezer for up to 2 months. These delightful bites offer a convenient, healthy snack that’s perfect any time of the day!
How to Store and Freeze No Bake Protein Balls
Fridge: Store your No Bake Protein Balls in an airtight container in the refrigerator for up to 1 week, ensuring they stay fresh and delicious.
Freezer: For longer storage, place the protein balls in a freezer bag and freeze for up to 2 months. Label the bag with the date for easy tracking.
Defrosting: When ready to enjoy, simply grab a few balls and let them thaw at room temperature for about 10 minutes, or pop them in the fridge overnight.
Portion Control: Consider freezing in smaller batches, so you can easily take out the exact amount you need for snacks or post-workout boosts!
Expert Tips for No Bake Protein Balls
-
Chill First: Chilling the mixture for 10-15 minutes before rolling makes it less sticky and easier to handle.
-
Texture Control: If your mixture is too sticky, add oats gradually until you reach the right consistency for shaping.
-
Warm It Up: Microwaving your peanut butter for a few seconds helps it blend smoothly with other ingredients.
-
Storage Matters: Keep your No Bake Protein Balls in an airtight container in the fridge for up to a week, or freeze for longer freshness.
-
Flavor Variations: Feel free to mix in dried fruits, nuts, or seeds for added taste and texture, customizing to your preference!
What to Serve with Easy No-Bake Protein Balls
As you bite into these chewy, chocolatey delights, consider what delicious accompaniments can elevate your snacking experience.
-
Fresh Fruit Platter: A vibrant medley of sliced apples, bananas, and berries creates a refreshing contrast with the rich protein balls. The natural sweetness complements the chocolate chips beautifully.
-
Greek Yogurt Parfait: Layer creamy Greek yogurt, granola, and a drizzle of honey for a wholesome treat. The extra protein from the yogurt balances the energy boost from the no-bake protein balls.
-
Nutty Trail Mix: Combine nuts, seeds, and dried fruits for a crunchy, satisfying mix. This textural contrast offers a fun, added crunch alongside your protein-packed bites.
-
Nut Butter Dip: Serve extra peanut or almond butter for those who crave an intense nutty flavor. It’s an indulgent pairing that amplifies the protein kick!
-
Smoothie Bowl: Blend your favorite fruits with spinach and a scoop of protein powder. This refreshing drink complements the balls as a nutritious meal or snack.
-
Cheese and Crackers Board: A selection of cheese with whole-grain crackers makes for a savory contrast. The creaminess of the cheese offsets the sweetness of the protein balls nicely.
-
Iced Herbal Tea: Enjoy a refreshing glass of herbal tea, perhaps with a hint of citrus. Its lightness clears the palate, allowing the flavors of the protein balls to shine.
-
Chocolate-Dipped Strawberries: For a bit of sweetness, dip fresh strawberries in dark chocolate. This decadent treat creates a lovely dessert pairing with the protein balls to satisfy any sweet tooth.
Explore these delightful pairings to create a complete and satisfying snack experience that complements your no-bake protein balls perfectly!
No Bake Protein Balls Variations
Feel free to get creative with these delicious bites and make them your own!
-
Nut-Free: Substitute peanut butter with sunflower seed butter for a tasty nut-free option, perfect for school lunches.
-
Vegan Delight: Swap honey for maple syrup and use a plant-based protein powder to make these completely vegan friendly.
-
Fruit Boost: Toss in dried cranberries or chopped apricots for a burst of flavor and a touch of sweetness in every bite.
-
Cocoa Twist: For a chocolate lover’s dream, mix in a tablespoon of cocoa powder for extra rich chocolate flavor without the added sugars.
-
Adding Crunch: Incorporate some crushed nuts or seeds like walnuts or pumpkin seeds for an added crunch that enhances the texture.
-
Custom Flavor: Experiment with different nut butters, such as almond or cashew butter, to discover your family’s favorite flavor profile.
-
Spice it Up: A pinch of cinnamon or a dash of vanilla extract can introduce a cozy warmth to your no-bake protein balls.
These energy-boosting snacks can be tailored to fit your taste preferences, just like our easy Breakfast Protein Biscuits can brighten your mornings!
Make Ahead Options
These No-Bake Protein Balls are a fantastic choice for meal prep, saving you valuable time during busy weeks! You can prepare the entire mixture up to 24 hours in advance, storing it in an airtight container in the fridge to maintain freshness. If you prefer, roll the mixture into balls and chill them for about 30 minutes before refrigerating; this helps them firm up and keeps the texture just right. When you’re ready to enjoy, simply pop them out of the fridge (or freezer if prepped for longer storage) and snack away. They’ll remain delicious and nutritious, ready to fuel your day!
No-Bake Protein Balls Recipe FAQs
What kind of oats should I use for No-Bake Protein Balls?
You can use old-fashioned oats for the best texture, but quick oats can work as a substitute if that’s what you have on hand. Both types provide the chewy foundation that makes these protein balls enjoyable!
How long can I store No-Bake Protein Balls?
Store your No-Bake Protein Balls in an airtight container in the refrigerator for up to 1 week. They’ll retain their flavor and consistency, making them perfect for an easy grab-and-go snack throughout the week.
Can I freeze No-Bake Protein Balls?
Absolutely! To freeze, place your protein balls in a single layer on a parchment-lined baking sheet and freeze until solid. Once firm, transfer them to a freezer bag and label it with the date. They will last up to 2 months in the freezer. When you’re ready to enjoy, let them thaw at room temperature for about 10 minutes.
What should I do if my protein ball mixture is too sticky?
If you find your mixture is sticking too much, add more oats, a tablespoon at a time, until you reach a manageable texture. Also, chilling the mixture for 10-15 minutes before shaping can help it firm up and make rolling into balls easier!
Are these protein balls safe for people with nut allergies?
Yes, you can absolutely substitute the peanut butter with sunflower seed butter or any other nut-free alternative to ensure everyone can enjoy these tasty No-Bake Protein Balls! Just be sure to check labels for any other potential allergens.
Can I add other ingredients to my No-Bake Protein Balls?
The more the merrier! You can enhance your No-Bake Protein Balls by adding in dried fruits like cranberries or apricots, nuts, or seeds for an extra crunch. Just keep the proportions in mind to maintain the binding quality of the mixture.
Delicious No Bake Protein Balls for Quick Energy Boosts
Ingredients
Equipment
Method
- In a large mixing bowl, combine old-fashioned oats, peanut butter, honey, chia seeds, and protein powder. Mix until thick and sticky.
- Use a fork to blend the mixture thoroughly for about 2-3 minutes until well incorporated.
- Gently fold in mini chocolate chips with a spatula for even distribution.
- Roll about 2 tablespoons of the mixture into balls and place on a parchment-lined baking sheet.
- Refrigerate for at least 30 minutes to allow the protein balls to firm up.
- Enjoy immediately or store in an airtight container in the refrigerator or freezer.
Leave a Reply