
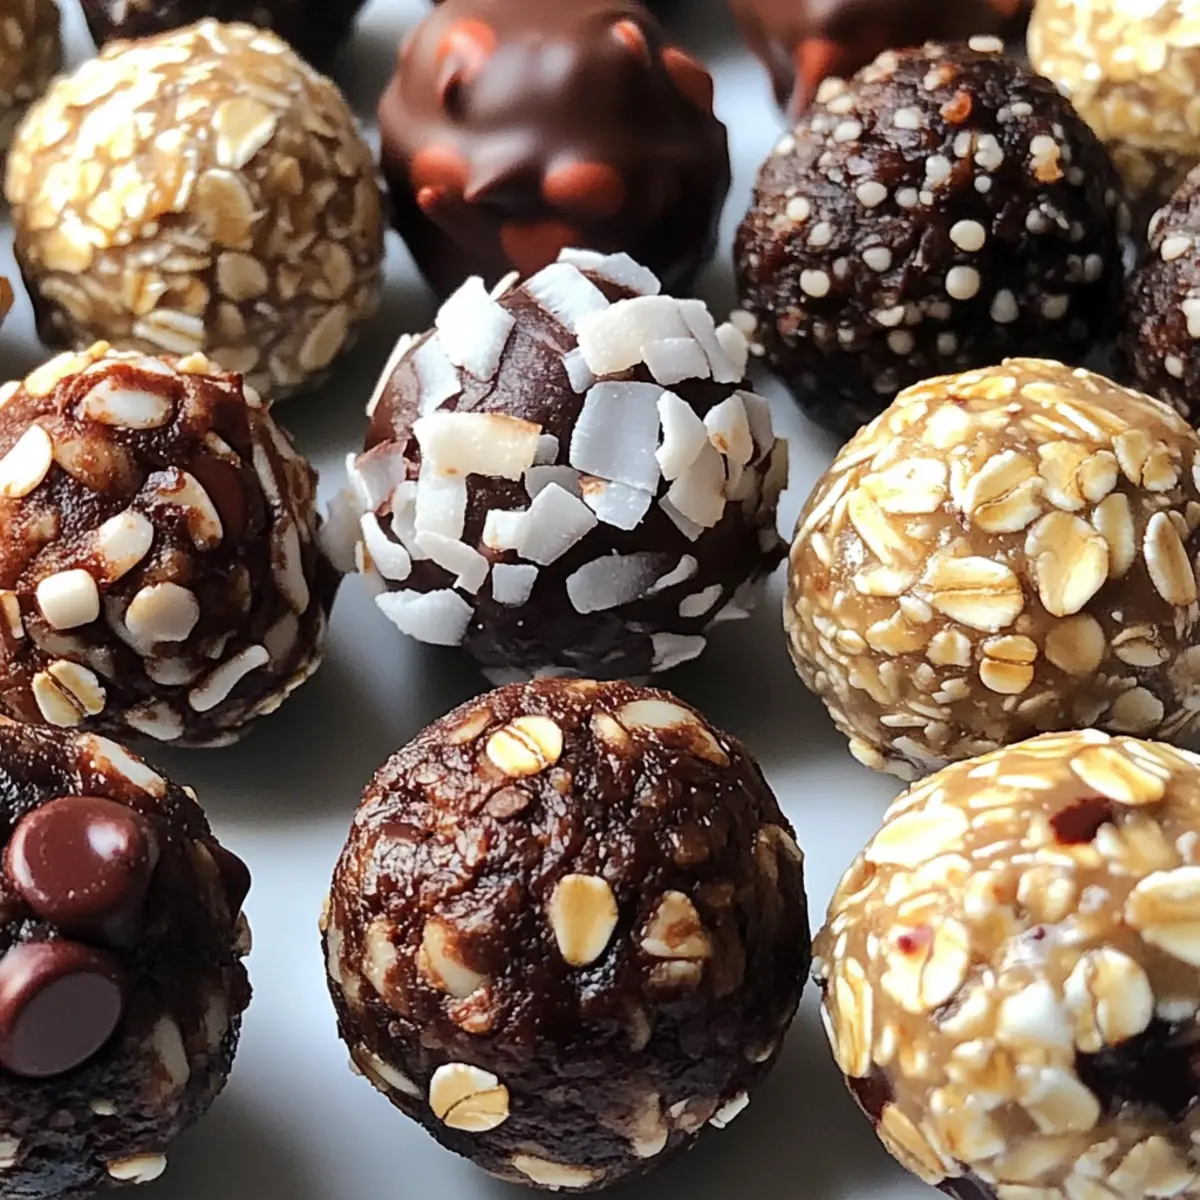
As I stood in my kitchen, the enticing aroma of nut butter wafted through the air, instantly lifting my spirits. That’s the magic of homemade snacks, isn’t it? My Easy Protein Balls Recipe for Healthy Snacking has become my go-to for satisfying cravings without the guilt. These no-bake delights are not only quick to whip up but also packed with customizable ingredients like oats and your choice of nut butter to keep you feeling energized throughout the day. Whether you need a mid-morning pick-me-up or a pre-workout boost, these little bites offer a delicious way to stay nourished. Are you ready to learn how to create this scrumptious snack that’s perfect for your busy lifestyle?
Why Will You Love These Protein Balls?
Nutritious and Satisfying: These Easy Protein Balls are the perfect blend of taste and health, keeping your cravings in check without the added sugars.
Customizable to You: With endless variations, you can use your favorite nut butter or mix in delightful surprises like dried fruits or chocolate chips.
Quick and No-Bake: Ready in just a few minutes, these no-bake snacks require minimal effort—ideal for the busy bee!
Great for Any Time: Perfectly portioned for a quick snack, these balls can be your on-the-go breakfast or a late-night treat. Pair them with some yogurt for a balanced meal!
Energy-Boosting Benefits: Each ball packs a protein punch, giving you the energy you need to power through your day—just like my quick and hearty Turkey Chili or a nutritious Savory Cabbage Beginners recipe!
Easy Protein Balls Ingredients
For the Base
- Oats – Provide structure and fiber; substitute with quick oats when necessary.
- Nut Butter – Acts as a binding agent and adds healthy fats; try almond or sunflower seed butter if peanut butter isn’t suitable.
- Honey/Maple Syrup – Adds natural sweetness and moisture; maple syrup is a great vegan alternative.
- Protein Powder – Boosts protein content, aiding energy and recovery; any vanilla or chocolate flavor works well.
For Extra Flavor
- Chocolate Chips/Cacao Nibs – For added sweetness; opt for cacao nibs for a healthier option.
- Shredded Coconut – Introduces texture and flavor; use unsweetened for lower sugar.
- Dried Fruit – Offers natural sweetness and a chewy texture; feel free to use any dried fruits you love.
- Chopped Nuts/Seeds – Provides crunch and healthy fats; mix and match according to your preference.
Step‑by‑Step Instructions for Easy Protein Balls Recipe for Healthy Snacking
Step 1: Mix the Base Ingredients
In a large mixing bowl, combine rolled oats, your choice of nut butter, honey (or maple syrup), and protein powder. Use a sturdy spatula to mix these components thoroughly for about 2-3 minutes until you achieve a cohesive mixture that sticks together when pressed. This is the foundation of your Easy Protein Balls.
Step 2: Fold in Extras
Next, gently fold in your selected mix-ins, such as chocolate chips, shredded coconut, and dried fruits, using your spatula. Aim for uniform distribution, so every bite of your protein balls is flavorful. This step should take about 1-2 minutes and will enhance the texture and taste of your healthy snacks.
Step 3: Chill the Mixture
Cover the bowl with plastic wrap or a lid and place it in the refrigerator. Allow the mixture to chill for about 30 minutes. This firms up the blend, making it easier to shape into balls later. You’ll know it’s ready when it feels more solid and manageable to work with.
Step 4: Shape the Protein Balls
Once chilled, scoop out tablespoon-sized portions of the mixture and roll them into 1-inch balls using your hands. The dough should hold together well and shouldn’t stick too much to your palms. Continue this until all the mixture is formed into Easy Protein Balls.
Step 5: Refrigerate to Set
Place the rolled protein balls onto a parchment-lined baking sheet, ensuring they are spaced apart for easy handling. Return them to the refrigerator and let them chill for an additional 15–20 minutes. This final step will ensure they hold their shape and are ready for snacking.
Step 6: Store or Serve
After chilling, you can enjoy the protein balls immediately or transfer them to an airtight container. If stored properly in the refrigerator, these Easy Protein Balls can last up to a week, making them a convenient grab-and-go snack for your busy days.
Easy Protein Balls Recipe Variations
Feel free to make these no-bake treats your own with exciting swaps and additions!
- Nut-Free: Use sunflower seed butter instead of nut butter to avoid allergens while keeping the protein intact.
- Vegan: Swap honey for agave syrup or maple syrup, ensuring a plant-based treat that everyone can enjoy.
- Flavor Packed: Add a teaspoon of cinnamon or vanilla extract for an aromatic twist that elevates the sweet flavor profile.
- Choco-Lover: Replace chocolate chips with white chocolate chips or dark chocolate for a rich, indulgent experience.
- Crunchy Delight: Incorporate crispy rice cereal for an added crunch that contrasts beautifully with the chewy texture of the protein balls.
- Fruity Boost: Mix in fresh fruit like chopped bananas or apples to infuse natural sweetness and moisture throughout the balls.
- Spicy Kick: Add a pinch of cayenne pepper or chili flakes if you enjoy a spicy touch; it’ll surprise your taste buds!
- Nutty Add-In: Fold in toasted chopped almonds or pecans to intensify the nutty flavor and add an extra layer of texture.
Don’t forget to use these variations to complement other delicious recipes like High Protein Garlic Cheesy Chicken Potatoes or Beef Lasagna Cheesy for a full meal experience!
Make Ahead Options
These Easy Protein Balls are perfect for meal prepping, saving you time on busy days! You can mix the base ingredients (oats, nut butter, honey, and protein powder) and refrigerate the mixture up to 24 hours in advance. This step allows the flavors to meld beautifully. Once ready to finish, simply scoop out tablespoon-sized portions, roll them into balls, and chill for an additional 15-20 minutes. To maintain quality, store any leftovers in an airtight container in the refrigerator, where they can last for up to a week. With these make-ahead tips, you’ll always have healthy snacks on hand without the rush!
What to Serve with Easy No-Bake Protein Balls?
These protein-packed snacks are perfect for any occasion, making them a delightful addition to your meal planning.
-
Greek Yogurt Parfait: Layer yogurt, fresh fruit, and protein balls for a delicious breakfast that’s both satisfying and nutritious. It’s a great way to enjoy that creamy texture alongside a chewy bite.
-
Fresh Fruit Salad: Juicy melons, crisp apples, and tangy berries create a refreshing contrast that brightens your snack time. Each bite bursts with flavor, perfectly complementing the richness of protein balls.
-
Nutty Granola: Serve alongside a small bowl of granola for an extra crunch factor. This combination offers both nutritious elements and a delightful munch that satisfies all cravings!
-
Nut Milk Smoothie: Blend almond milk with banana and spinach for a nutrient-dense drink alongside protein balls. This pairing delivers a creamy, refreshing balance that keeps your energy up throughout the day.
-
Hummus and Veggie Sticks: Pair with crunchy carrots, cucumbers, or bell peppers and a side of hummus for a satisfying, balanced snack. The creaminess of the hummus harmonizes beautifully with the chewy protein balls.
-
Chia Seed Pudding: This creamy, nutrient-rich dessert pairs wonderfully with protein balls for a wonderfully healthy snacking experience. Top the pudding with fruit for added sweetness and texture.
-
Herbal Tea: A calming cup of herbal tea enhances the snacking experience, grounding sweet and savory flavors. The warmth complements the protein balls beautifully, making for a cozy moment anytime.
-
Dark Chocolate Dipped Strawberries: For a sweet treat, serve these alongside your protein bites. The richness of dark chocolate pairs just right, bringing harmony to your snack extravaganza.
How to Store and Freeze Easy Protein Balls
Fridge: Keep your Easy Protein Balls in an airtight container in the fridge for up to 1 week. This preserves their freshness and ensures they are ready for snacking whenever you need.
Freezer: For longer storage, place the protein balls in a single layer on a baking sheet, freeze until solid, then transfer to a freezer-safe bag or container. They’ll remain good for up to 3 months.
Reheating: While these protein balls are best enjoyed cold, you can thaw frozen ones in the fridge overnight or at room temperature for about 30 minutes before eating.
On-the-Go: For added convenience, pack a few protein balls in a small container for a quick, nutritious snack during your busy day!
Expert Tips for Easy Protein Balls
-
Mix Thoroughly: Ensure that all base ingredients are well combined for consistent taste. A uniform mixture prevents any dry pockets in your Easy Protein Balls.
-
Adjust Sweetness: Taste and tweak the sweetness to suit your preference. Remember, honey and maple syrup can vary in sweetness.
-
Chill Well: Don’t skip refrigerating the mixture! Chilling is key to making it easier to shape. If the dough feels too soft, add a bit more oats.
-
Experiment Freely: Feel free to play with different nut butters or add spices like cinnamon. Customization is what makes these Easy Protein Balls a delightful treat!
-
Perfect Portioning: Aim for tablespoon-sized portions when rolling. This helps ensure each ball is perfectly sized for snacking and keeps them convenient to grab on the go.
Easy Protein Balls Recipe for Healthy Snacking Recipe FAQs
How can I choose the best oats for this recipe?
Absolutely! When selecting oats, opt for rolled oats, as they provide excellent structure and fiber. If you have quick oats on hand, they can work as a substitute in a pinch, though the texture might be slightly different, less chewy.
What’s the best way to store my protein balls?
I recommend keeping your Easy Protein Balls in an airtight container in the fridge for up to 1 week. This way, they remain fresh and convenient to grab whenever you’re hungry.
Can I freeze these protein balls, and if so, how?
Yes, you can! To freeze your protein balls, first place them in a single layer on a baking sheet and freeze until solid, about 1-2 hours. Once frozen, transfer them to a freezer-safe bag or container. They can last up to 3 months in the freezer. When you’re ready to enjoy them, thaw in the fridge overnight or at room temperature for about 30 minutes.
What if my mixture is too wet or dry?
No worries! If your Easy Protein Balls mixture feels too wet, you can add a little more oats, about 1 to 2 tablespoons at a time, until it holds together without being sticky. Conversely, if it’s too dry and crumbly, you can add a teaspoon of nut butter or a bit of honey/maple syrup to achieve the right consistency.
Are these protein balls safe for kids with nut allergies?
Certainly! You can easily make these Easy Protein Balls nut-free by substituting nut butter with sunflower seed butter or a seed-based alternative like tahini. Just be sure to check for any allergies related to the new ingredients you choose!
How long do these protein balls keep their freshness?
When stored in the fridge, your protein balls will stay fresh for about 1 week, and if you decide to freeze them, they’ll maintain their quality for up to 3 months. Just remember to thaw them properly before enjoying!
Easy Protein Balls Recipe for Healthy Snacking Delights
Ingredients
Equipment
Method
- In a large mixing bowl, combine rolled oats, your choice of nut butter, honey (or maple syrup), and protein powder. Use a sturdy spatula to mix these components thoroughly for about 2-3 minutes until you achieve a cohesive mixture that sticks together when pressed.
- Gently fold in your selected mix-ins, such as chocolate chips, shredded coconut, and dried fruits, using your spatula until uniformly distributed.
- Cover the bowl with plastic wrap or a lid and place it in the refrigerator. Allow the mixture to chill for about 30 minutes.
- Scoop out tablespoon-sized portions of the mixture and roll them into 1-inch balls using your hands.
- Place the rolled protein balls onto a parchment-lined baking sheet, ensuring they are spaced apart, and return them to the refrigerator for an additional 15-20 minutes.
- After chilling, you can enjoy the protein balls immediately or transfer them to an airtight container.
Leave a Reply