
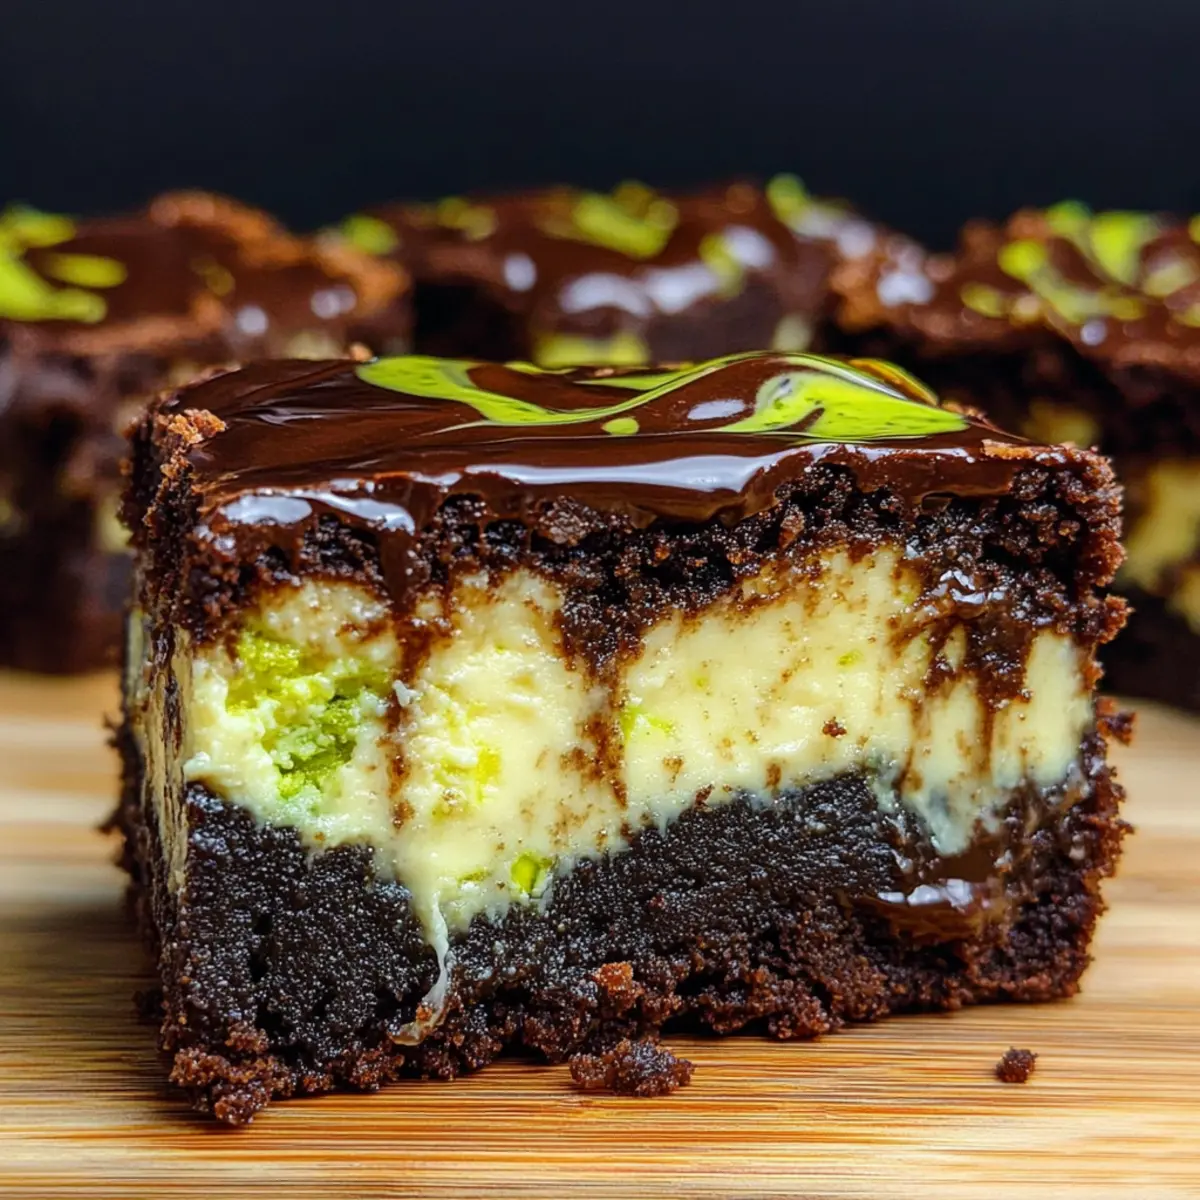
As I rummaged through my pantry last week, I stumbled upon a half-open bag of pistachios just waiting to be celebrated. This discovery sparked the creation of these delightful pistachio cheesecake brownies, where creamy cheesecake meets rich chocolate in a gooey, dreamy dessert. Not only do they tantalize your taste buds, but they also elevate the classic brownie into a sophisticated treat that’s sure to impress friends and family. With a quick prep time and the flexibility to adapt for gluten-free diets, these brownies make indulging in homemade desserts simpler and more rewarding than ever. Intrigued? Let’s dive into the recipe and explore the magic of these decadent delights!
Why You’ll Adore These Brownies?
Decadent Indulgence: These delightful pistachio cheesecake brownies are a perfect blend of rich chocolate and creamy cheesecake that will leave you wanting more.
Easy to Make: With simple steps and basic ingredients, this recipe caters to bakers of all skill levels.
Versatile Flavors: Want a different twist? Swap the pistachio spread for hazelnut or even experiment with gluten-free options—there’s a version for everyone!
Crowd-Pleasing Treat: Whether for a cozy night in or a gathering, these brownies are guaranteed to impress your guests and evoke joyful smiles.
Quick Enjoyment: Ready in under an hour, you can satisfy your sweet cravings without waiting around all day.
For more delightful dessert ideas, don’t miss our Pumpkin Spice Cheesecake or the airy lightness of Chocolate Meringue Cookies.
Delightful Pistachio Cheesecake Brownie Ingredients
• Gather these ingredients to create your delightful pistachio cheesecake brownies that are as simple as they are scrumptious!
For the Brownie Batter
• Dark Chocolate (50–60% cocoa) – Provides deep chocolate flavor; feel free to substitute with semi-sweet for a sweeter bite.
• Unsalted Butter – Adds richness and moisture; swap with margarine for a dairy-free alternative.
• Caster Sugar – Sweetens both brownie and cheesecake layers; can be replaced with regular granulated sugar if needed.
• Light Brown Sugar – Enhances the flavor profile and keeps them moist; dark brown sugar offers a deeper taste if you like.
• All-Purpose Flour – Gives structure to the brownies; choose a gluten-free flour blend for a gluten-free version.
• Eggs – Binds everything together and contributes to the texture; no substitutes are recommended.
• Vanilla Extract – Infuses a warm complexity; vanilla bean paste can provide an extra burst of flavor.
• Unsweetened Cocoa Powder – Delivers a robust chocolate flavor; stick with unsweetened to control overall sweetness.
• Fine Salt – Balances the sweetness and enhances the other flavors.
For the Cheesecake Layer
• Cream Cheese (full-fat) – Creates a luscious cheesecake layer; quark is a lighter substitute if desired.
• Pistachio Spread – Adds a nutty flavor and creamy consistency; feel free to substitute with almond or hazelnut spread for variety.
For the Topping
• Chopped Dark Chocolate – Sprinkled on top for added richness and texture; consider using chocolate morsels for ease.
Now, you’re all set to create these decadent treats that will surely spark joy in every bite!
Step‑by‑Step Instructions for Delightful Pistachio Cheesecake Brownies
Step 1: Preheat and Prepare
Begin by preheating your fan-forced oven to 170°C (340°F) and lining an 8×8 inch baking tin with parchment paper for easy removal. This step ensures that your delightful pistachio cheesecake brownies bake evenly and have a smooth edge. While the oven warms up, gather your ingredients to streamline the process.
Step 2: Cream Cheese Mixture
In a mixing bowl, combine 250g of full-fat cream cheese with 100g of caster sugar, 1 egg, and a tablespoon of flour. Beat the mixture until smooth and creamy, ensuring no lumps remain. Once combined, place it in the fridge to chill while you prepare the brownie batter; this will help it thicken up deliciously.
Step 3: Melt the Chocolate
Break 200g of dark chocolate into pieces and add it to a microwave-safe bowl along with 100g of unsalted butter. Microwave in 20-second bursts, stirring in between, until the chocolate and butter are fully melted and smooth. Be sure to let this mixture cool slightly before moving to the next step, as adding it hot could cook the eggs.
Step 4: Whisk the Egg Mixture
In a separate bowl, whisk together 2 eggs, 100g of caster sugar, 50g of light brown sugar, and a teaspoon of vanilla extract. Use an electric mixer on medium speed for about 3 minutes, or until the mixture thickens and turns pale in color. This step creates a fluffy base that will give your brownies a rich texture.
Step 5: Combine Ingredients
Gently fold the cooled chocolate and butter mixture into the whisked egg mix until just combined. Then, sift in 100g of all-purpose flour, 30g of unsweetened cocoa powder, and a pinch of fine salt. Carefully mix everything together, ensuring you don’t overwork the batter to maintain that perfect gooeyness in your brownies.
Step 6: Layering the Brownies
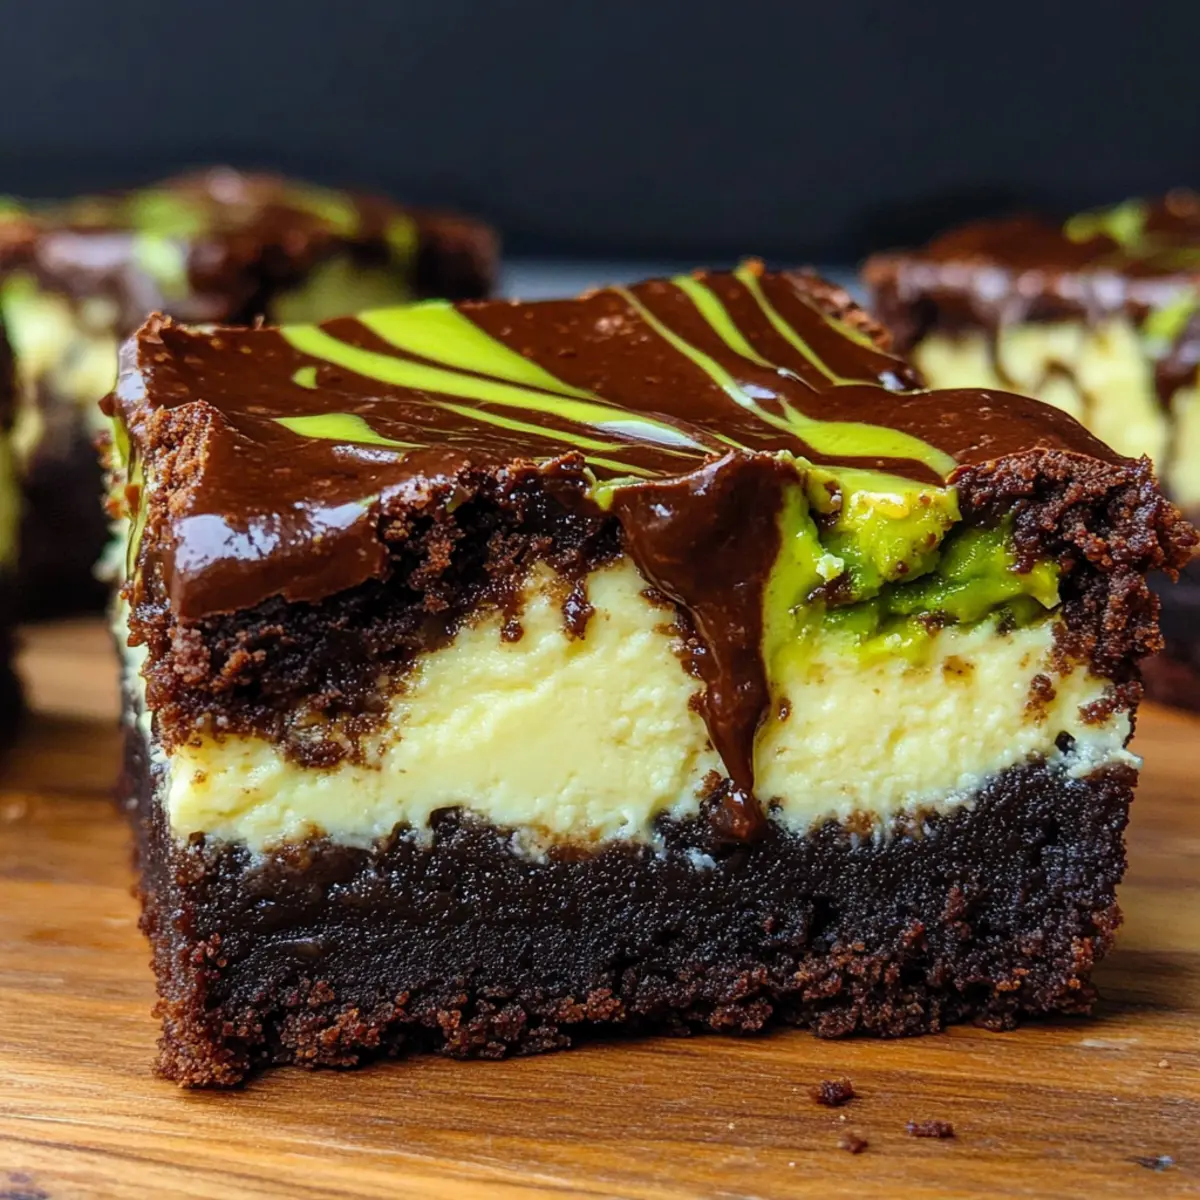
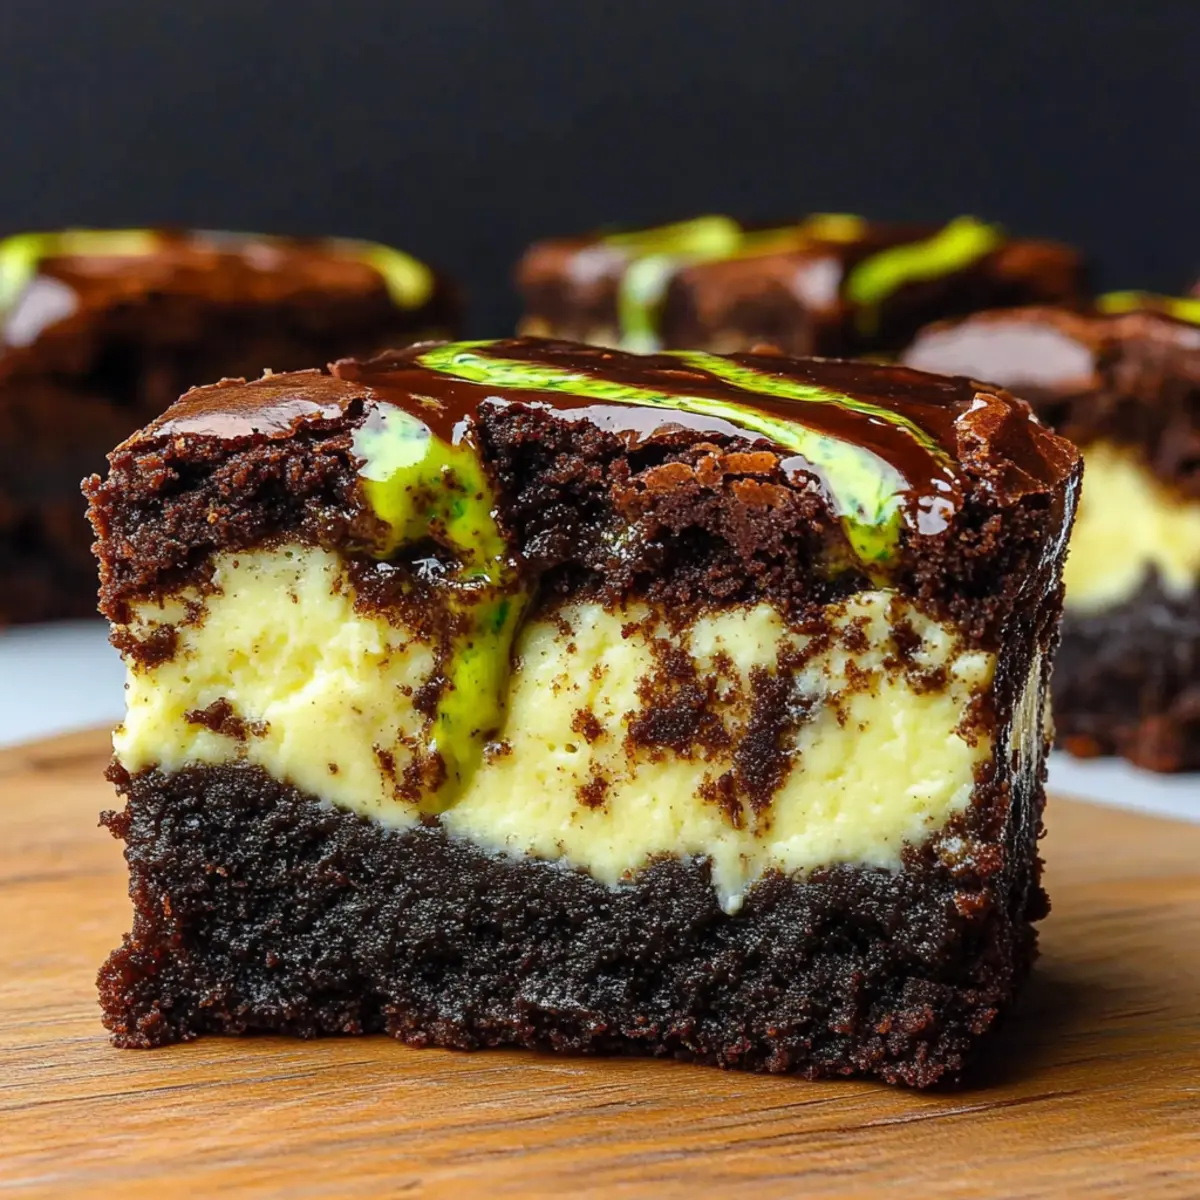
Spread half of the brownie batter evenly into the prepared baking tin, smoothing it out with a spatula. Next, spoon the chilled cream cheese mixture over the brownie base, creating a lovely layer. Dot with dollops of pistachio spread across the cream cheese and top with the remaining brownie batter, spreading it out gently to seal everything together.
Step 7: Bake to Perfection
Place the pan in the preheated oven and bake for about 27 minutes. To check doneness, insert a skewer into the center; it should come out with a few moist crumbs attached, ensuring the brownies remain delightfully gooey. If they look too soft, give them an additional minute or two, but avoid overbaking.
Step 8: Cooling and Cutting
Once baked, remove the delightful pistachio cheesecake brownies from the oven and let them cool in the tin for about 10 minutes. Then, transfer them to a wire rack to cool completely. Once cool, cut into squares, revealing the marbled layers, and prepare to indulge in a truly decadent treat!
Make Ahead Options
These delightful pistachio cheesecake brownies are perfect for meal prep enthusiasts! You can prepare the cream cheese mixture up to 24 hours in advance by combining the cream cheese, sugar, egg, and flour, then refrigerating it to keep it fresh and thick. Additionally, the brownie batter can be made ahead and stored in the fridge for up to 3 days; just be sure to cover it tightly to maintain moisture. When you’re ready to bake, simply spread half of the batter in the pan, add your chilled cream cheese layer, and top with the remaining brownie mixture before baking. This way, you’ll enjoy delicious brownies with minimal effort, even on the busiest of weeknights!
Storage Tips for Delightful Pistachio Cheesecake Brownies
Fridge: Store the brownies in an airtight container in the fridge for up to 1 week to maintain their creamy texture and rich flavor.
Freezer: For longer storage, freeze individual portions of brownies in an airtight container for up to 1 month. Thaw at room temperature before indulging.
Reheating: Enjoy these delightful pistachio cheesecake brownies fresh or warmed slightly in the microwave for about 10-15 seconds to bring back their gooeyness.
Room Temperature: If serving the brownies soon after baking, they can be left at room temperature for up to 2 hours. Just remember to refrigerate any leftovers!
What to Serve with Pistachio Cheesecake Brownies?
These luscious brownies offer a delightful dance of flavors, and pairing them with complementary treats enhances their indulgence.
-
Vanilla Ice Cream: The creamy, cold texture beautifully contrasts the warm, gooey brownies, creating a delightful dessert experience. For an extra indulgence, drizzle with chocolate sauce.
-
Fresh Berries: A burst of tartness from raspberries or strawberries cuts through the sweetness, adding a refreshing note that balances the richness. Their vibrant color also enhances the visual appeal.
-
Whipped Cream: Fluffy whipped cream adds lightness and richness, inviting you to scoop and savor each bite. A sprinkle of crushed pistachios on top ties back to the brownie’s nutty notes.
-
Coffee or Espresso: A warm cup of coffee enhances the chocolate’s depth, making each bite even more satisfying. The bold flavors create a comforting pairing perfect for afternoon treats.
-
Mint Chocolate Chip Milkshake: The cool, creamy shake adds a playful twist alongside the brownies, inviting you to enjoy both textures. The mint flavor complements the richness for an unexpected delight.
-
Chai Spiced Tea: A cup of lightly spiced chai tea brings warmth and aromatic flavors, enhancing the cozy vibe of your dessert. It pairs wonderfully with the nutty undertones of the brownies.
Indulging in these delightful pistachio cheesecake brownies is just the beginning—feel free to explore these delicious pairings for an unforgettable treat experience!
Delightful Pistachio Cheesecake Brownies Variations
Feel free to let your creativity shine by customizing these indulgent treats with exciting twists that tantalize your taste buds!
-
Nutty Alternative: Swap pistachio spread for creamy hazelnut or almond spread for a different flavor twist. Both options bring a delightful new dimension to the cheesecake layer.
-
Gluten-Free Option: Replace all-purpose flour with a gluten-free flour blend for a scrumptious gluten-free brownie that everyone can enjoy. Made with rich flavors, they won’t compromise on taste!
-
Light and Creamy: Use quark instead of full-fat cream cheese for a lighter, yet still deliciously creamy, cheesecake layer. Your brownies will remain rich without feeling too heavy.
-
Different Chocolate Profiles: Experiment with different percentages of dark chocolate, from bittersweet to semi-sweet. This can enhance sweetness and add or reduce richness based on your preferences.
-
Spiced Up: Add a pinch of cinnamon or cardamom to the brownie batter to introduce a warm spice note. This little touch transforms each bite into a delightful flavor experience!
-
Chunky Texture: Mix in some chopped nuts, like walnuts or pecans, into the brownie batter for an added crunch that complements the creamy filling beautifully.
-
Decadent Toppings: Drizzle some caramel sauce or chocolate ganache over the top of the cooled brownies for a luxurious treat. Who could resist the extra decadence?
-
Zesty Kick: Incorporate a teaspoon of orange or lemon zest into the cheesecake layer for a refreshing burst of citrus flavor that beautifully contrasts the rich chocolate.
When you’re craving something a bit different, remember to check out our delightful Pumpkin Spice Cheesecake or transform your dessert game with airy deliciousness from Chocolate Meringue Cookies. Happy baking!
Expert Tips for Delightful Pistachio Cheesecake Brownies
-
Check for Gooeyness: Ensure your brownies are perfectly gooey by inserting a skewer. It should emerge with some batter clinging for that ideal texture.
-
Chill Cream Cheese Layer: For a thicker and creamier cheesecake layer, chill the cream cheese mixture before layering. This adds richness to your delightful pistachio cheesecake brownies.
-
Don’t Overmix: When combining the brownie batter ingredients, mix gently to preserve airiness. Overmixing can make the brownies dense rather than light and soft.
-
Proper Cooling: Allow the brownies to cool completely before cutting. This helps them set properly and enhances the flavors as they meld.
-
Store Wisely: Keep your brownies in an airtight container in the fridge to maintain their creamy texture and prevent them from drying out. They can also be frozen for up to a month.
Delightful Pistachio Cheesecake Brownies Recipe FAQs
How do I choose the right pistachios for my brownies?
Look for unsalted, shelled pistachios that are bright green and free from dark spots. Fresh pistachios add the best flavor and texture to your brownies. If you’re opting for pistachio spread, ensure it’s a high-quality brand for an authentic taste.
What’s the best way to store leftover brownies?
To keep your delightful pistachio cheesecake brownies fresh, store them in an airtight container in the fridge where they will last up to 1 week. To maintain their gooey texture, avoid leaving them out at room temperature for extended periods, as they can dry out.
Can I freeze these brownies?
Absolutely! For freezing, wrap individual portions of brownies tightly in plastic wrap or place them in an airtight container. They will stay fresh in the freezer for up to 1 month. When you’re ready to enjoy, simply thaw them at room temperature for about 30 minutes or heat them in the microwave for about 10-15 seconds to restore their gooey goodness.
What should I do if my brownies turn out dry?
If your brownies aren’t as gooey as expected, it might be due to overbaking. Always check for doneness around the 27-minute mark; you want the skewer to come out with a few moist crumbs. If they’re too dry, consider adjusting your baking time next time and make sure to store them properly to retain moisture.
Are there any allergy considerations for this recipe?
Yes! This recipe contains dairy (cream cheese, butter) and eggs, so it’s not suitable for lactose-intolerant individuals or those with egg allergies. For gluten-free needs, you can substitute all-purpose flour with a gluten-free blend. Always check the packaging of ingredients for potential allergens!

Delightful Pistachio Cheesecake Brownies for Sweet Cravings
Ingredients
Equipment
Method
- Preheat your fan-forced oven to 170°C (340°F) and line an 8x8 inch baking tin with parchment paper.
- In a mixing bowl, combine 250g of full-fat cream cheese with 100g of caster sugar, 1 egg, and a tablespoon of flour; beat until smooth and place in the fridge.
- Melt 200g of dark chocolate and 100g of unsalted butter in a microwave-safe bowl in 20-second bursts until smooth.
- Whisk together 2 eggs, 100g of caster sugar, 50g of light brown sugar, and a teaspoon of vanilla extract until thick and pale.
- Gently fold chocolate mixture into whisked egg mix and sift in flour, cocoa powder, and salt; mix carefully.
- Spread half of the brownie batter in the baking tin, add cream cheese mixture, dot with pistachio spread, and top with remaining batter.
- Bake for about 27 minutes and check doneness with a skewer.
- Cool for 10 minutes in the tin, then transfer to a wire rack and cut into squares.
Leave a Reply