
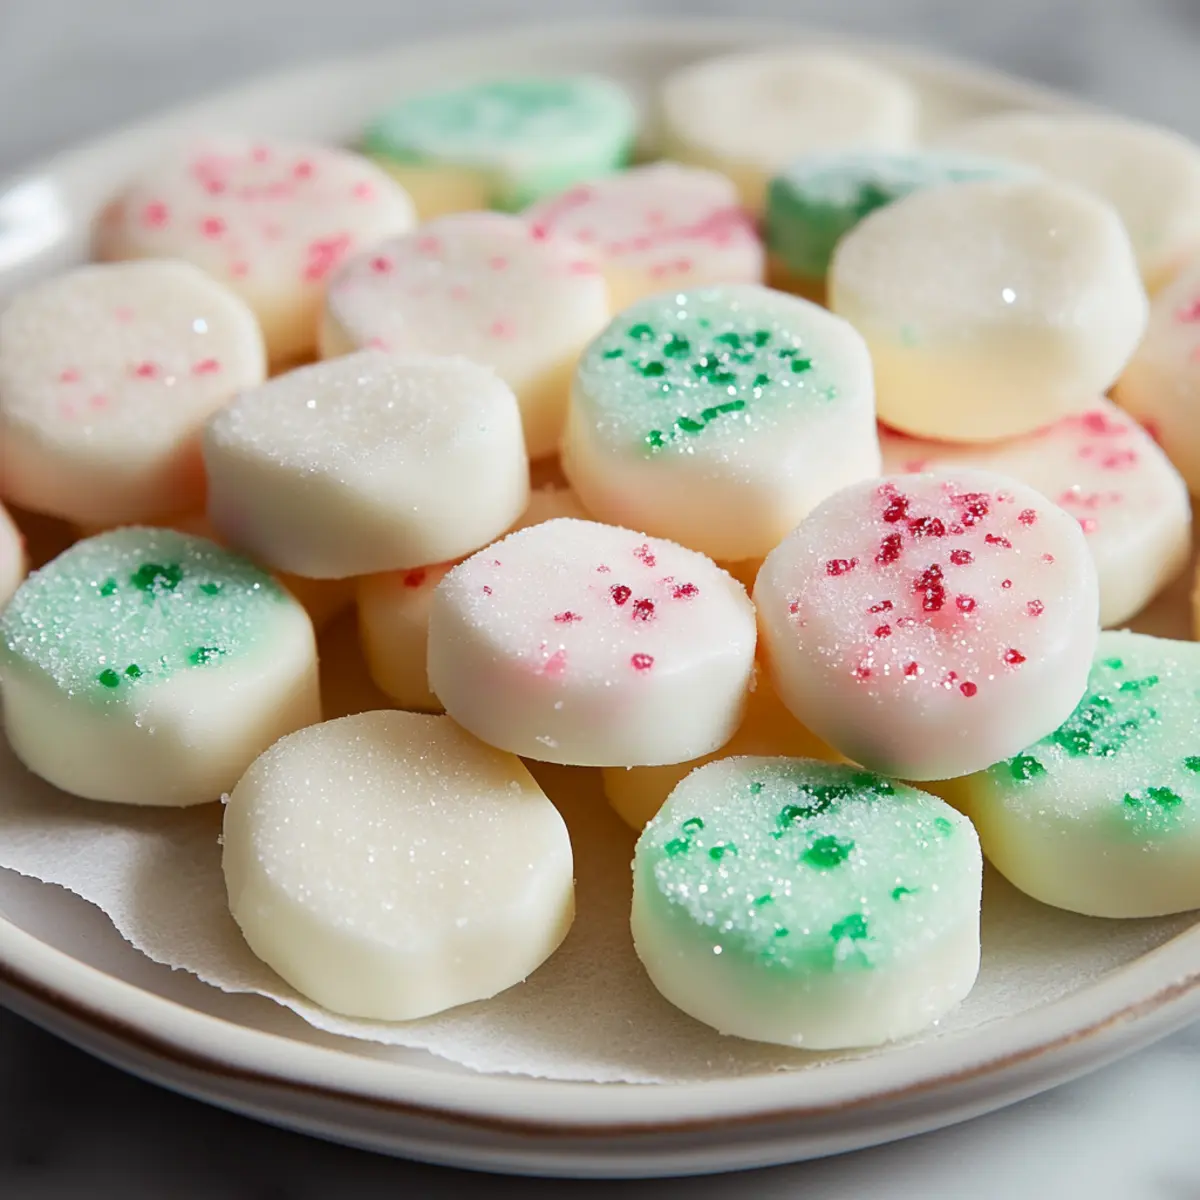
As I rummaged through my grandmother’s old recipe box, I stumbled upon a gem that instantly transported me back to holiday gatherings filled with laughter and love—Old-Fashioned Holiday Mints. These no-bake vintage treats bring a creamy, soft texture and a refreshing hint of mint that delights both the eyes and the palate. Perfect for impressing guests at festive parties or for sweetening up your everyday moments, this recipe is incredibly quick to prepare and totally customizable. You can experiment with flavors and colors, transforming these mints into the ideal treat for any occasion. Ready to whip up some nostalgia? Let’s get started on creating these delightful bites!
Why Are These Mints So Special?
Nostalgic Flavor: Each bite of these Old-Fashioned Holiday Mints evokes warm memories of family gatherings and festive cheer, making them a beloved addition to any holiday spread.
Easy to Make: With no baking required, these mints come together quickly, allowing you to focus on creating delightful moments rather than complicated processes.
Customizable Fun: Feel free to get creative! Add hints of citrus or even chocolate to make your own signature version, just like with my popular Broccoli Bacon Sweet dish!
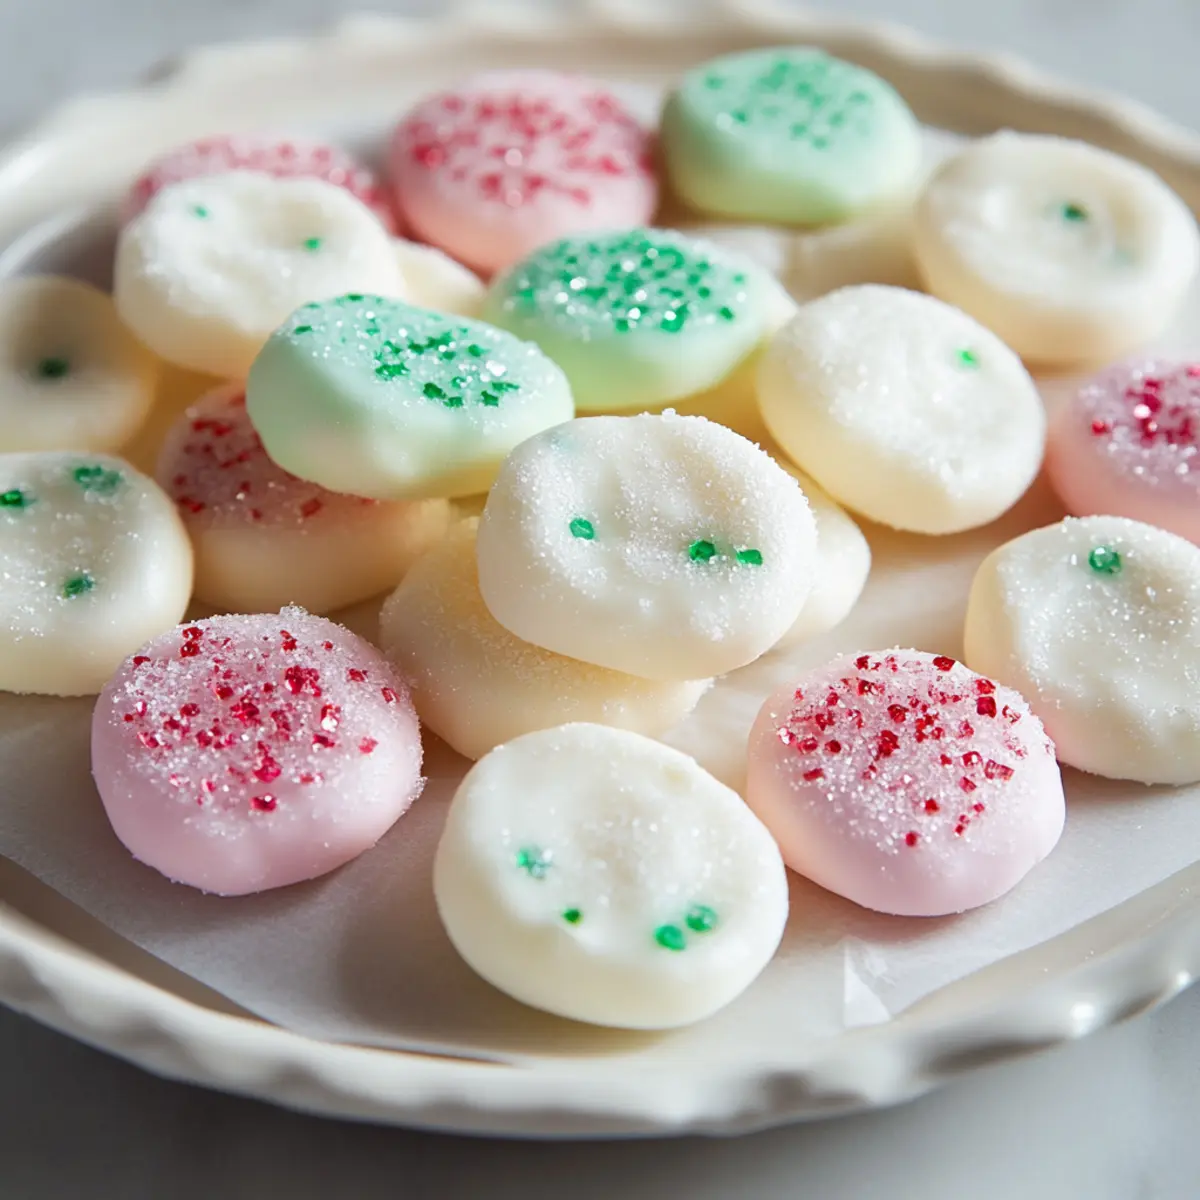
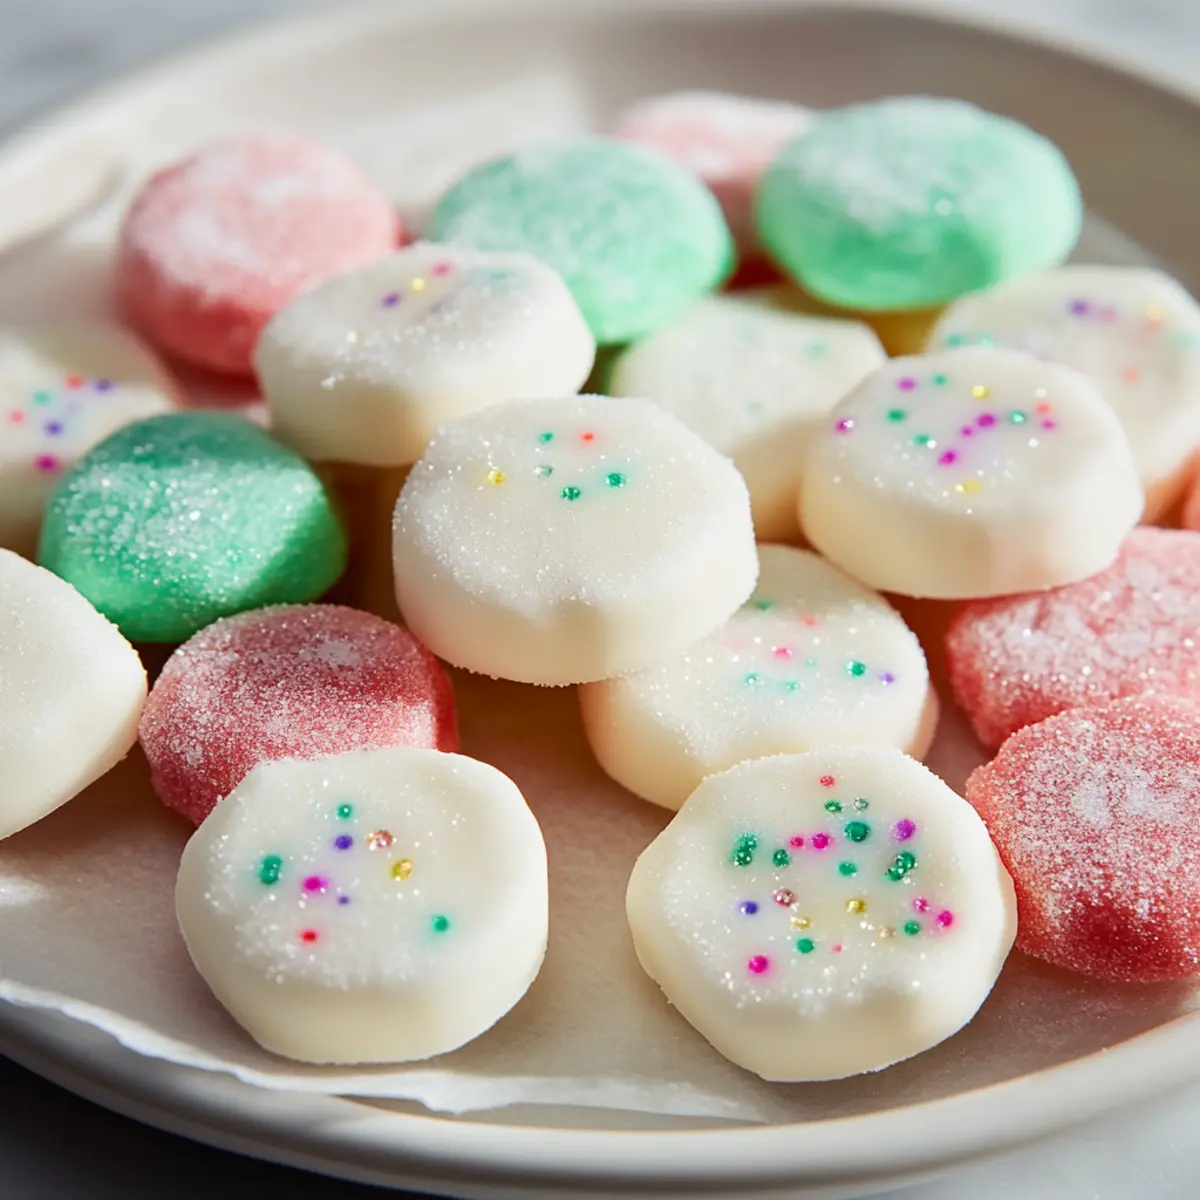
Visually Appealing: With vibrant colors and a sparkling sugar coating, these treats are eye-catching and sure to impress guests at any gathering.
Gift-Worthy Treats: Packaged beautifully, these mints make for charming gifts, perfect for sharing the joy of homemade sweets this season. Transform your holiday treats into memorable gifts!
Old-Fashioned Holiday Mints Ingredients
For the Mints
- Cream Cheese – Provides creaminess and structure to the mints. Substitution: Can use Neufchâtel cheese for a lower-fat option.
- Powdered Sugar – Acts as the main sweetener and helps achieve the desired dough-like texture. Note: Ensure it’s sifted to prevent clumping.
- Mint Extract – Adds a refreshing flavor. Substitution: Use other extracts like lemon or almond for a unique twist.
- Food Coloring – Enhances visual appeal (red, green, blue, or pastels). Note: Gel food coloring is recommended for vibrant hues without turning the dough runny.
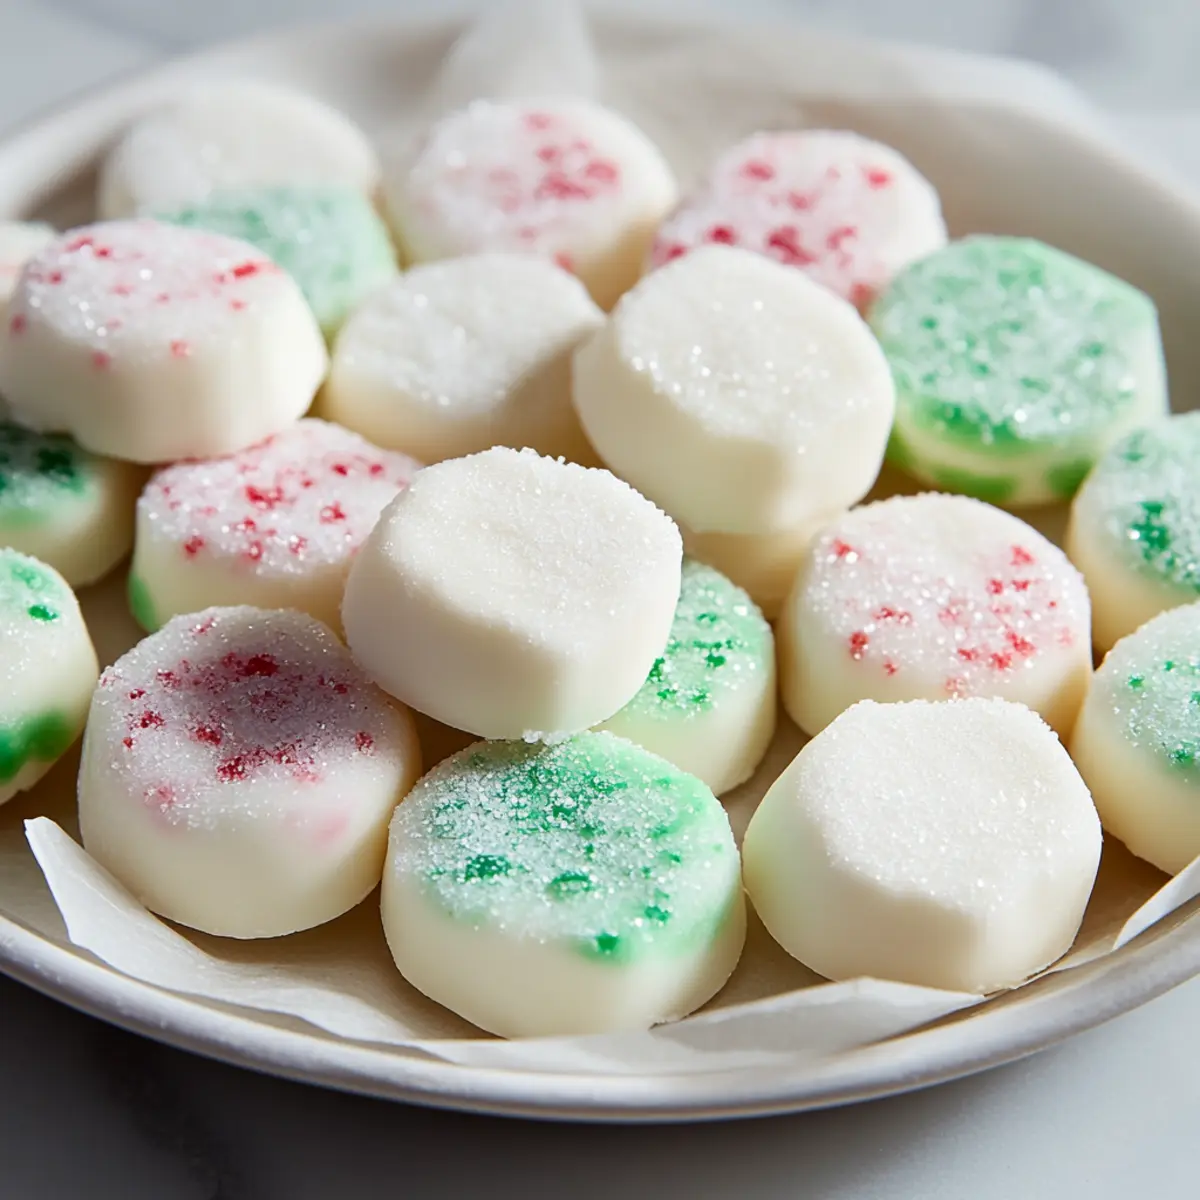
- Granulated Sugar – Used for coating the mints for a delightful sugary crust.
Step‑by‑Step Instructions for Old-Fashioned Holiday Mints – A Sweet Vintage Treat
Step 1: Beat the Cream Cheese
In a large mixing bowl, use an electric mixer to beat 8 ounces of softened cream cheese on medium speed until it’s velvety smooth, about 2-3 minutes. Make sure there are no lumps for a creamy texture. This will be the base of your Old-Fashioned Holiday Mints.
Step 2: Incorporate the Powdered Sugar
Gradually add 2 cups of sifted powdered sugar to the cream cheese. Continue mixing on low speed until all the sugar is integrated and a thick, dough-like consistency forms. Scrape down the sides of the bowl as needed; you should have a tacky but manageable dough ready for flavoring.
Step 3: Flavor the Dough
Stir in 1 teaspoon of mint extract into the dough, blending thoroughly until the flavor is evenly distributed. If you’re planning to create different flavors or colors, divide the dough into sections now, so you can customize each batch with other extracts or zest later on.
Step 4: Add Color
For each divided section, add a few drops of food coloring to achieve your desired shade. Wearing gloves, knead the dough until the color is uniformly mixed in, which may take about 2-3 minutes. Get creative with vibrant hues for your Old-Fashioned Holiday Mints, enhancing their festive appearance!
Step 5: Shape the Mints
Roll the colored dough into 1-inch balls and gently flatten them using a fork or mold, creating small discs. Arrange the shaped mints on a parchment-lined baking tray, ensuring they are spaced apart for ease of coating and drying. This is where your vintage treats begin to take their shape!
Step 6: Coat in Sugar
Once shaped, generously coat each mint in granulated sugar. This will create a delightful sugary crust, providing a sweet crunch to each creamy bite. Place the coated mints back onto the parchment-lined tray, ensuring they are evenly spaced to prevent sticking during drying.
Step 7: Air Dry
Let the mints air dry at room temperature for 12-24 hours. They should feel firm to the touch when ready. This step is crucial for achieving the perfect texture of your Old-Fashioned Holiday Mints, allowing the flavors to deepen while setting the creamy consistency.
Old-Fashioned Holiday Mints Variations
Get ready to put your unique twist on these beloved treats and elevate their flavors with just a few simple changes!
- Citrus Delight: Add lemon or orange zest for a refreshing pop of flavor that brightens each mint.
- Chocolate Bliss: Mix in 1 tablespoon of cocoa powder for a rich chocolate-mint experience that satisfies any sweet tooth.
- Nutty Flavor: Incorporate almond extract instead of mint for a subtly sweet and unique variation.
- Pastel Perfect: Choose soft pastel food colors for a delicate look, perfect for spring or Easter gatherings.
- Spicy Heat: Add a pinch of cayenne pepper to the dough for an unexpected spicy kick that complements the sweetness.
- Herbal Refresh: Use peppermint extract for a stronger mint flavor that truly embodies holiday spirit.
- Nutty Crunch: Fold in chopped nuts like walnuts or pecans for an interesting texture contrast with each mint.
- Layered Flavors: Split the dough and create a double-layer effect by rolling two flavors together. Imagine mint and chocolate layered together – divine!
Each of these variations can transform your Old-Fashioned Holiday Mints into something unique and special! Don’t hesitate to let your creativity flow, just like I do with my Orange Chicken Sweet dish. Enjoy the delightful process of customizing your treats for everyone to savor!
How to Store and Freeze Old-Fashioned Holiday Mints
Room Temperature: Keep the mints in an airtight container at room temperature where they will stay fresh and tasty for up to 2 weeks.
Fridge: For extended freshness, you can store your mints in the fridge for up to 4 weeks; just make sure to seal them tightly.
Freezer: If you want to store your Old-Fashioned Holiday Mints for longer, freeze them in an airtight container or freezer bag, where they can last for up to 3 months.
Reheating: Simply take out the desired amount and let them thaw at room temperature. Enjoy fresh flavors as they return to their original creamy texture!
Expert Tips for Old-Fashioned Holiday Mints
-
Ensure Softness: If your dough feels too sticky, gradually knead in additional powdered sugar until it reaches a smooth and workable consistency for your Old-Fashioned Holiday Mints.
-
Flavor Variation: Don’t hesitate to experiment! Divide the dough and add different extracts to create personalized flavors like orange or coconut, making each mint uniquely yours.
-
No Rush Drying: For the best texture, do not rush the air-drying process. Let the mints sit at room temperature for the full 12-24 hours to achieve that perfect firmness.
-
Color Mastery: Use gel food coloring for vibrant shades; avoid liquid ones, as they can alter the dough’s texture and make it too runny.
-
Storage Matters: Keep your mints in an airtight container post-drying to maintain their freshness and texture for up to two weeks.
Make Ahead Options
These Old-Fashioned Holiday Mints are perfect for meal prep, allowing you to spend more time enjoying the holiday season and less time in the kitchen. You can prepare the mint mixture up to 24 hours in advance; simply combine the cream cheese, powdered sugar, and mint extract, then shape and coat them just before serving. To maintain quality, refrigerate the mints in an airtight container after coating them in sugar to prevent them from becoming too dry. When ready to serve, allow them to sit at room temperature for about 15 minutes for optimal texture. With this prep in advance, you’ll have delightful, homemade sweets ready to impress your guests with minimal effort!
What to Serve with Old-Fashioned Holiday Mints
Elevate your dessert experience by adding delightful bites that complement these nostalgic mints beautifully.
- Rich Hot Chocolate: A warm, creamy cup of hot chocolate pairs perfectly, enhancing the minty freshness while keeping the mood cozy.
- Classic Shortbread Cookies: Their buttery crunch contrasts nicely with the soft mints; together, they create a perfect duo for a sweet afternoon treat.
Delight your senses with textures and flavors! You can serve them alongside crisp apple slices for a refreshing crunch or opt for chocolate-dipped pretzels that offer a satisfying salty bite.
- Creamy Vanilla Ice Cream: A scoop on the side allows the mints’ refreshing qualities to shine, providing a delightful palate cleanser.
- Spiced Gingerbread: The warmth of gingerbread complements the mints’ coolness, creating a comforting holiday atmosphere. This combination is festive and filled with nostalgia.
- Minty Green Tea: A steaming cup of mint green tea refreshes the palate after enjoying the mints, making it an ideal beverage pairing for a light finish.
- Chewy Caramel Squares: Their sweet, chewy texture offers a contrast to the mints, ensuring every bite is a delightful surprise.
Old-Fashioned Holiday Mints Recipe FAQs
What type of cream cheese should I use for the mints?
Absolutely! Standard cream cheese is perfect for achieving that creamy texture, but you can also use Neufchâtel cheese as a lower-fat option without sacrificing flavor.
How should I store my Old-Fashioned Holiday Mints?
Once thoroughly dried, store your mints in an airtight container at room temperature for up to 2 weeks. If you’d like to keep them longer, consider refrigerating them for up to 4 weeks in a tightly sealed container.
Can I freeze Old-Fashioned Holiday Mints?
Yes, you can freeze these delightful mints! To do this, place them in an airtight container or freezer bag, ensuring they’re not overcrowded. They’ll keep well for up to 3 months. When you’re ready to enjoy, simply thaw them at room temperature for the best texture.
How can I troubleshoot sticky or dry mint dough?
If your dough is too sticky, gradually knead in additional powdered sugar until it reaches the desired consistency. On the other hand, if the dough is too dry, add in softened cream cheese a teaspoon at a time while mixing until you achieve a workable, pliable dough.
Are Old-Fashioned Holiday Mints suitable for people with dietary restrictions?
These mints can be customized to fit various dietary needs! For those with dairy allergies, consider using a vegan cream cheese alternative. Additionally, ensure that your powdered and granulated sugars are free from any allergens if you’re preparing them for someone with specific dietary considerations.
Can I add additional flavors or colors to the mints?
Very! You can divide the dough into sections and incorporate different extracts like almond, lemon, or even cocoa powder for a chocolate-mint variation. Add gel food coloring to create a festive look; just make sure to knead until well mixed for even distribution.
Delightful Old-Fashioned Holiday Mints – A Sweet Vintage Treat
Ingredients
Equipment
Method
- Beat the Cream Cheese: In a large mixing bowl, use an electric mixer to beat 8 ounces of softened cream cheese on medium speed until it’s velvety smooth, about 2-3 minutes.
- Incorporate the Powdered Sugar: Gradually add 2 cups of sifted powdered sugar to the cream cheese. Mix on low speed until a thick, dough-like consistency forms.
- Flavor the Dough: Stir in 1 teaspoon of mint extract until evenly distributed. Divide the dough for customization.
- Add Color: For each divided section, add food coloring as desired and knead until color is uniform.
- Shape the Mints: Roll the colored dough into 1-inch balls, flatten them, and arrange on a parchment-lined tray.
- Coat in Sugar: Generously coat each mint in granulated sugar and place them back on the tray.
- Air Dry: Let the mints air dry at room temperature for 12-24 hours until firm.
Leave a Reply